No-Bake Raspberry Tart Recipe
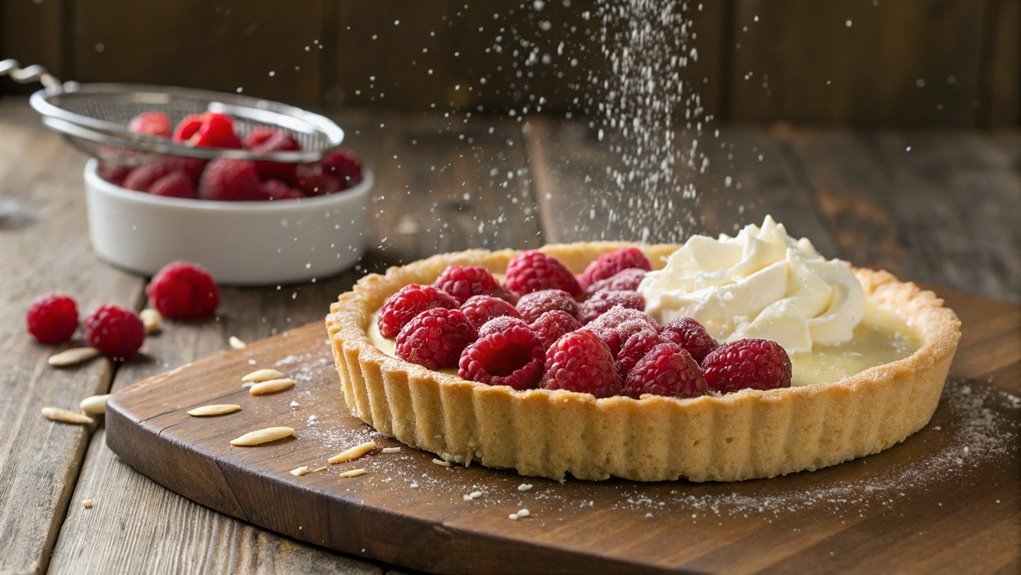
For a quick and elegant dessert, try the No-Bake Raspberry Tart with a buttery graham cracker crust and creamy filling. It’s simple to make with just a few ingredients and will impress your guests without the stress.
Before gathering supplies, focus on achieving the right balance of flavors and textures for a memorable tart. This will elevate your dessert to something truly special.
Recipe
Indulging in a delightful dessert doesn’t always require turning on the oven, and this No-Bake Raspberry Tart is the perfect example. The creamy, velvety filling paired with a buttery crust and fresh raspberries creates a stunning treat that’s not only easy to make but also looks impressive on any dessert table.
This tart is ideal for warm weather gatherings or whenever you want a rejuvenating dessert that doesn’t heat up the kitchen.
The best part about this No-Bake Raspberry Tart is how quickly it comes together. With just a few simple ingredients, you can create a luscious filling that complements the tartness of the raspberries beautifully.
Whether you’re serving it for a special occasion or simply treating yourself, this dessert is sure to please everyone. Follow the recipe below for a deliciously easy and elegant treat!
Ingredients:
- 1 ½ cups graham cracker crumbs
- ½ cup unsalted butter, melted
- 2 cups fresh raspberries
- 1 cup heavy whipping cream
- 8 oz cream cheese, softened
- ½ cup powdered sugar
- 1 tsp vanilla extract
- 1 tbsp lemon juice
- Additional raspberries and mint leaves for garnish (optional)
Now let’s move on to the cooking steps.
Cooking Steps
Let’s get started on making your no-bake raspberry tart!
First, you’ll whip up a delicious crust mixture that really sets the stage for the flavor explosion to come.
After that, blending the raspberry filling will be a breeze, and before you know it, you’ll be chilling your tart to perfection!
Step 1. Prepare the Crust Mixture
To create a delicious crust for your no-bake raspberry tart, start by combining graham cracker crumbs, melted butter, and a pinch of sugar in a mixing bowl. This mixture forms the perfect base for your tart, giving it that delightful crunch and sweetness. Use about one and a half cups of graham cracker crumbs, a half cup of melted butter, and two tablespoons of sugar for the best results.
Next, stir everything together until the crumbs are fully coated with the butter and sugar. You want the mixture to be moist but not overly wet.
Once you achieve that, it’s time to press it into your tart pan. Grab a measuring cup or your fingers and firmly pack the crumb mixture into the bottom and up the sides of the pan. This guarantees your crust holds together beautifully.
After pressing it in, pop your crust in the freezer for about 10 to 15 minutes. This step helps it firm up, making it easier to fill later.
You’re already on your way to a fantastic dessert that’s sure to impress your family and friends. Enjoy the process—your tart will be worth every moment!
Step 2. Blend the Raspberry Filling
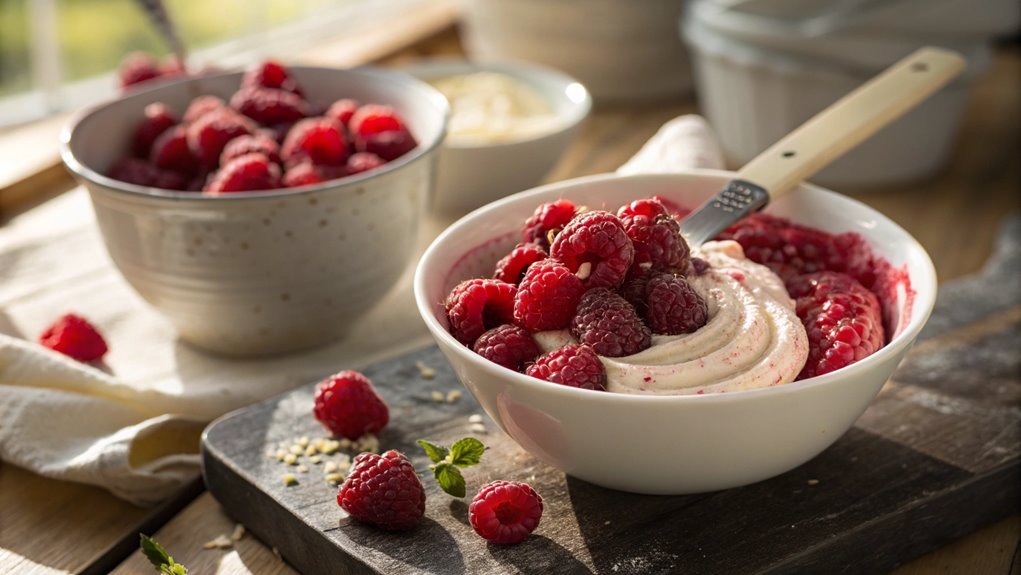
Blend the fresh raspberries with cream cheese and powdered sugar until smooth and creamy. This step is where the magic starts to happen! As you mix, the vibrant raspberry flavor will combine beautifully with the creamy texture of the cheese, creating a luscious filling that’s simply irresistible.
You’ll want to use ripe, fresh raspberries for the best taste, so pick out the juiciest ones you can find.
Once everything’s in the blender, pulse until you achieve that perfect consistency. Make certain there are no lumps, as you want a velvety mixture that spreads easily over your crust. If you prefer a little more sweetness, feel free to adjust the powdered sugar to your liking.
Don’t forget to scrape down the sides of the blender or bowl occasionally to guarantee all the ingredients blend together perfectly. The color should be a gorgeous pink hue, reminding you of summer days.
Once it’s ready, you’ll be amazed at how simple yet delicious this filling is! It’s the highlight of your no-bake raspberry tart, and you can’t wait to see how it all comes together in the next steps! Enjoy this delightful process!
Step 3. Chill the Tart in Fridge
After you’ve spread that luscious raspberry filling over the crust, it’s vital to give the tart some time to chill in the fridge.
This step not only helps the filling set but also allows the flavors to meld beautifully. You wouldn’t want to rush this part; a well-chilled tart is a delight to bite into!
Place your tart in the refrigerator for at least 2-3 hours, or even overnight if you can wait. The longer it chills, the firmer and more delicious it becomes.
While you’re waiting, you can think about how wonderful it’ll taste with a dollop of whipped cream or fresh berries on top!
Here’s why chilling is vital:
- Texture: It helps the filling firm up, making slicing easier.
- Flavor: Chilling enhances the raspberry flavor, making it pop.
- Presentation: A well-set tart looks more appealing when served.
- Satisfaction: The anticipation of that first bite builds excitement!
Step 4. Add Topping of Fresh Berries
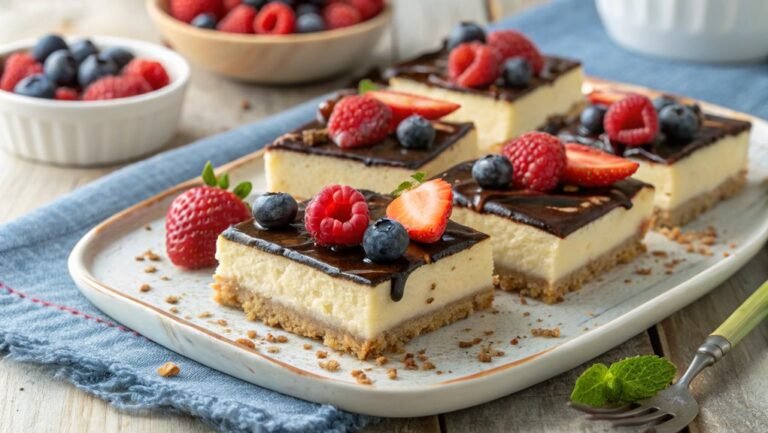
The finishing touch for your no-bake raspberry tart is a vibrant topping of fresh berries. You’ll want to start by selecting the freshest berries you can find. Raspberries, blueberries, and strawberries work beautifully together, creating a colorful and inviting display.
Once you’ve chosen your berries, rinse them gently under cool water and pat them dry with a clean towel.
Now, it’s time to arrange the berries on top of your chilled tart. Begin with a layer of raspberries, spreading them evenly across the surface. Then, add a handful of blueberries for that delightful pop of color.
Finally, slice some fresh strawberries and scatter them around for an extra burst of sweetness. Feel free to get creative with your arrangement—there’s no wrong way to do this!
When you’re happy with the look, consider drizzling a bit of honey or agave syrup over the berries to enhance their natural sweetness. This simple step adds a glossy finish that’ll make your tart even more irresistible.
Once you’re done, admire your masterpiece before slicing it up. It’s not just a dessert; it’s a celebration of flavors and colors that you’ll love sharing!
Step 5. Serve With Mint Garnish
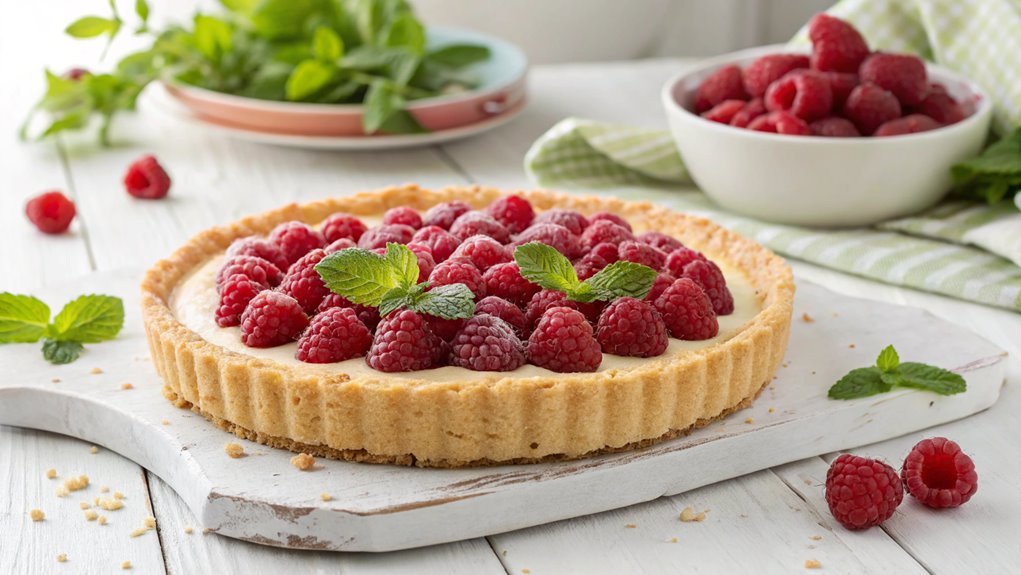
A simple yet elegant way to elevate your no-bake raspberry tart is by serving it with a fresh mint garnish. Not only does mint add a pop of color, but it also brings a revitalizing aroma that perfectly complements the tart’s sweetness.
Here’s how you can do it beautifully:
- Choose Fresh Mint: Select vibrant, green mint leaves for the best flavor and appearance.
- Wash and Dry: Gently rinse the leaves under cool water, then pat them dry with a paper towel to remove any excess moisture.
- Arrange Artistically: Place a few leaves on top of your tart or to the side on the serving plate. You can also create a small bouquet for an eye-catching display.
- Optional Mint Oil: For an extra burst of flavor, consider drizzling a tiny amount of mint-infused oil around the plate.
Your guests will love the delightful contrast of flavors, and the mint will add a touch of sophistication.
So, don’t skip this finishing touch! Enjoy the satisfaction of creating a dessert that’s not just delicious, but visually stunning too.
Happy garnishing!
Final Thoughts
Creating a no-bake raspberry tart brings a sense of joy and accomplishment to your kitchen. This delightful dessert not only looks stunning but also bursts with fresh flavors that will impress anyone who takes a bite.
You’ll love how simple it’s to prepare; no oven needed means you can whip it up even on the hottest days. Plus, the vibrant color of raspberries makes it a showstopper for any gathering.
As you slice into the tart, the creamy filling and crumbly crust blend together perfectly, creating a treat that feels indulgent yet light.
You can customize it with your favorite fruits or add a hint of citrus to elevate the flavors even further. The possibilities are endless!
Frequently Asked Questions
Can I Use Frozen Raspberries Instead of Fresh Ones?
Yes, you can use frozen raspberries instead of fresh ones. Just remember to thaw and drain them properly to avoid excess moisture. They’ll still taste delicious and add vibrant color to your dish!
How Long Does the Tart Need to Chill in the Fridge?
Think of your tart as a cozy blanket, needing time to settle. You’ll want to chill it in the fridge for at least two hours, allowing those flavors to mingle and create something delicious.
What Can I Use as a Substitute for Cream Cheese?
If you’re out of cream cheese, you can use Greek yogurt for a tangy flavor, mascarpone for a creamy texture, or cottage cheese blended smooth. Each option will give a unique twist to your dish!
How Do I Store Leftover Tart?
To store leftover tart, cover it tightly with plastic wrap or aluminum foil. You can also place it in an airtight container. Refrigerate for up to three days, ensuring it stays fresh and delicious for later enjoyment.
Can I Add Other Fruits to This Recipe?
Adding an array of appealing fruits can amplify your tart’s taste. You can mix in mangoes, blueberries, or strawberries for a sensational spin. Just guarantee they complement each other’s flavors for a delightful dessert experience!
Conclusion
You’ve crafted a stunning No-Bake Raspberry Tart that’s sure to impress! With its creamy filling and buttery crust, it’s perfect for any occasion.
The vibrant raspberries taste amazing and add a beautiful touch to your table. Serve it chilled, garnished with fresh mint, and enjoy the smiles it brings.
Gather your ingredients, invite some friends, and enjoy making this revitalizing treat together!
