Pear Tart Tatin Recipe

To impress at your next gathering, prepare a Pear Tart Tatin, which blends caramelized pears’ sweetness with flaky pastry for a delightful contrast. Mastering the technique for caramelizing sugar is crucial as it sets the foundation for the dish.
Before diving in, there’s a critical step that can determine the tart’s success. Ensuring this essential detail is followed can make or break your dessert.
Recipe
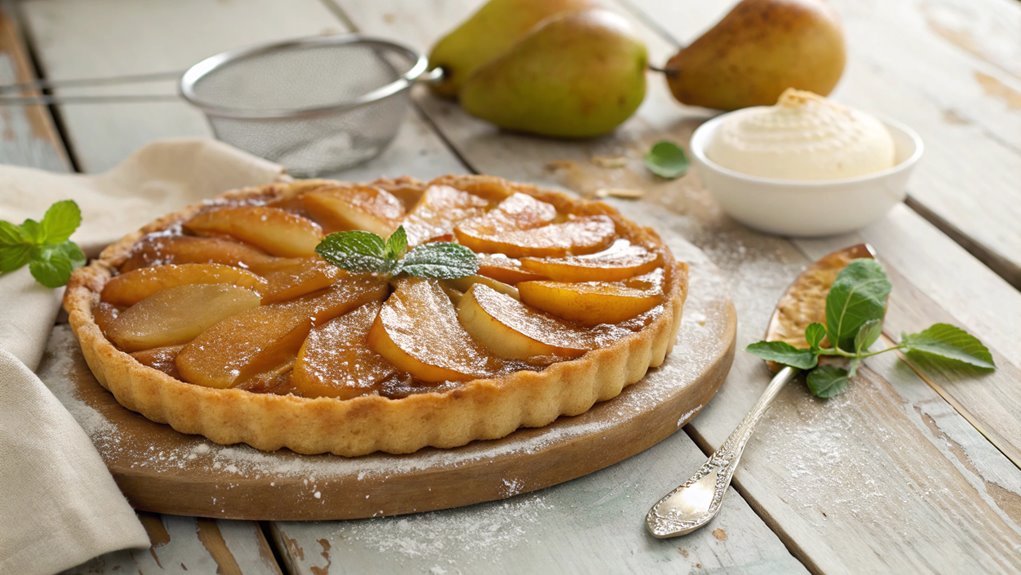
Pear Tart Tatin is a delightful twist on the classic French dessert, traditionally made with apples. This tart features caramelized pears that are cooked upside down in a buttery, flaky pastry, resulting in a sweet and indulgent treat. The combination of tender, juicy pears and rich caramel creates a harmonious balance of flavors that’s sure to impress your family and friends.
Making a Pear Tart Tatin is a rewarding experience, as the process allows you to witness the transformation of simple ingredients into a stunning dessert. While it may seem intimidating at first, this recipe breaks down the steps so you can create a perfect tart with ease.
Whether served warm with a scoop of vanilla ice cream or at room temperature, this dessert is a must-try for any occasion.
Ingredients:
- 4 ripe pears, peeled, cored, and quartered
- 1 cup granulated sugar
- 6 tablespoons unsalted butter
- 1 teaspoon vanilla extract
- 1 teaspoon ground cinnamon
- 1 sheet of puff pastry, thawed
- Flour, for dusting
- Pinch of salt
Now let’s move on to the cooking steps.
Cooking Steps
Let’s get cooking!
First, you’ll want to preheat your oven to 375°F to guarantee everything bakes perfectly.
Then, you’ll caramelize the sugar in a skillet and arrange those gorgeous pears, creating a delightful base for your tart that’ll have everyone enthusiastic to dig in.
Step 1. Preheat Oven to 375°F
Before diving into the deliciousness of your pear tart Tatin, you need to preheat your oven to 375°F. This step is essential because it guarantees your tart cooks evenly and comes out perfectly golden. You don’t want to rush this part; let the oven warm up while you gather your ingredients and prepare for the next steps.
Take a moment to appreciate the aroma of the pears and the buttery pastry you’ll soon create. Preheating the oven will also save you time later, allowing the tart to bake beautifully as soon as you’re ready.
To preheat, simply turn your oven dial or set the temperature on a digital display to 375°F. You’ll usually hear a beep or see a light indicating that the oven is heating up.
While you wait, it’s the perfect opportunity to get excited about the wonderful dish you’re about to create.
Once the oven reaches the desired temperature, you’ll be all set to start caramelizing the sugar and layering the pears. The anticipation of that sweet, rich flavor is part of the fun, so enjoy this moment as you prepare for your culinary adventure!
Step 2. Caramelize Sugar in Skillet

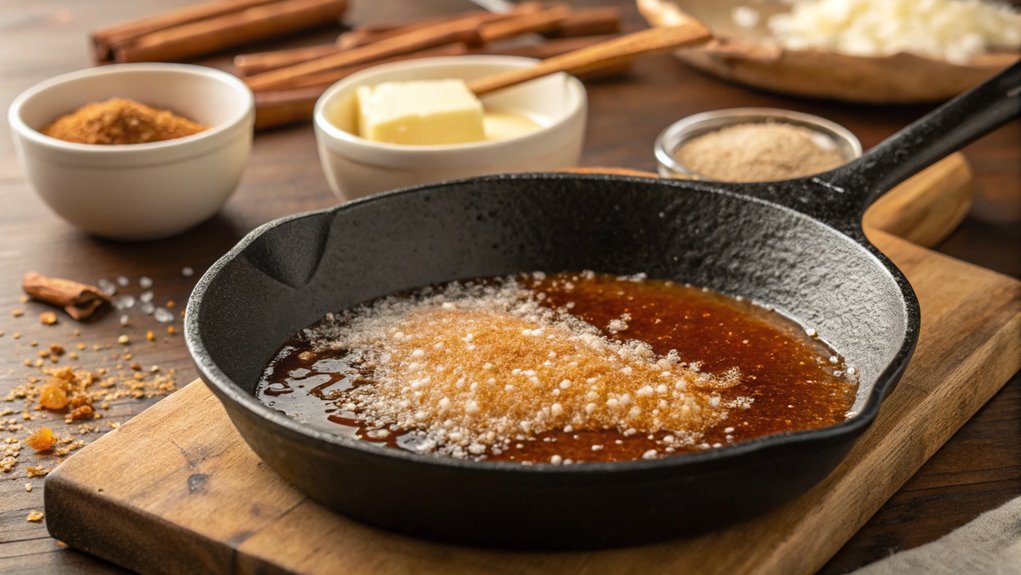
To create that irresistible caramel layer for your tart Tatin, start by adding 1 cup of granulated sugar to a skillet over medium heat. As the sugar heats up, it’ll begin to melt and transform into a beautiful amber-colored liquid.
Keep an eye on it, stirring gently with a wooden spoon to guarantee even melting. You want to prevent clumps from forming and to avoid burning the sugar.
Once the sugar has completely melted and reached that gorgeous caramel color, it’s time to add a little excitement! You can watch as it bubbles and thickens, filling your kitchen with a sweet aroma that’s simply delightful.
This process usually takes about 8 to 10 minutes, so be patient—great things take time!
When the caramel is ready, remove the skillet from the heat. Be careful, as the skillet will be hot!
Let it cool slightly before you plunge into the next step. You’ll feel a surge of satisfaction knowing you’ve created this luscious, sweet base for your pear tart Tatin.
Get ready to layer those juicy pears right into this caramel masterpiece! It’s going to be delicious!
Step 3. Arrange Pears in Skillet
Now that your caramel is ready, it’s time to arrange the pears in the skillet. Gently take your sliced pears and start placing them on top of the bubbling caramel. You can arrange them tightly, overlapping slightly, to create a beautiful design. This isn’t just about looks; the way you arrange them will influence how they cook and caramelize.
Feel free to get creative! You can layer the pears in a circular pattern or even fan them out for an elegant touch. The key is to cover the entire surface of the skillet, as each slice will absorb that delicious caramel flavor.
Make sure the cut sides of the pears are facing down, as they’ll soak up the sweetness and create a lovely golden color as they cook.
Take your time with this step; it’s where your tart truly begins to take shape. Once you’re satisfied with the arrangement, you’ll feel a rush of excitement knowing you’re one step closer to a mouthwatering dessert. Trust me, the smell alone will have everyone keen to plunge in!
Now, let’s move on to the next exciting stage of this culinary adventure!
Step 4. Bake for 25 Minutes
With the pears beautifully arranged and ready, it’s time to place the skillet in a preheated oven. This is where the magic happens! As the heat envelops your tart, the flavors meld together and the aromas fill your kitchen, creating an atmosphere of pure delight.
You’ll want to bake the tart for 25 minutes, allowing the caramel to bubble and the pastry to turn golden brown.
Here’s what to keep in mind during this time:
- Check the Oven: Make sure your oven is preheated to 375°F (190°C), ensuring even cooking throughout.
- Watch for Color: Keep an eye on the tart as it bakes. You’re looking for that perfect golden hue on the pastry, which indicates it’s ready for the next step.
- Resist Opening the Door: Try not to open the oven door too frequently. Each time you do, you let heat escape, which can affect the baking process.
Once those 25 minutes are up, you’ll have a beautifully baked pear tart that’s just bursting with flavor. Can you feel the excitement? You’re almost there!
Step 5. Invert Tart Onto Plate

Once the baking time is up, carefully remove the skillet from the oven, taking care not to burn yourself on the hot handle.
Let the tart sit for about 5 minutes; this helps the caramel settle and makes it easier to invert. Grab a large, flat plate that’s slightly larger than your skillet. Position it upside down over the tart, ensuring it’s centered perfectly.
Now, it’s time for the exciting part! With one swift motion, confidently flip the skillet and plate together. You’ll want to give it a little shake to help release the tart.
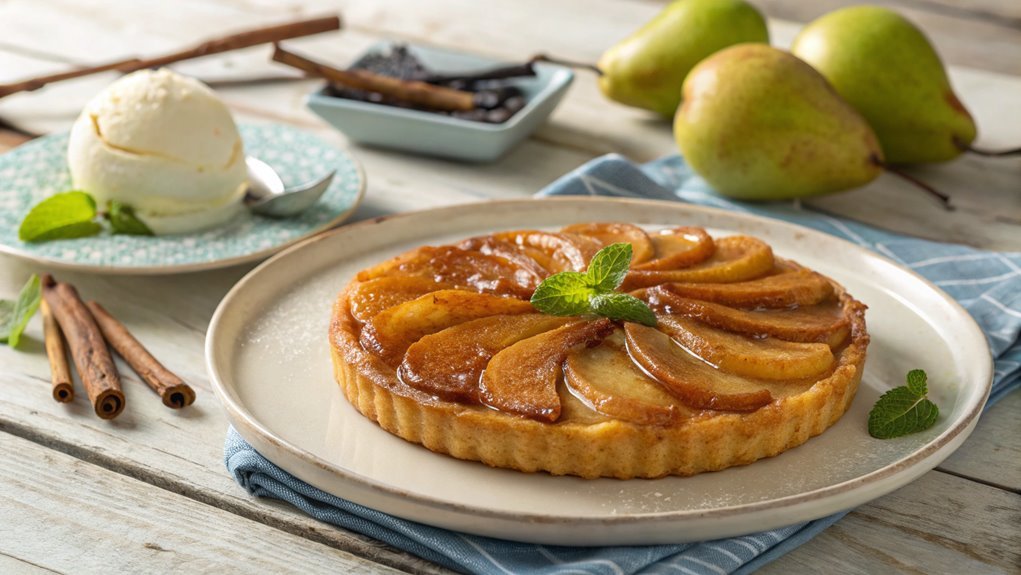
As you lift the skillet away, watch in delight as the golden-brown pears tumble onto the plate, glistening in their syrupy goodness. If a few pieces stick, don’t panic—just gently coax them out with a spatula.
Once it’s all on the plate, let the tantalizing aroma fill your kitchen. Serve your pear tart warm, perhaps with a scoop of vanilla ice cream or a dollop of whipped cream.
You’ve just created a stunning dessert that’s sure to impress, so dig in and enjoy your delicious achievement!
Final Thoughts
As you savor your delicious pear tart tatin, it’s clear that this recipe isn’t just a dessert but a delightful experience. The blend of caramelized pears, buttery pastry, and warm spices creates a symphony of flavors that dance on your taste buds.
Every slice is a celebration, making it perfect for gatherings or a cozy evening at home.
To elevate your tart tatin-making adventure, consider these three tips:
- Choose the Right Pears: Opt for firm and ripe pears like Bosc or Anjou for the best texture and flavor.
- Perfect Your Caramel: Watch the caramel closely; it should be a beautiful amber color, ensuring that you achieve that rich, deep flavor without burning.
- Serve Warm with a Twist: Pair it with vanilla ice cream or a dollop of whipped cream for an indulgent treat.
Frequently Asked Questions
Can I Use Frozen Pears for This Recipe?
Yes, you can use frozen pears for this recipe. Just make sure to thaw and drain them properly, as excess moisture can affect the texture. Enjoy the delicious results with your sweet creation!
What Type of Pastry Is Best for Tart Tatin?
You might think any pastry works, but puff pastry’s flaky layers create the perfect contrast to the caramelized fruit. If you want a classic touch, shortcrust pastry also delivers a delightful, buttery flavor.
How Do I Store Leftover Pear Tart Tatin?
To store leftovers, let them cool completely, then cover the tart with plastic wrap or aluminum foil. Refrigerate it for up to three days, and reheat in the oven before serving for the best flavor.
Can I Substitute Butter With a Vegan Alternative?
If you’re looking to switch things up, you can absolutely substitute butter with a vegan alternative. Just use plant-based options like coconut oil or vegan butter, and you’ll maintain that rich flavor without any dairy!
Is Pear Tart Tatin Served Warm or Cold?
You’ll want to serve it warm for the best experience. The warm caramelized flavors and tender texture really shine when it’s fresh out of the oven, making it a delightful treat for your taste buds.
Conclusion
You’ve crafted a stunning Pear Tart Tatin that marries caramelized pears with flaky pastry. Luxurious yet simple, it offers a delightful contrast of textures and flavors. Serve it warm with vanilla ice cream and see your loved ones’ faces light up with joy. Savor every bite!


