No-Bake Oreo Cheesecake Recipe
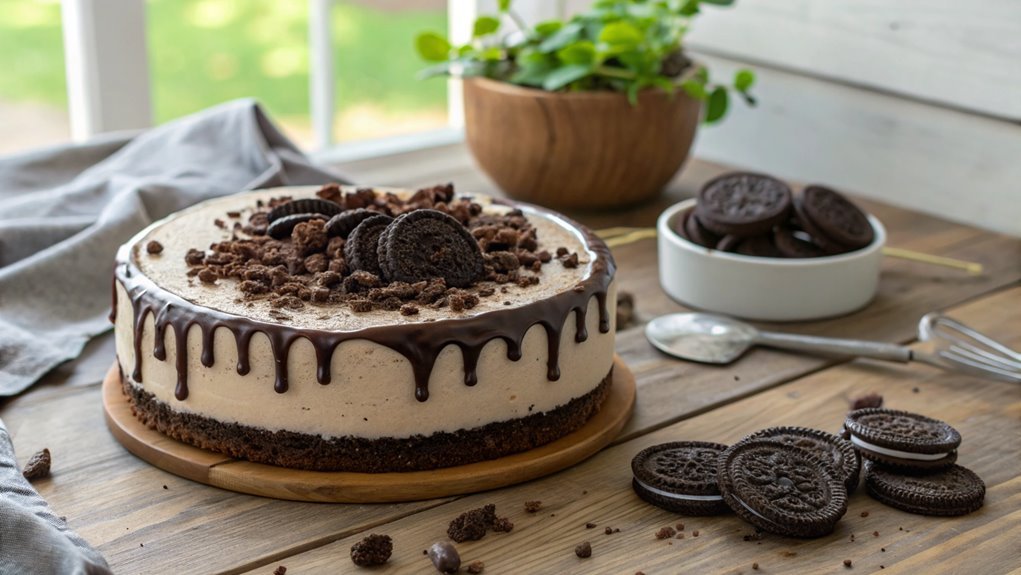
The No-Bake Oreo Cheesecake can be prepared in under 30 minutes, but it requires a crucial chilling period for the ideal creamy texture. This dessert not only satisfies sweet cravings but also impresses guests with its elegant presentation.
Discover how a few simple ingredients transform into this decadent treat by exploring the steps involved. Learn some tips to further elevate your cheesecake game.
Recipe
If you’re in the mood for a sweet treat but don’t want to turn on the oven, this No-Bake Oreo Cheesecake is the perfect solution. Creamy, rich, and loaded with the iconic flavor of Oreo cookies, this cheesecake is incredibly easy to prepare.
With just a few simple ingredients and minimal effort, you can whip up a dessert that’s sure to impress friends and family alike. Plus, it sets in the refrigerator, allowing you to make it ahead of time for any occasion.
The best part about this recipe is how versatile it is. You can add your own twist by incorporating different flavors or toppings, but the classic Oreo combination is simply irresistible.
Whether you’re hosting a gathering or just craving something sweet, this No-Bake Oreo Cheesecake will satisfy your dessert dreams without the hassle of baking. Get ready to enjoy a delightful treat that’s as delicious as it’s easy to make!
Ingredients:
- 24 Oreo cookies (plus additional for garnish)
- 1/4 cup unsalted butter, melted
- 16 oz cream cheese, softened
- 1 cup powdered sugar
- 1 tsp vanilla extract
- 1 cup heavy whipping cream
- 1/2 cup sour cream
Now let’s move on to the cooking steps.
Cooking Steps
Get ready to create a delicious no-bake Oreo cheesecake that will impress everyone!
First, you’ll crush those Oreos into fine crumbs, setting the stage for a fantastic crust.
Then, mix up the creamy filling and watch as each step brings you closer to a dessert that’s as delightful to eat as it’s to make!
Step 1. Crush Oreos Into Fine Crumbs
To create the perfect crust for your no-bake Oreo cheesecake, start by crushing the Oreos into fine crumbs. This step is essential because a good crust sets the stage for the creamy filling to shine. You can use a food processor for quick results, or if you prefer a more hands-on approach, place the Oreos in a zip-top bag and crush them with a rolling pin. Whichever method you choose, aim for those fine, even crumbs that will bind beautifully with the butter later.
Here are some tips to keep in mind while crushing your Oreos:
- Choose the Right Oreos: Regular Oreos work best, but feel free to experiment with different flavors for a unique twist.
- Don’t Rush the Process: Take your time to guarantee the crumbs are uniform; this makes for a better texture.
- Check for Large Chunks: If you notice any big pieces, go back and crush them a bit more.
- Save Some for Topping: Consider setting aside a few crumbs to sprinkle on top of your cheesecake for that extra flair!
Now, let’s get ready for the next delicious step!
Step 2. Mix Cream Cheese and Sugar
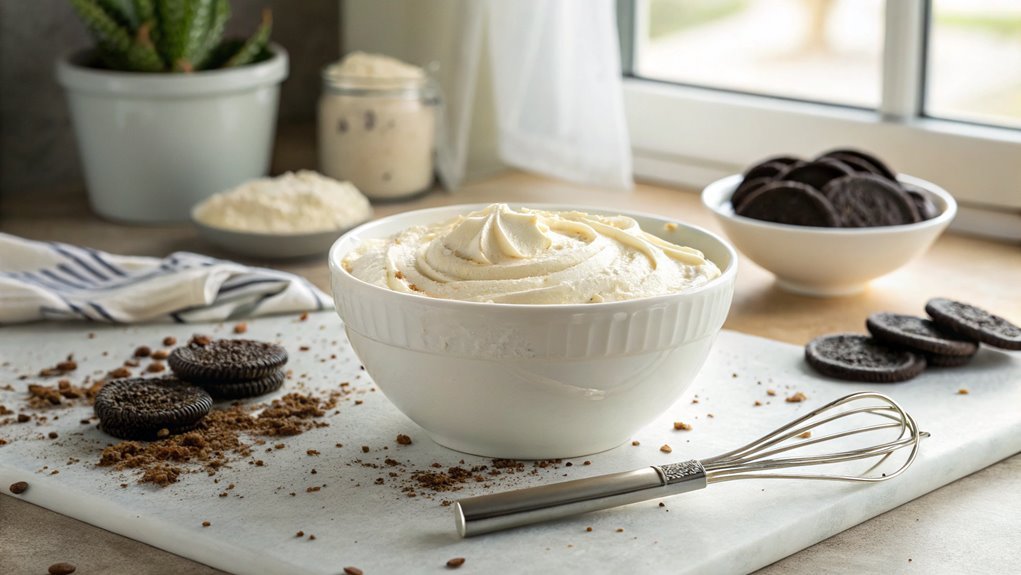
Start by beating the cream cheese and sugar together until smooth and creamy. This step is vital, as it sets the foundation for your delicious cheesecake. Grab your electric mixer or a sturdy whisk, and let’s get mixing!
You want to make sure there are no lumps, so take your time to blend them thoroughly. The cream cheese should become light and fluffy, while the sugar dissolves completely.
Once you’ve achieved that perfect consistency, you’ll notice the mixture transforming into a silky texture, and the sweet aroma will fill your kitchen. This is where the magic begins!
Don’t forget to scrape down the sides of the bowl occasionally; you want every bit of that creamy goodness to be evenly mixed.
Mixing the cream cheese and sugar isn’t just a chore; it’s an essential step that brings out the flavors in your cheesecake. As you mix, imagine the delightful cheesecake that’s about to grace your table.
Keep mixing until you’re confident it’s perfectly smooth, and then you’re ready for the next exciting step in creating this no-bake Oreo cheesecake. Get ready for a treat that everyone will love!
Step 3. Fold in Whipped Cream
Once your cream cheese and sugar mixture is smooth, gently fold in the whipped cream to add a light and airy texture to your cheesecake. This step is essential because it transforms your cheesecake from a dense filling into a fluffy delight.
When you fold, use a spatula to scoop from the bottom and bring the mixture to the top, being careful not to deflate the whipped cream. You want to maintain that lovely volume!
Here are some key tips to keep in mind:
- Use cold whipped cream: Chilled cream holds its shape better, ensuring your cheesecake stays fluffy.
- Be gentle: The folding technique is all about preserving air, so avoid vigorous stirring.
- Check for streaks: Make sure there are no visible white streaks of cream; the mixture should be uniform in color.
- Taste as you go: A quick taste test will let you know if you need a bit more sweetness or flavor.
Enjoy this step! You’re on your way to creating a delicious no-bake Oreo cheesecake that’s sure to impress family and friends.
Keep up the great work—you’re almost there!
Step 4. Add Oreo Crust to Mixture
With the whipped cream folded in, it’s time to bring in the Oreo crust. Grab that delicious crust you prepared earlier, and gently add it to your cheesecake mixture.
You’ll want to do this carefully, so the airy texture of the whipped cream stays intact. Using a spatula, fold the crust into the cheesecake mixture in a smooth, sweeping motion. This helps to evenly distribute those delightful Oreo crumbs throughout the filling.
As you mix, you can almost taste the creaminess that’s about to come together. It’s crucial to be gentle here; you want to keep the lightness while blending in those rich flavors. Make sure you scrape the sides of the bowl to incorporate all the crust bits.
Once you’ve achieved a uniform mixture, take a moment to admire your work. The combination of the creamy cheesecake and the crunchy Oreo crust is truly a match made in dessert heaven.
You’re one step closer to a sweet masterpiece that’s sure to impress your family and friends. So, get ready for the next step in this no-bake adventure—your cheesecake is almost ready to shine!
Step 5. Chill Until Firm
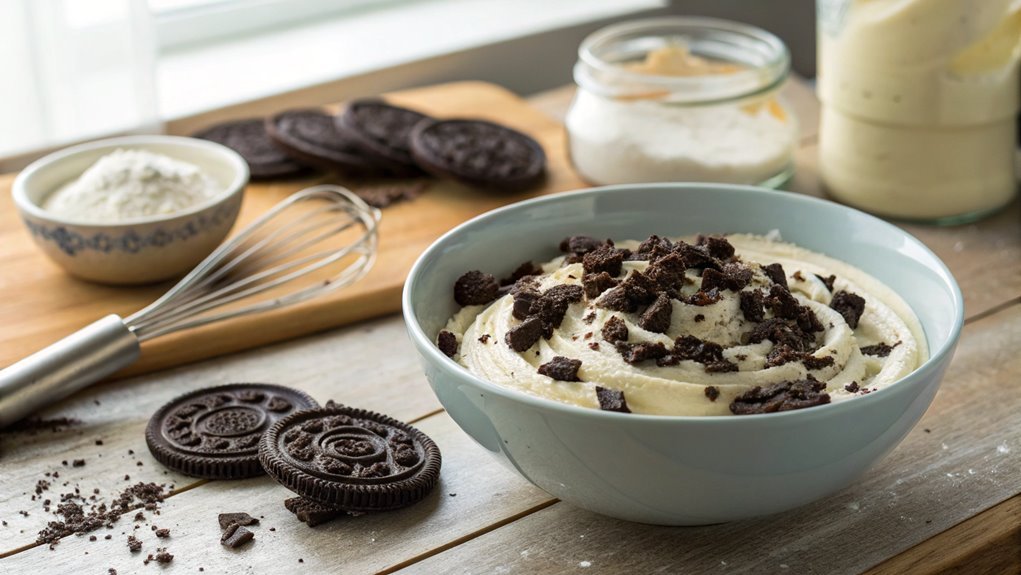
Before you can plunge into that creamy, dreamy cheesecake, you’ll need to give it some time to chill and set. This vital step guarantees that your no-bake Oreo cheesecake reaches the perfect consistency, making each slice a delight.
You’ll want to cover the cheesecake with plastic wrap or a lid and pop it in the refrigerator. Ideally, let it chill for at least four hours, but overnight is even better! This extra time allows the flavors to meld beautifully.
While you wait, think about how satisfying it’ll be to share this dessert with friends and family. They won’t believe you made it yourself!
Here are a few reasons why chilling is essential:
- It allows the filling to firm up, guaranteeing clean slices.
- Chilling enhances the flavors, making each bite more enjoyable.
- It helps the ingredients blend together for a smoother texture.
- A well-chilled cheesecake is a showstopper at any gathering!
Once the chilling time is up, you’ll be ready to indulge in a slice of heaven. Trust me, your taste buds are in for a treat! Enjoy every moment of this delicious creation.
Final Thoughts
As you wrap up your baking adventure, it’s clear that this no-bake Oreo cheesecake isn’t just a dessert—it’s a delightful experience.
You’ve created something truly special that’s sure to impress family and friends. The creamy filling, combined with the crunchy Oreo crust, makes each bite a heavenly treat. Plus, the best part is you didn’t even have to turn on the oven!
This recipe is perfect for any occasion, whether it’s a birthday celebration, a summer barbecue, or simply a cozy night in.
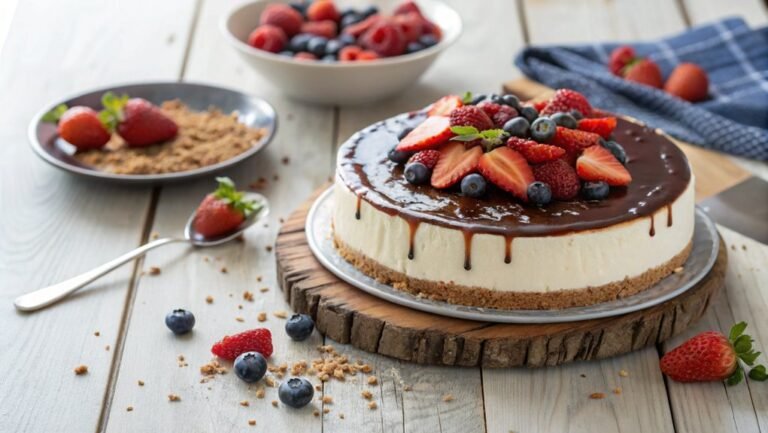
It’s easy to customize too! You can add layers of caramel, chocolate drizzle, or even fresh fruit to make it your own. Just imagine the smiles on your loved ones’ faces when they taste your creation!
Don’t hesitate to share this recipe with others. The joy of making and enjoying this cheesecake is something everyone should experience.
So, grab your ingredients, put on your apron, and embark on this delicious journey. You’ve got this!
Trust me, once you try this no-bake Oreo cheesecake, you’ll want to make it time and time again.
Happy baking, and enjoy the sweet rewards of your hard work!
Frequently Asked Questions
Can I Substitute Cream Cheese With a Dairy-Free Alternative?
Yes, you can substitute cream cheese with a dairy-free alternative. Options like vegan cream cheese or blended silken tofu work well, ensuring you still get a creamy texture and delicious flavor in your dish.
How Long Can I Store the Cheesecake in the Fridge?
You can store the cheesecake in the fridge for about 3 to 5 days. Just make sure it’s covered tightly to maintain freshness and prevent it from absorbing any odors from other foods.
Can I Use Different Cookies for the Crust?
Absolutely, you can use different cookies for the crust! Try graham crackers, chocolate wafers, or even ginger snaps. Just crush them finely and mix with butter for a delicious base that complements your cheesecake.
Is It Necessary to Use a Springform Pan?
Think of a springform pan as a cozy hug for your dessert. It’s not absolutely necessary, but it sure makes life easier when you’re ready to reveal your delicious creation without any mess or stress.
How Many Servings Does This Recipe Yield?
This recipe yields about eight servings, perfect for sharing with friends or family. If you need more, you can easily double the ingredients and adjust your dish size accordingly to accommodate everyone’s sweet tooth.
Conclusion
No-bake Oreo cheesecake is more than just a dessert; it’s a celebration of flavors and memories. Imagine surprising your loved ones at a family gathering with this creamy delight and seeing their faces light up with joy.
Moments like these make cooking special. Gather your ingredients, follow the simple steps, and create something magical.
You won’t just make a cheesecake; you’ll create unforgettable memories that last a lifetime!
