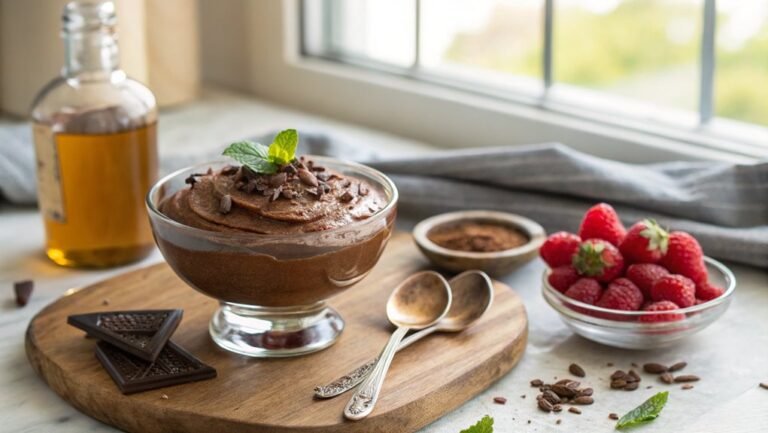
Vegan Ice Cream Recipe
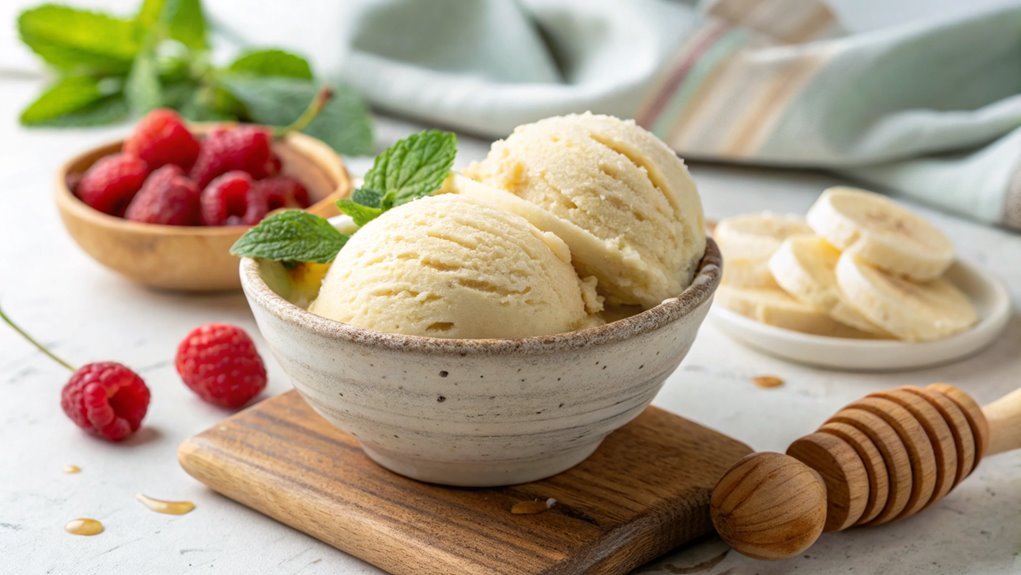
Imagine a bowl of creamy, velvety ice cream that melts in your mouth, leaving behind rich flavors of coconut and almond. Surprisingly, such a treat doesn’t require dairy.
With just a few simple ingredients, you can create a vegan ice cream that’s both satisfying and delicious. Curious about this delightful concoction?
Let’s explore the straightforward steps that will transform your kitchen into an ice cream haven.
Recipe
Vegan ice cream is a delicious and creamy alternative to traditional dairy-based ice cream, allowing everyone to indulge in a frozen treat without compromising on flavor or texture. Made primarily from plant-based ingredients, this recipe is simple and quick to prepare, requiring only a few key ingredients.
Whether you’re following a vegan diet or simply looking to enjoy a lighter dessert, this vegan ice cream will satisfy your sweet tooth and keep you cool during hot summer days.
The beauty of vegan ice cream lies in its versatility, as you can easily customize it with various flavors and mix-ins. From rich chocolate to invigorating mint, the possibilities are endless.
This recipe features a basic vanilla base, which can be elevated by adding fruits, nuts, or chocolate chips. Prepare to enjoy your homemade vegan ice cream in just a few easy steps!
Ingredients
- 2 cups coconut milk (full-fat for creaminess)
- 1 cup almond milk (or any plant-based milk)
- ¾ cup maple syrup or agave nectar
- 1 tablespoon pure vanilla extract
- Pinch of salt
- Optional: Mix-ins such as fruit, nuts, or chocolate chips
Now let’s move on to the cooking steps.
Cooking Steps
Now that you’ve got your vegan ice cream recipe ready, let’s jump into the cooking steps!
Start by preparing the ice cream base to set the foundation for your delicious treat.
Once that’s done, chill the mixture for an hour, blend it smoothly, and watch as it transforms into a creamy delight that’ll have everyone asking for seconds!
Step 1. Prepare the Ice Cream Base
Creating a creamy ice cream base is the foundation for your delightful vegan treat. Start by gathering your ingredients—coconut milk, almond milk, or cashew milk work wonders for creating that luscious texture.
In a medium saucepan, combine your choice of plant-based milk with sweeteners like maple syrup or agave nectar. This is where you can get creative! Add in some vanilla extract for a classic flavor or even a pinch of sea salt to enhance the sweetness.
Next, gently heat the mixture over low to medium heat, stirring consistently to prevent sticking. You want to warm the mixture, not boil it, so keep an eye on it.
Once everything’s well combined and the sweetener dissolves, you can introduce a starch or thickener like cornstarch or arrowroot powder. This step is essential for achieving that smooth, creamy consistency you’ll adore. Stir this in until the mixture thickens slightly, which usually takes just a few minutes.
Trust your instincts and taste test! Adjust the sweetness or flavor as needed, and soon you’ll have a delightful base ready for the next step in your ice cream adventure.
Enjoy this process; it’s all part of the fun!
Step 2. Chill Mixture for One Hour
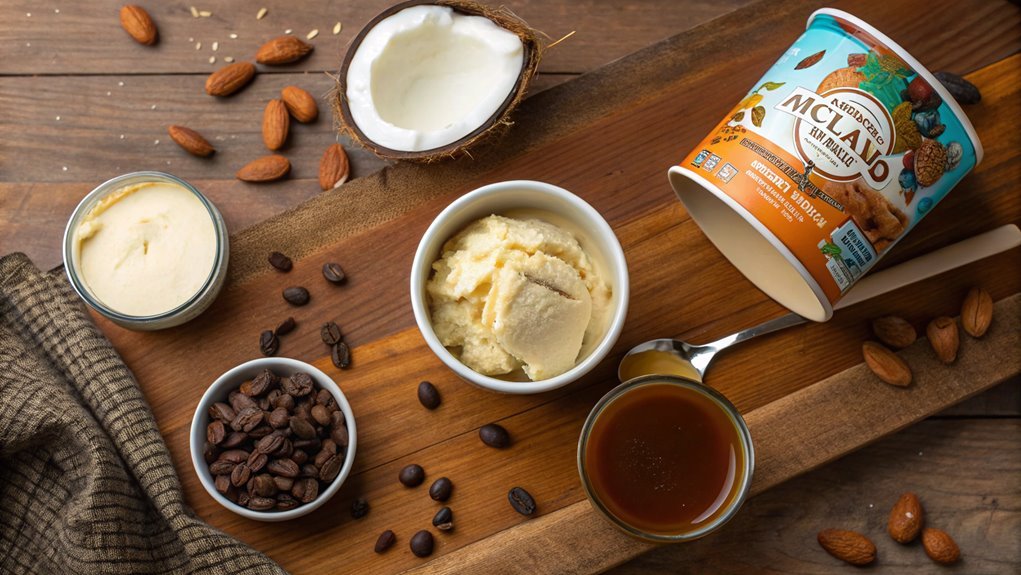
After preparing your delicious ice cream base, it’s time to let it chill. This step is essential, allowing flavors to meld and the mixture to thicken, creating that perfect, creamy texture we all crave.
Pop your bowl in the fridge, and set a timer for one hour. While you wait, it’s an excellent opportunity to dream about your soon-to-be ice cream masterpiece!
Here are three reasons why this step can be so rewarding:
- Patience Pays Off: Letting it chill enhances the flavor, making every scoop delightful and satisfying.
- Building Anticipation: The longer you wait, the more excited you’ll be to enjoy your homemade treat—think about that first taste!
- Perfect Consistency: Chilling guarantees your mixture is just right for blending later, assuring a smooth and invigorating result.
Step 3. Blend Until Smooth
Once your mixture has chilled to perfection, it’s time to blend until smooth. Grab your blender and pour in the chilled mixture, making sure to scrape every last bit from the bowl. You want all those delicious flavors to meld together!
Secure the lid tightly, and start at a low speed, gradually increasing until you achieve a nice, smooth texture. This will only take about one to two minutes, so keep an eye on it.
Feel free to stop and scrape down the sides if any mixture clings too much, ensuring everything gets blended evenly. You want a silky-smooth consistency, where every ingredient harmonizes beautifully.
Don’t rush through this step; blending is key to getting that creamy texture we all crave in ice cream.
Once you’ve achieved the perfect smoothness, take a moment to savor the aroma of your creation. It’s a sure sign that something delightful awaits!
This stage is where your vegan ice cream truly starts to come alive. Trust the process, and get excited, because you’re getting closer to enjoying your homemade treat.
Step 4. Transfer to Ice Cream Maker
Now it’s time to transfer your deliciously blended mixture to the ice cream maker. This step is where the magic really happens! Make sure your ice cream maker’s bowl is adequately chilled, ideally overnight, for the best texture.
Pour your creamy mixture into the ice cream maker, and get ready for some fun!
As the machine begins to churn, it transforms that luscious mixture into a soft-serve masterpiece. Here’s what to keep in mind:
- Watch the Time: Each ice cream maker is different, so keep an eye on it. Typically, this will take around 20-30 minutes. Don’t rush it—the longer it churns, the creamier the texture!
- Add-In Inspirations: If you want to get creative, consider tossing in some mix-ins during the last few minutes. Think chocolate chips, nuts, or chunks of fruit to elevate your treat!
- Take a Sneak Peek: Use a spatula to check the consistency every so often. You want it to be fluffy and thick, letting you know it’s almost ready.
Enjoy this exciting process—you’re so close to enjoying your homemade vegan ice cream!
Step 5. Freeze Until Firm
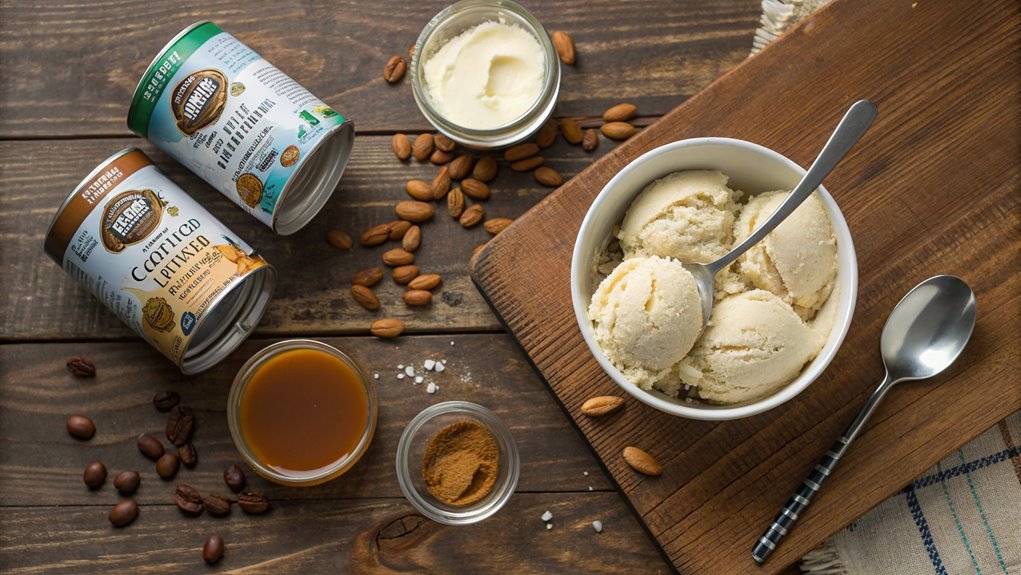
To achieve the perfect scoop of vegan ice cream, you’ll want to transfer the churned mixture into an airtight container and spread it evenly.
It’s important to guarantee that your mixture is filled to the top but not overflowing, as it needs space to expand while freezing. Now, seal the container tightly—this will help prevent ice crystals from forming, keeping your ice cream creamy and delightful.
Next, place the container in the freezer for at least four hours. This essential step allows your mixture to freeze firmly, transforming it into a delectable dessert.
If you can, resist the urge to sneak a taste until you’re ready to serve! While waiting, envision the delightful flavors you’ll enjoy. You can create a scoop of this creamy treat any time you like!
After the four-hour wait, grab an ice cream scoop and dig in! If you find it’s too hard to scoop, just let it sit at room temperature for a few minutes.
Trust me; the wait will be worth it when you taste your homemade vegan ice cream. Enjoy your creation and share it with friends or keep it all for yourself—no judgment here!
Final Thoughts
Crafting your own vegan ice cream can be a delightful experience that puts your creativity to the test. You’ll discover exciting flavors and textures that rival even the best dairy-full options. The next time you indulge, why not celebrate the joy you’ve created?
Here are a few reasons to immerse yourself in dairy-free desserts:
- Healthier Choices: You control the ingredients, allowing you to create a treat that’s not only delicious but also nutritious.
- Eco-Friendly: Making vegan ice cream contributes to a more sustainable lifestyle, showing love for our planet.
- Flexibility of Flavor: You’re free to experiment with unique ingredients, from fresh fruits to indulgent spices, creating a personal masterpiece.
As you venture into this sweet world, remember that each scoop represents your hard work and innovation.
Share your creations with friends or savor them solo—you deserve it! Enjoy the process, and don’t hesitate to adjust recipes until they fit your taste perfectly.
Embrace the art of vegan ice cream making, and relish the flavors of your imagination. So grab those ingredients, unleash your inner culinary artist, and enjoy the delicious journey ahead!
Frequently Asked Questions
Can I Use Coconut Milk for Vegan Ice Cream?
Absolutely, you can use coconut milk for vegan ice cream! Its creamy texture and natural sweetness make it perfect. Just mix it with your favorite flavors, freeze it, and enjoy a delicious, dairy-free treat any time!
How Do I Make Vegan Ice Cream Without an Ice Cream Machine?
Making vegan ice cream without an ice cream machine is like painting a masterpiece with a limited palette. Just blend your ingredients, pour them into a container, freeze, and whisk every 30 minutes until creamy perfection forms.
What Sweeteners Are Best for Vegan Ice Cream?
When choosing sweeteners for vegan ice cream, you’ll find options like maple syrup, agave nectar, or coconut sugar work well. These alternatives not only add sweetness but also enhance the flavor of your treat.
How Long Does Homemade Vegan Ice Cream Last in the Freezer?
Did you know homemade ice cream can last up to three months in the freezer? However, for the best quality and flavor, try to enjoy it within one month after making it. You won’t regret it!
Can I Add Mix-Ins to My Vegan Ice Cream?
Absolutely, you can add mix-ins to your vegan ice cream! Just fold in your favorite ingredients like fruits, nuts, or chocolate chips before freezing. It’ll enhance flavor and texture, making it even more delightful!

