Vegan Fruit Popsicles Recipe
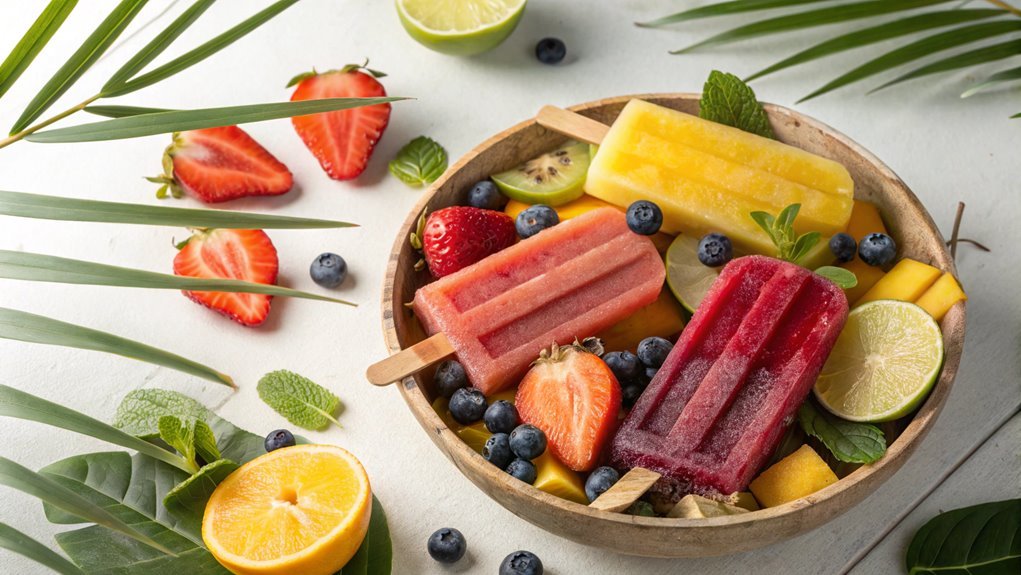
Creating refreshing snacks, exploring vibrant flavors, and using healthy ingredients can enhance your summer. Vegan fruit popsicles offer a nutritious and delightful treat that can surprise your palate.
Recipe
If you’re looking for a revitalizing treat that’s as nutritious as it’s delicious, vegan fruit popsicles are the perfect solution.
These popsicles are incredibly easy to make and allow for endless variations, depending on your favorite fruits and flavors. Not only are they dairy-free, but they’re also an excellent way to enjoy a variety of fruits in a fun and accessible form, making them a hit with both kids and adults alike.
To make your vegan fruit popsicles, you’ll need to gather some fresh or frozen fruits, a sweetener of your choice (if desired), and a liquid base, such as coconut water or fruit juice.
With just a few simple steps, you’ll be blending and pouring your way to a healthy dessert that will keep you cool on hot summer days—or anytime you need a little pick-me-up. Let’s get started on this delightful recipe!
Ingredients:
- 2 cups fresh or frozen fruit (e.g., strawberries, blueberries, mangoes, or peaches)
- 1 cup coconut water or fruit juice (e.g., orange juice or apple juice)
- 1-2 tablespoons sweetener (e.g., maple syrup, agave nectar, or honey; adjust to taste)
- Optional: fresh mint leaves for added flavor
- Optional: 1-2 tablespoons lime or lemon juice for added acidity
Now let’s move on to the cooking steps.
Cooking Steps
Let’s get started on making your delicious vegan fruit popsicles!
First, you’ll gather fresh fruits that you love and blend them together until smooth.
Once you have that perfect mixture, pour it into molds and freeze until solid — it’s that easy and oh-so-rewarding!
Step 1. Gather Fresh Fruits Together
As you commence on making delicious vegan fruit popsicles, gathering fresh fruits is crucial for the best flavor and texture. The vibrant colors and natural sweetness of fresh fruits will elevate your popsicles to a whole new level.
You’ll want to select fruits that are ripe and in season for maximum freshness.
Here are three fantastic fruit options to take into account:
- Strawberries – Their bright flavor brings a sweet yet slightly tangy goodness to your popsicles.
- Mangoes – Juicy and tropical, mangoes add a silky smooth texture that’s simply irresistible.
- Kiwi – With its unique tartness and fun green color, kiwi makes your popsicles visually appealing and invigorating.
Feel free to mix and match your favorite fruits, or even experiment with a few unusual ones!
When you gather your fruits, wash them thoroughly and verify they’re free from any blemishes. Fresh fruits don’t just guarantee flavor; they also provide essential nutrients and contribute to a healthier treat.
Step 2. Blend Ingredients Smoothly
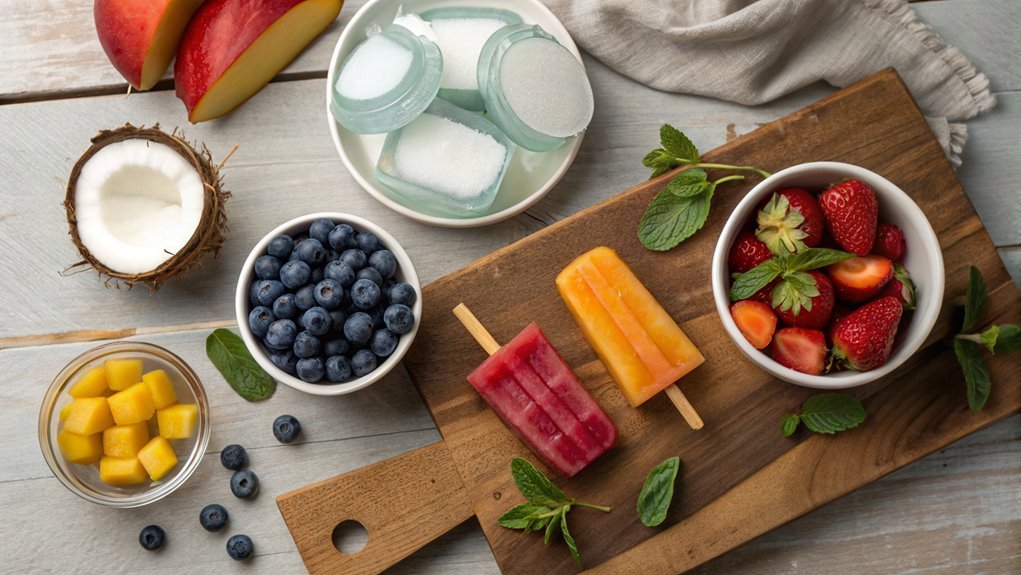
Now it’s time to blend your selected fruits into a smooth and creamy mixture. Start by adding your fresh fruits into a blender. Whether you chose juicy strawberries, ripe bananas, or tropical mangoes, make certain they’re cut into smaller pieces for easier blending.
Next, pour in any liquid you’ve decided to use—like coconut water, almond milk, or fruit juice. This will help achieve a silky texture.
Blend on medium speed for about 30 seconds, until you see everything combining beautifully. If you notice any chunks sticking to the sides, pause the blender and scrape them down with a spatula. This guarantees every bit of fruit gets blended evenly.
If you prefer a lighter consistency, feel free to add a bit more liquid.
For a touch of sweetness, you might want to include a sweetener like maple syrup or agave nectar. Blend again for another 10–15 seconds to mix everything thoroughly.
When you’re happy with the texture, turn off the blender and admire your colorful, fruity concoction! The vibrant mixture you’ve created will be the base for invigorating and delicious popsicles that everyone will love!
Step 3. Pour Into Molds
Once you’ve achieved that perfect blend, grab your popsicle molds and start pouring in the fruity mixture. This is where the fun begins! Carefully fill each mold, making sure to leave a little space at the top, as the mixture might expand when frozen.
It’s truly satisfying to watch the vibrant colors of your fruit blend fill each compartment.
Here’s how to make the most of this step:
- Use a Funnel: If you have one handy, a funnel can really help minimize spills. It’s especially useful for filling smaller molds.
- Add Extras: If you want, toss in some chopped fruit or herbs like mint before sealing them up. This adds a delightful surprise and a burst of flavor.
- Insert Sticks: Don’t forget to insert the popsicle sticks into the molds. Make sure they’re centered so that you’ll have perfectly balanced popsicles once they’re frozen.
Each step gets you closer to enjoying a revitalizing, homemade treat!
Step 4. Freeze Until Solid
After you’ve filled your molds and inserted the sticks, the next step is to freeze the popsicles until they’re solid. This part may feel like the longest wait of your life, but trust me, it’s worth it!
Slide those molds into the freezer and set a timer for at least four to six hours. If you can resist, let them freeze overnight for the best results.
While you’re waiting, think about all the delicious flavors you just created. The anticipation makes it even more exciting! Make certain your freezer is set to a steady temperature, as fluctuations can affect the texture of your popsicles.
Once the time’s up, check to see if they’re frozen hard. You can gently press the sides of the molds to test. If they’re solid, it’s showtime! If you’re feeling adventurous, you could even pop them in for an extra hour, just to be sure.
When you finally take them out, you’ll be greeted with delightful, colorful, and invigorating treats. This homemade goodness isn’t just healthy; it’s a burst of joy on a stick, perfect for any hot day!
Enjoy the delightful reward for your patience!
Step 5. Add Optional Sweeteners
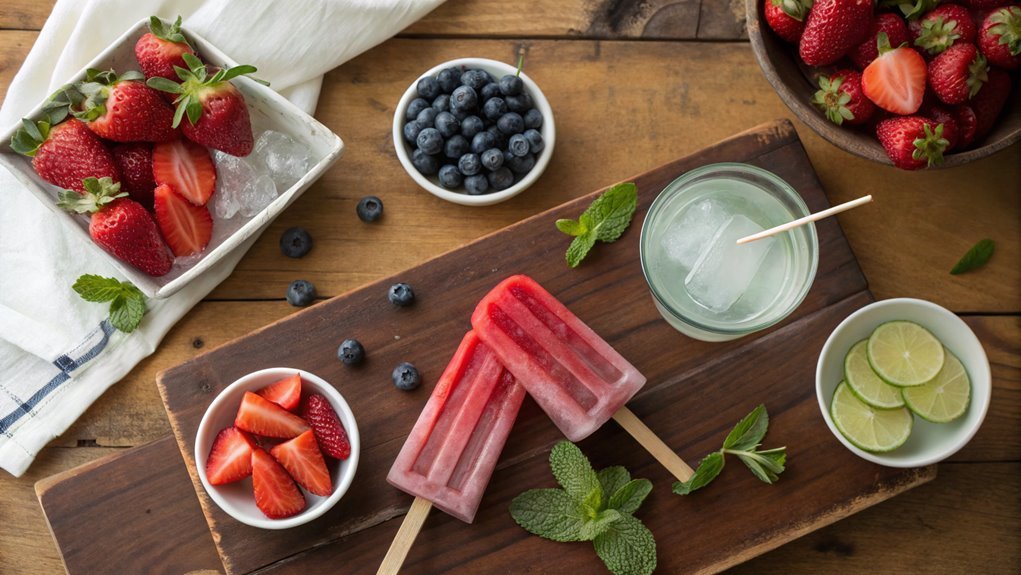
While the popsicles are freezing, you might want to enhance their flavor with some optional sweeteners. Adding just a touch of sweetness can elevate the overall taste and make your vegan fruit popsicles even more delightful.
Let’s look at a few sweetener options to ponder.
- Maple Syrup: A classic choice! Its rich flavor pairs wonderfully with fruits like strawberries and peaches. Just a tablespoon can add a warm, natural sweetness.
- Agave Nectar: This liquid sweetener is light and has a mild taste. It dissolves easily, making it perfect for blending into your fruit mixtures. It’s also a great option if you prefer something lower on the glycemic index.
- Coconut Sugar: If you want a more caramel-like flavor, try coconut sugar. It’s unrefined and retains some nutrients, adding a unique depth without overpowering your fruit’s natural taste.
Don’t hesitate to play around with these sweeteners; the key is to find the perfect balance that suits your palate.
Sweetening your popsicles is a fun way to experiment with flavors, so go ahead and make them your own!
Final Thoughts
As you savor your delicious vegan fruit popsicles, you might reflect on how simple ingredients can create such invigorating treats. These popsicles not only cool you down but also pack each bite with vibrant flavors and nutrients.
Making them is a joyful experience, allowing you to explore endless combinations of fruits and flavors. Don’t hesitate to experiment! You can add your favorite fruits, blend in some heat with jalapeños, or swirl in a bit of coconut milk for creaminess.
Each batch presents a new opportunity to surprise your taste buds. Plus, they’re a fantastic way to use up overripe fruit, making this not just a treat but also a sustainable choice.
Gather your family or friends, and let everyone join in on the fun. Kids love helping out in the kitchen, especially when they know they’ll enjoy the delicious results!
Frequently Asked Questions
Can I Use Frozen Fruit Instead of Fresh Fruits?
Absolutely, you can use frozen fruit instead of fresh! It’s convenient, and frozen fruit often retains nutrients well. Just make sure to thaw it slightly for easier blending and to achieve a smooth consistency.
How Long Do Homemade Popsicles Last in the Freezer?
Homemade popsicles can typically last in the freezer for about 6 to 8 weeks if stored in an airtight container. Just make sure you label them so you know when to enjoy those sweet treats!
Are These Popsicles Suitable for Kids?
Absolutely, these popsicles are perfect for kids! They’re made from wholesome fruits, are free from artificial ingredients, and can be a fun way to keep them cool and healthy on hot days. Kids’ll love ’em!
Can I Add Sweeteners to the Recipe?
Yes, you can add sweeteners to the recipe. Choose natural options like agave syrup or maple syrup. Just adjust the sweetness according to your taste, and remember to balance it with the fruit’s natural flavors.
What Equipment Do I Need for Making Popsicles?
To create frozen delights, you’ll need popsicle molds, a blender for pureeing fruits, and a freezer. It’s a simple setup that transforms nature’s sweetness into revitalizing treats you can enjoy any time.
