Gingerbread House Recipe
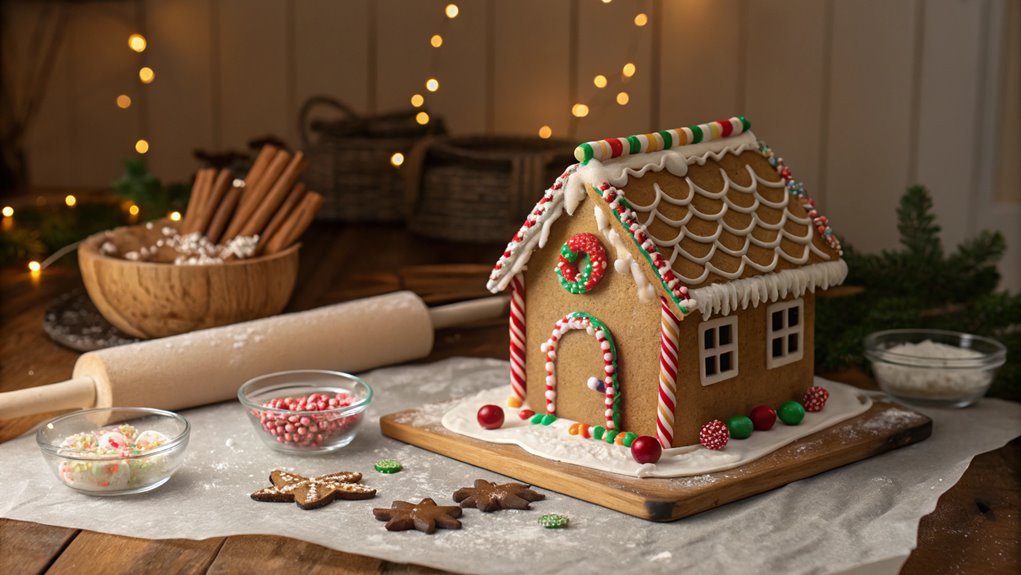
Gingerbread house building dates back to early 19th-century Germany. As you gather your ingredients, you’ll find the process both rewarding and creative. There’s a method to the madness, and knowing the right steps is crucial. What essential techniques and tips ensure your gingerbread house stands tall throughout the season?
Recipe
Creating a gingerbread house is a delightful and festive activity that brings joy to both children and adults alike. The sweet aroma of ginger, cinnamon, and molasses wafting through your kitchen will instantly lift your holiday spirit.
This project can be a fun family tradition, allowing everyone to contribute their creativity in decorating. As you prepare your gingerbread, remember to set aside time for cooling, as crafting a sturdy house requires some patience.
To start your gingerbread house adventure, you’ll need a few essential ingredients. Make sure to gather your supplies in advance, including royal icing to hold your house together and to decorate. You can use candy, sprinkles, and other treats to personalize your masterpiece.
The process can get a little messy, but the result is a charming and edible decoration that will impress all your guests.
Ingredients:
- 3 cups all-purpose flour
- 1 teaspoon baking soda
- 1 tablespoon ground ginger
- 1 tablespoon ground cinnamon
- ½ teaspoon ground cloves
- ½ teaspoon salt
- 1 cup unsalted butter, softened
- 1 cup brown sugar, packed
- 1 cup molasses
- 1 large egg
- 1 teaspoon vanilla extract
- Royal icing (for assembling and decorating)
- Assorted candies (for decoration)
Now let’s move on to the cooking steps.
Cooking Steps
Now it’s time to jump into the cooking steps that will bring your gingerbread house to life!
Start by gathering all your ingredients to set yourself up for success, then mix the dry ingredients together to create that perfect dough.
As you roll it out and assemble your gingerbread pieces, you’ll feel the excitement building, ready to decorate with royal icing and truly make your creation stand out!
Step 1. Gather Your Ingredients First
Before diving into your gingerbread house adventure, it’s essential to gather all your ingredients. This step sets the stage for your creative culinary journey, ensuring you have everything you need on hand. You won’t want to scramble for items later while your dough is waiting!
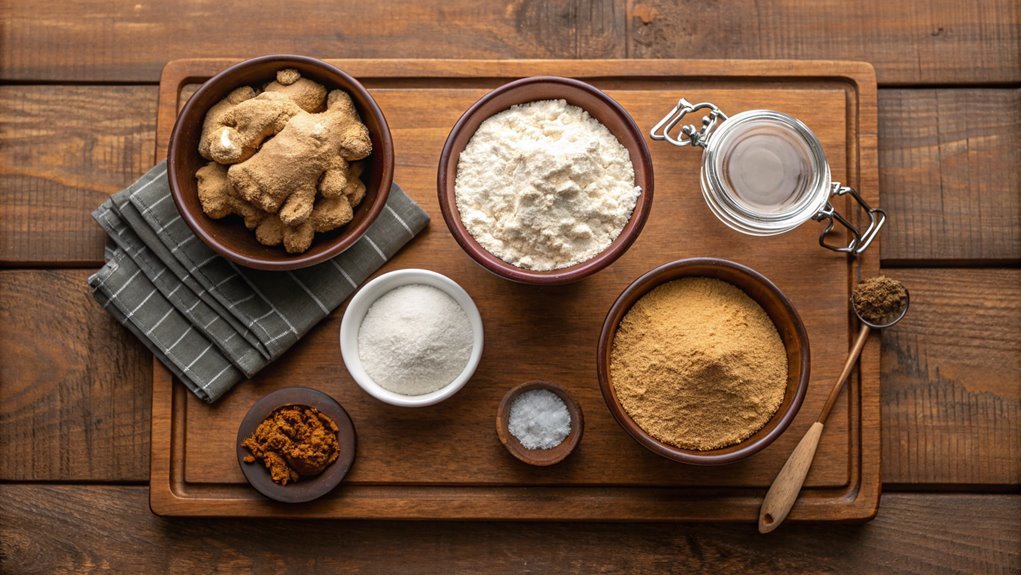
Start by collecting flour, brown sugar, ground ginger, cinnamon, and baking soda for your spicy, flavorful base. Don’t forget the unsalted butter and molasses, as they bring richness and depth to your dough. You’ll also need eggs for binding and a pinch of salt to balance those sweet and spicy flavors.
Now, let’s talk candy! Gather your favorite decorations like gumdrops, candy canes, and icing. These will help transform your gingerbread structure into a festive masterpiece.
Last but not least, grab some parchment paper and a rolling pin to make the shaping process smooth and fun.
With everything ready, you’re not just preparing to bake; you’re setting yourself up for an enjoyable, hands-on experience. So, take a moment to check your pantry and get excited! Creating a gingerbread house is more than just a recipe; it’s a delightful creative project waiting for you.
Step 2. Mix Dry Ingredients Together
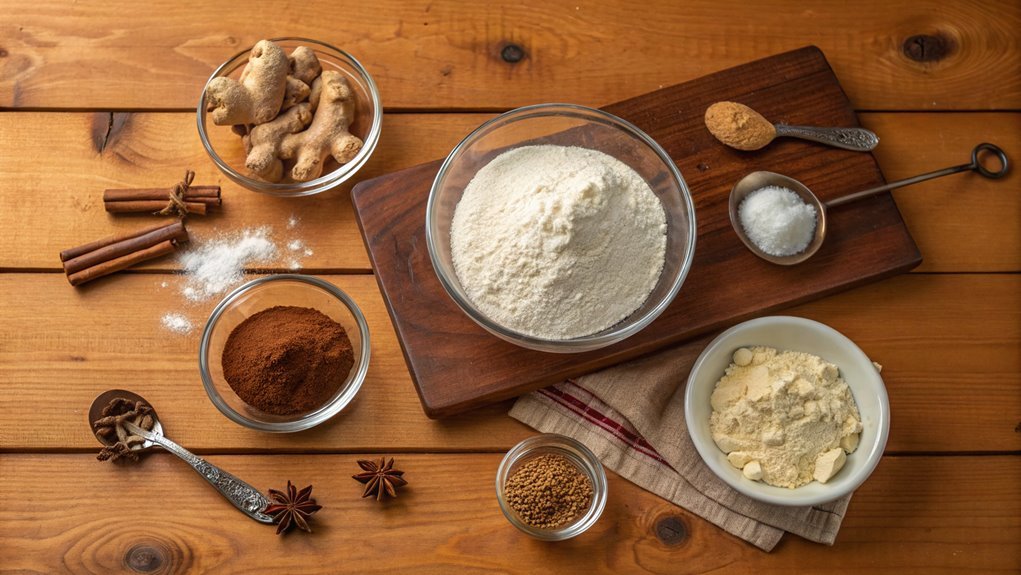
As you gear up for baking, mixing your dry ingredients properly is vital for achieving that perfect gingerbread dough. Start by measuring out your flour, ginger, cinnamon, nutmeg, baking soda, and salt. Be certain to use precise measurements, as baking is a science that thrives on accuracy.
Once you’ve gathered your ingredients, it’s time to blend them! In a large mixing bowl, whisk together the flour and spices until they’re well combined. This step not only incorporates the flavors but also helps aerate the flour, which contributes to a lighter texture.
Don’t rush through this process; take your time to guarantee everything’s evenly mixed. If you see any lumps, break them up gently with your whisk.
Next, adding baking soda is essential because it gives your gingerbread that delightful rise. Finally, don’t forget the salt—it enhances the overall flavor and balances the sweetness of the dough.
Once you’ve mixed your dry ingredients, you’re one step closer to creating a deliciously fragrant gingerbread house. Get excited for the next stage because soon, you’ll transform these simple ingredients into something magical! Happy baking!
Step 3. Roll Out the Dough
Grab your rolling pin and get ready to roll out the dough! This step is a joyful part of creating your gingerbread house. You’ll want to make certain your work surface is lightly dusted with flour to prevent sticking.
Take a good amount of dough and place it on the surface, then use your rolling pin to spread it evenly to about a quarter-inch thickness. This thickness is key; it guarantees your pieces will hold together when you assemble your house later.
Now that you’ve rolled out the dough, cut it into the shapes you need for your gingerbread house. Whether it’s walls, a roof, or embellishments, just be precise with your cuts for a better fit!
Remember these important tips:
- Keep the dough cold to avoid it becoming too soft.
- Use different cookie cutters for fun shapes and designs!
- Gather extra scraps to re-roll for additional pieces.
- Be patient; take your time to make each cut even.
You’re one step closer to building your delicious gingerbread masterpiece! Let the excitement of creativity flow as you envision your house taking shape.
Step 4. Assemble the Gingerbread Pieces
Once you’ve cut out all your gingerbread pieces, it’s time to bring them together and create your house. Start by preparing a batch of royal icing—this sticky, sweet mixture will act as your glue.
Lay out your base piece on a sturdy plate or board, ensuring it’s secure and positioned the way you want your house to face.
Take the two side walls and pipe icing along the edge where they’ll meet the base. Gently stand the walls up, and use additional icing to secure the bottom. Press the walls together, and hold them for a few moments until they start to set.
Next, add the back wall, applying icing in the same manner.
For the front of the house, it’s time to add a fun touch—if you’re using a door or windows, position them now! Pipe icing to attach the front wall, just like the previous steps.
Allow the structure to sit and harden for about 20 minutes. This is essential; a solid foundation makes decorating much easier later on!
Take a moment to admire your hard work—you’re one step closer to a beautiful gingerbread masterpiece!
Step 5. Decorate With Royal Icing
Now that your gingerbread house is stable, you can release your creativity and begin decorating with royal icing. This magical icing acts as both a glue and a canvas for your artistic flair! Grab a piping bag, fill it with your royal icing, and start your masterpiece. Outline the windows, add some beautiful snowflakes, or create charming icicles hanging from the roof.
Don’t forget, royal icing can be used for more than just the house; you can decorate your surroundings too! Here are some fun ideas to inspire you:
- Bright candy accents: Use colorful candies for a playful touch.
- Textured details: Pipe patterns for added depth and character.
- Miniature figures: Bring your scene to life with tiny edible decorations.
- Natural elements: Sprinkle some edible glitter for a magical effect.
Have fun with it! It’s all about expressing yourself and enjoying the process.
Once you’re finished, step back and admire your work of art. You’ll find that decorating with royal icing isn’t only rewarding but also a delightful way to bond with family and friends. Let your imagination run wild!
Final Thoughts
As you wrap up your gingerbread house creation, remember that the journey of building and decorating can be just as enjoyable as the final product.
You’ve mixed, baked, and crafted something truly special, and that’s a big achievement! Each moment spent shaping your gingerbread house and adding those lovely decorations brings a wave of creativity and cheer.
Don’t forget, it’s all about the experience as much as the result. Invite friends or family to join you, turning the decorating session into a festive gathering.
Share stories as you pipe out royal icing and arrange sweets on your masterpiece.
Once you’ve finished, step back and admire your work! Take pride in your unique design and the flavors you’ve created.
You can even use this opportunity to start new family traditions that revolve around gingerbread making.
Frequently Asked Questions
Can I Use Gluten-Free Flour for the Gingerbread House?
Absolutely, you can use gluten-free flour for your project! Just make sure to choose a suitable blend that mimics regular flour’s texture. Adjust the liquid accordingly, and you’ll create a delicious, gluten-free treat!
How Long Does It Take to Make a Gingerbread House?
It typically takes about 1 to 2 hours to make a gingerbread house, depending on your experience and the complexity of your design. Don’t forget to factor in cooling time for the pieces too!
What Can I Use for Decorations Besides Candy?
You can get creative with decorations by using dried fruits, nuts, or even pretzels. Try cereal, cookie pieces, or fondant shapes too. The possibilities are endless—just let your imagination run wild!
How Do I Store a Gingerbread House?
You can use an airy, clear container, ensuring your gingerbread house sits untouched, safe from moisture. Cover it with a breathable cloth; it’ll keep its charm while you admire your handiwork for days to come.
Will a Gingerbread House Stay Intact in Humid Conditions?
Yes, a gingerbread house might struggle in humid conditions. The moisture can soften the structure and decorations. To keep it intact, consider placing it in a cool, dry area away from any humidity sources.
