Almond Flour Brownie Recipe

Can you enjoy brownies that are both indulgent and gluten-free? Almond flour brownies may surprise you with their rich flavor, challenging your notions about healthier desserts.
With simple ingredients and easy steps, you can create a guilt-free treat that satisfies your sweet tooth. Discover what makes these brownies unique and how to customize them to elevate your dessert game.
Recipe
Almond flour brownies are a delicious and gluten-free alternative to traditional brownies. Using almond flour not only adds a nutty flavor but also provides a moist and chewy texture that’s hard to resist.
These brownies are perfect for satisfying your sweet tooth while still being mindful of dietary restrictions. They’re quick to make and can be enjoyed as a treat any time of the day.
In addition to being gluten-free, these brownies are also lower in carbohydrates than regular brownies, making them a great option for those following a low-carb or ketogenic diet.
With the rich taste of cocoa and the sweetness of your choice of sweetener, these brownies are sure to be a hit with everyone, regardless of their dietary preferences. So grab your mixing bowl and let’s get started on this scrumptious almond flour brownie recipe!
Ingredients:
- 1 cup almond flour
- 1/2 cup unsweetened cocoa powder
- 1/2 cup sweetener of choice (like erythritol or coconut sugar)
- 1/4 cup melted coconut oil or unsalted butter
- 3 large eggs
- 1 teaspoon vanilla extract
- 1/2 teaspoon baking powder
- 1/4 teaspoon salt
- Optional: 1/2 cup chocolate chips or nuts for added texture
Now let’s move on to the cooking steps.
Cooking Steps
Let’s get started on making those delicious almond flour brownies!
First, you’ll want to preheat your oven to 350°F, which sets the perfect stage for baking.
Next, mix your dry ingredients thoroughly, then fold in those scrumptious chocolate chips to create a rich, mouthwatering batter that’s sure to impress!
Step 1. Preheat Oven to 350°F
Before diving into mixing your ingredients, you’ll want to preheat your oven to 350°F. This step is essential for ensuring that your almond flour brownies bake evenly and come out perfectly gooey and delicious!
As the oven warms up, you can start to get excited about the rich chocolatey aroma that’s about to fill your kitchen.
Here’s what you’ll want to do while the oven heats:
- Imagine the warm, fudgy texture of brownies melting in your mouth.
- Picture the rich, chocolatey flavor blending harmoniously with the nutty almond flour.
- Think about the delightful contrast of a crispy top and a soft, gooey center.
- Anticipate the joy of sharing these treats with family and friends.
- Envision indulging in a warm brownie, paired with a scoop of ice cream.
Once your oven reaches that perfect temperature, you can confidently start mixing your ingredients!
Getting this step right sets the stage for a delightful baking experience. So take a moment to savor the anticipation, and let that oven work its magic.
You’re on your way to creating something truly special! Happy baking!
Step 2. Mix Dry Ingredients Thoroughly
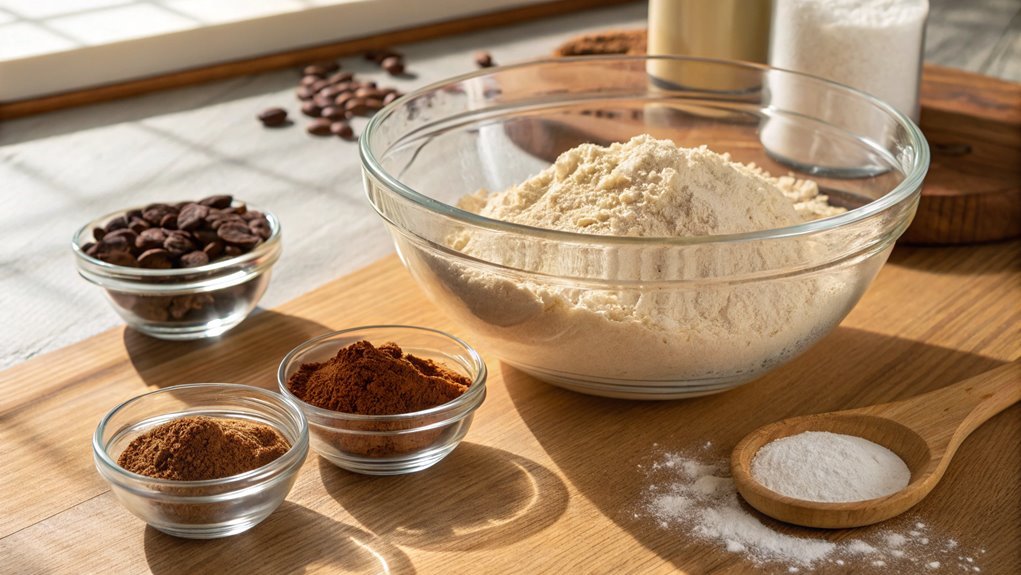
To create the perfect almond flour brownies, start by mixing your dry ingredients thoroughly. This step is essential for achieving that rich, uniform flavor and texture you crave.
Grab a large mixing bowl, and combine the almond flour, cocoa powder, baking soda, and a pinch of salt. Using a whisk or a fork, blend them together until you don’t see any lumps. This guarantees even distribution of the cocoa and baking soda, which is key for a delightful rise and that fudgy consistency.
Don’t rush this part! Take your time to really incorporate everything well. You want each bite of brownie to have that intense chocolate flavor.
If you have a sifter, consider using it for the cocoa powder; it can help break up any clumps and make your mixture even lighter. Once everything’s well mixed, you might even feel the excitement building for the next steps.
You’re one step closer to those delicious brownies! Just remember, the better the dry ingredients are mixed, the more satisfying your brownies will turn out. So roll up your sleeves, get mixing, and let that baking magic begin!
Step 3. Fold in Chocolate Chips
Gently fold in the chocolate chips, allowing their rich, melty goodness to blend seamlessly with your brownie batter. This step is vital because those chocolate chips will create pockets of indulgence in each bite.
You’ll want to keep the batter light and airy, so use a spatula to lift and turn the mixture, guaranteeing everything’s evenly combined.
Picture those chocolate chips waiting to melt into your brownies:
- Semi-sweet chocolate chips that add just the right amount of sweetness.
- Dark chocolate chunks for a bold, rich flavor that sings.
- Milk chocolate morsels that provide a creamy contrast.
- White chocolate chips for a delightful surprise in every bite.
- Peanut butter chips if you’re feeling adventurous and want to take it to the next level!
As you fold, imagine how these flavors will come together, creating a decadent treat that’s hard to resist.
Don’t rush this step; take your time to guarantee each chip is nestled in the batter, ready to melt into a gooey delight. Your brownies will thank you for it!
Step 4. Pour Batter Into Pan
Carefully pour the brownie batter into your prepared pan, ensuring an even layer that will bake uniformly. This step is essential because an even distribution helps the brownies cook evenly and prevents any soggy spots. Use a spatula to scrape every last bit of that delicious mixture from the bowl. You won’t want to leave any behind!
Once you’ve poured the batter, gently spread it with the spatula to reach the corners of the pan. Take your time with this; it’s worth the effort! If you want, you can even give the pan a little tap on the counter to eliminate any air bubbles lurking in the batter. Those bubbles can affect the texture of your brownies, so it’s a small but helpful trick.
As you look at your pan filled with rich, chocolatey goodness, imagine the delightful treats that await you. It’s almost time to immerse yourself in that warm, fudgy bliss.
But first, make sure you’ve got everything set for the next step. You’re just moments away from a delicious batch of almond flour brownies that will have everyone asking for the recipe! Enjoy this part of the process; it’s the beginning of something wonderful!
Step 5. Bake for 25 Minutes
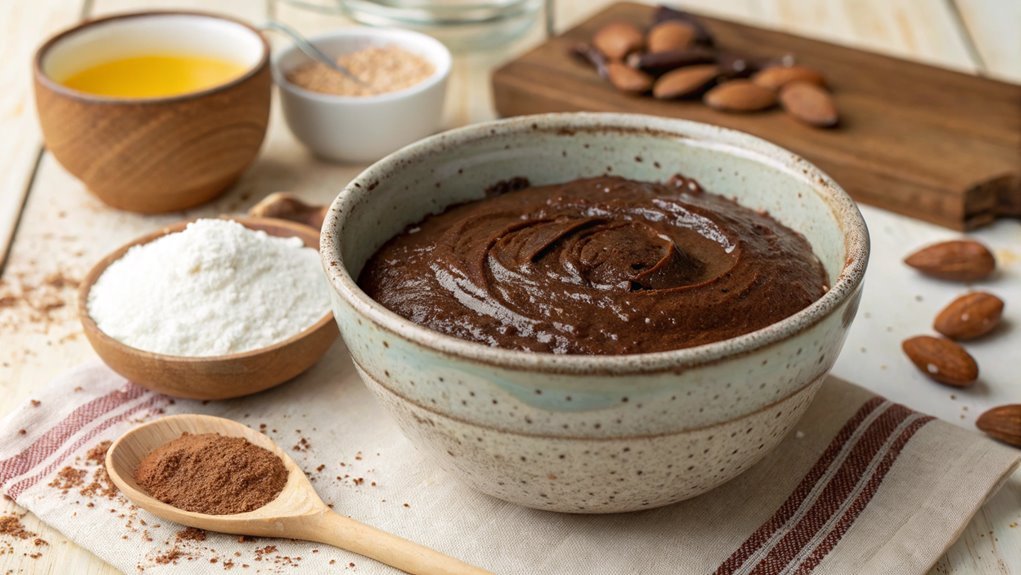
Now that your brownie batter is evenly spread in the pan, it’s time to bake! Preheat your oven to 350°F (175°C) and carefully place the pan inside. You’ll want to set a timer for 25 minutes.
While the brownies are baking, you can imagine the delightful aroma filling your kitchen, making your mouth water in anticipation.
As the brownies bake, keep an eye on them. You’ll know they’re ready when the edges look firm and the center has a slight jiggle.
Here’s what you can look forward to when you open the oven:
- The rich, chocolatey scent wafting through the air
- The glossy top forming a beautiful crust
- The edges crisping up just perfectly
- The center softening into a fudgy texture
- A golden-brown hue that signals deliciousness
Once the timer goes off, take a moment to let the brownies cool in the pan for a few minutes. This step helps them firm up, making it easier to cut them later.
You’re just a step away from indulging in these almond flour brownies, so get ready for a treat that’s both healthy and utterly delicious!
Final Thoughts
As you savor the rich, fudgy goodness of your almond flour brownies, it’s clear that this gluten-free alternative can deliver on taste without sacrificing texture.
The combination of almond flour, cocoa powder, and sweeteners creates a decadent treat that even non-gluten-free eaters will love. You’ve taken a simple recipe and transformed it into a delightful dessert that’s both satisfying and nourishing.
Baking with almond flour opens up a world of possibilities. Each bite is a reminder that you can enjoy sweet treats while still being mindful of dietary restrictions.
You can also experiment by adding nuts, chocolate chips, or even a swirl of peanut butter for a unique twist.
Don’t be afraid to make this recipe your own! Share it with friends and family, and watch their faces light up with joy as they taste these delicious brownies.
Frequently Asked Questions
Can I Substitute Almond Flour With Regular Flour?
You can substitute almond flour with regular flour, but keep in mind the texture and flavor will change. Regular flour absorbs moisture differently, so you might need to adjust your liquid ingredients accordingly.
How Should I Store Leftover Brownies?
You’ve got delicious brownies, but what’s the best way to store them? Keep them airtight at room temperature for up to three days, or refrigerate for a week. Just don’t freeze them if you can help it!
Are Almond Flour Brownies Gluten-Free?
Yes, almond flour brownies are gluten-free! Since almond flour is made from ground almonds and contains no wheat, you’re safe to enjoy them if you’re avoiding gluten. Just double-check other ingredients to confirm they’re gluten-free too.
Can I Add Nuts or Chocolate Chips?
Sure, you can absolutely add nuts or chocolate chips! Just fold them in gently before baking. It’ll enhance the flavor and texture, making your brownies even more delightful. Enjoy experimenting with your favorite mix-ins!
How Long Do These Brownies Take to Bake?
You’ll typically bake brownies for about 20 to 25 minutes at 350°F. Keep an eye on them towards the end; they’re done when a toothpick inserted in the center comes out with a few moist crumbs.
Conclusion
You’ll love these almond flour brownies! With up to 6 grams of protein per ounce, almond flour offers a fantastic boost for a dessert. These brownies are delicious and a healthier option for your lifestyle. Gather your ingredients and try this easy recipe for chewy, chocolatey delights. Enjoy every bite!


