Peanut Butter Ice Cream Recipe
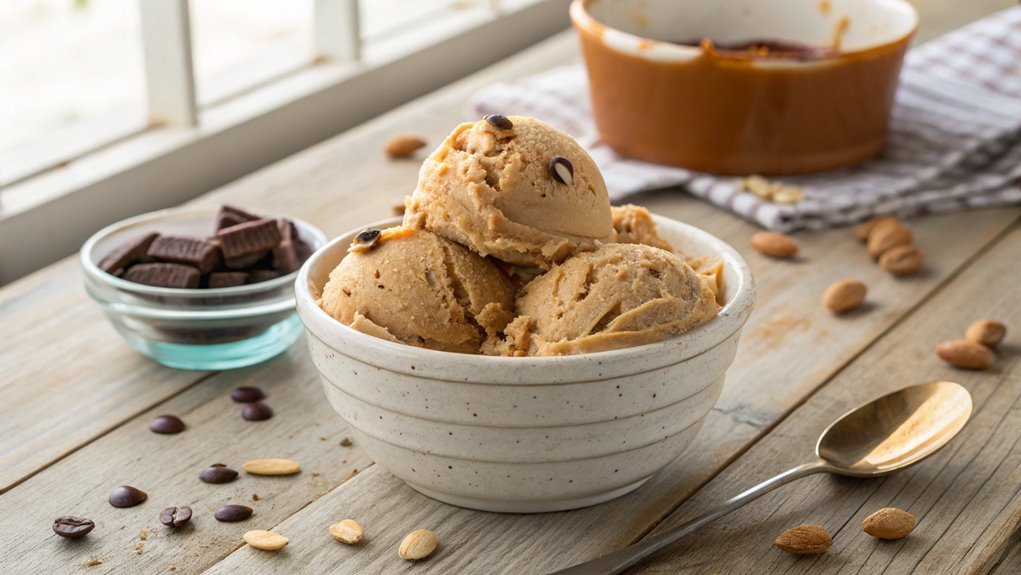
Peanut butter ice cream can be made with just a few common ingredients found at home, satisfying your sweet cravings. This simple recipe lets you customize flavors and textures without needing an ice cream maker.
Discover how to achieve a creamy consistency and explore tips for mix-ins that enhance the taste. Follow these straightforward steps to create your own delightful version of this treat.
Recipe
Peanut butter ice cream is a creamy, indulgent treat that combines the rich, nutty flavor of peanut butter with the smooth texture of ice cream. Perfect for hot summer days or as a delightful dessert any time of the year, this recipe is simple enough to make at home with just a few basic ingredients.
Whether you’re a peanut butter lover or just looking for a new ice cream flavor to try, this recipe will surely satisfy your sweet tooth.
To start, gather your ingredients and prepare your ice cream maker according to the manufacturer’s instructions. The mix of peanut butter and heavy cream creates a decadent base that’s both easy to whip up and incredibly delicious.
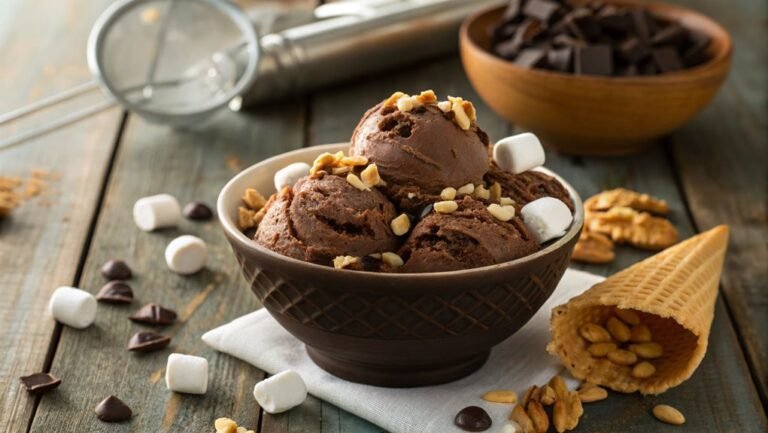
Once you combine the ingredients and churn them to perfection, you’ll have a homemade treat that rivals any store-bought option. Serve it in bowls or cones, and feel free to add your favorite toppings, such as chocolate chips, chopped peanuts, or drizzles of chocolate syrup.
Ingredients:
- 2 cups heavy cream
- 1 cup whole milk
- 3/4 cup creamy peanut butter
- 3/4 cup granulated sugar
- 1 teaspoon vanilla extract
- 1/4 teaspoon salt
Now let’s move on to the cooking steps.
Cooking Steps
Now that you’ve got your ingredients ready, it’s time to jump into the cooking steps that’ll bring your peanut butter ice cream to life!
You’ll start by blending the peanut butter mixture to create that creamy goodness you crave, then chill the mixture for two hours to enhance the flavors.
After that, it’s all about churning it in your ice cream maker, and before you know it, you’ll be ready to serve and enjoy a delicious homemade treat!
Step 1. Gather Ingredients and Tools
Before diving into making your delicious peanut butter ice cream, you’ll need to gather all the necessary ingredients and tools. Getting everything ready not only makes the process smoother but also heightens your excitement to create a treat that everyone will love!
Here’s a quick checklist to help you out:
- Ingredients: You’ll need creamy peanut butter, heavy cream, milk, sugar, and vanilla extract. Each of these components plays a key role in achieving that rich, delightful flavor.
- Mixing Tools: Grab a mixing bowl and a whisk or an electric mixer. You’ll want to guarantee everything is well combined for a smooth texture.
- Freezing Equipment: If you have an ice cream maker, great! If not, a freezer-safe container will work just fine.
Once you’ve got your ingredients and tools ready, you’re well on your way to creating a mouthwatering peanut butter ice cream that will impress your family and friends.
Just the thought of that creamy, nutty goodness melting in your mouth is enough to get you excited. So, let’s get everything together and prepare for the fun ahead!
Step 2. Blend Peanut Butter Mixture
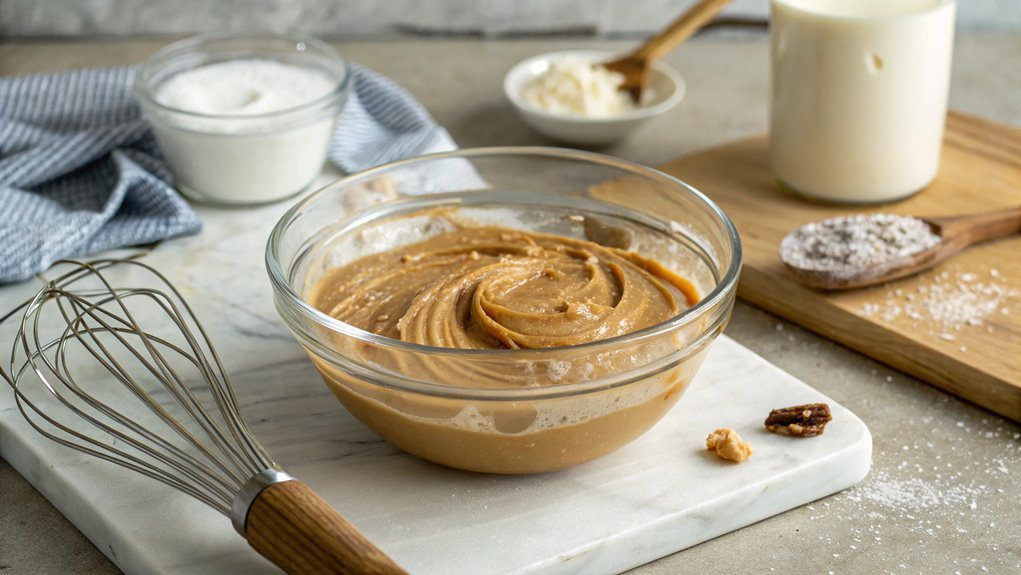
Start by combining the creamy peanut butter with sugar in a mixing bowl until it’s smooth and well-blended. You want that delightful peanut butter flavor to shine through, so take your time with this step.
Next, slowly add in the heavy cream and whole milk. As you pour, use a whisk or electric mixer to blend everything together. This will create a luscious, creamy base that’s perfect for your ice cream.
Once the cream mixture is fully combined, it’s time to add a pinch of salt and a splash of vanilla extract. These ingredients will enhance the flavors and balance the sweetness. Make sure to mix thoroughly, so every bite packs a punch of deliciousness.
You’ll notice the mixture becoming thicker and richer as you blend. That’s exactly what you want! Make sure there are no lumps left behind, as a smooth texture is key to achieving the perfect ice cream.
Once you’re satisfied with the consistency, take a moment to admire your creation. It’s almost time to turn this delightful mixture into a frozen treat that everyone will love! So, let’s get ready for the next exciting step!
Step 3. Chill Mixture for Two Hours
With your creamy peanut butter mixture perfectly blended, it’s time to chill it for two hours. This step is essential because it allows the flavors to meld beautifully, creating that irresistible taste you crave.
Plus, the colder mixture will result in a smoother texture once you churn it!
Here’s how to make the most of this chilling phase:
- Cover It Up: Pour your mixture into an airtight container or cover it with plastic wrap. This helps prevent any unpleasant odors from your fridge from affecting your ice cream.
- Choose the Right Spot: Place your container in the coldest part of your refrigerator. You want to make certain it chills evenly and thoroughly.
- Set a Timer: Don’t forget to set a timer for two hours! It’s easy to get distracted, but this chilling time is key for a creamy, decadent ice cream.
After the two hours are up, you’ll be one step closer to enjoying your homemade peanut butter ice cream.
It’s going to be worth the wait, so hang in there! Get ready to churn it into the delightful treat you’ve been dreaming about!
Step 4. Churn in Ice Cream Maker
Now it’s time to churn your chilled peanut butter mixture in the ice cream maker. Begin by pouring the mixture into the machine, making sure it’s evenly distributed.
Turn on the ice cream maker and let it work its magic! You’ll want to churn the mixture for about 20 to 25 minutes, or until it reaches a thick, creamy consistency. Keep an eye on it, as the process is truly mesmerizing—watching your mixture transform into ice cream is exciting!
As it churns, the mixture will gradually thicken, and you’ll smell the delightful aroma of peanut butter wafting through your kitchen. This is the moment you’ll really start to feel the anticipation building.
If your ice cream maker has a lid, make sure to keep it closed to maintain the cold temperature.
Once your ice cream reaches the desired consistency, turn off the machine. You might be tempted to dip in right away, but hold on! You’ll soon have a delicious treat that’s ready to be stored or served.
Enjoy the process and the intoxicating scent of homemade peanut butter ice cream as you await the next step!
Step 5. Serve and Enjoy!
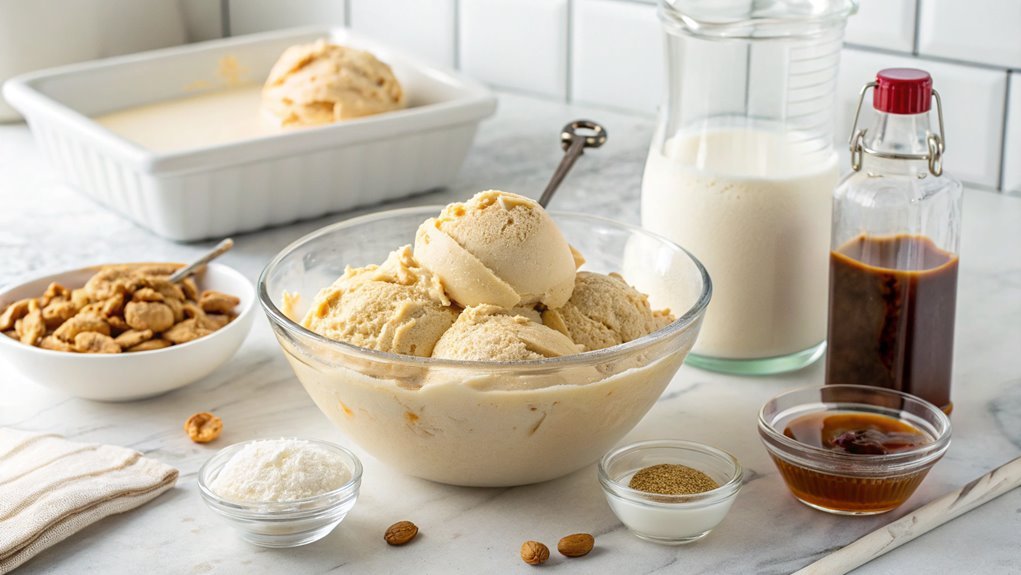
Once your peanut butter ice cream has reached that perfect creamy consistency, it’s time to serve and enjoy! This is the moment you’ve been waiting for, and there’s nothing quite like indulging in your homemade treat.
Here’s how to make the experience even better:
- Scoop Generously: Use a large ice cream scoop to serve generous portions into bowls or cones. Don’t be shy—this is your creation!
- Add Toppings: Get creative with toppings! Drizzle some chocolate syrup, sprinkle crushed peanuts, or add a dollop of whipped cream for an extra touch of decadence.
- Share the Joy: Ice cream is always better when shared. Invite friends or family to join in, and watch their faces light up with delight as they taste your delicious creation.
As you dig into your rich, creamy peanut butter ice cream, savor every bite. Feel the satisfaction of making something extraordinary from scratch.
Whether it’s a hot summer day or a cozy evening, this treat is sure to bring smiles. Don’t forget to store any leftovers in an airtight container, and enjoy your delightful creation again soon!
Final Thoughts
As you savor your homemade peanut butter ice cream, it’s clear that this delightful treat can elevate any occasion.
Whether you’re celebrating a birthday, enjoying a warm summer afternoon, or just treating yourself, this creamy dessert is bound to impress. The rich, nutty flavor of peanut butter paired with the sweet, smooth ice cream creates a mouthwatering experience that you won’t soon forget.
Making this ice cream isn’t only satisfying but also a wonderful way to showcase your culinary skills.
You’ll find that the process is straightforward and enjoyable, allowing you to connect with the ingredients and create something special. Plus, you can customize it! Add chocolate chips, swirl in some fudge, or toss in crushed peanuts for an extra crunch.
Frequently Asked Questions
Can I Use Crunchy Peanut Butter Instead of Creamy?
You can absolutely use crunchy peanut butter instead of creamy! It’ll add a delightful texture and flavor to your dish. Just keep in mind that the final outcome may be a bit chunkier than expected.
How Long Does Homemade Peanut Butter Ice Cream Last in the Freezer?
Like a treasure chest, homemade peanut butter ice cream can last up to two weeks in the freezer. After that, its texture and flavor may start to fade. Enjoy it fresh for the best experience!
Can I Make This Recipe Dairy-Free?
Yes, you can easily make this recipe dairy-free! Substitute regular milk with almond, coconut, or oat milk, and use dairy-free peanut butter. You’ll still enjoy a creamy, delicious treat without any dairy ingredients.
What Toppings Pair Well With Peanut Butter Ice Cream?
When you think about toppings, consider drizzling chocolate sauce, adding crushed pretzels for crunch, or sprinkling chopped nuts. You could also try fresh banana slices or even a dollop of whipped coconut cream. Enjoy!
Is It Possible to Make This Ice Cream Without an Ice Cream Maker?
Absolutely, you can create creamy dreams without an ice cream maker! Just blend your ingredients, freeze them in a container, and stir every hour until it’s smooth. You’ll savor every spoonful of homemade delight.
Conclusion
Scoop your creamy peanut butter ice cream into a bowl, letting the rich, nutty aroma fill the air. Each bite offers a heavenly blend of sweetness and smoothness, perfect for any occasion.
Feel free to add your favorite mix-ins for a creative twist. This homemade treat will bring joy to any gathering, and you’ll love sharing it with friends and family.
Immerse yourself and savor every delicious moment!
