No-Bake Cheesecake Recipe
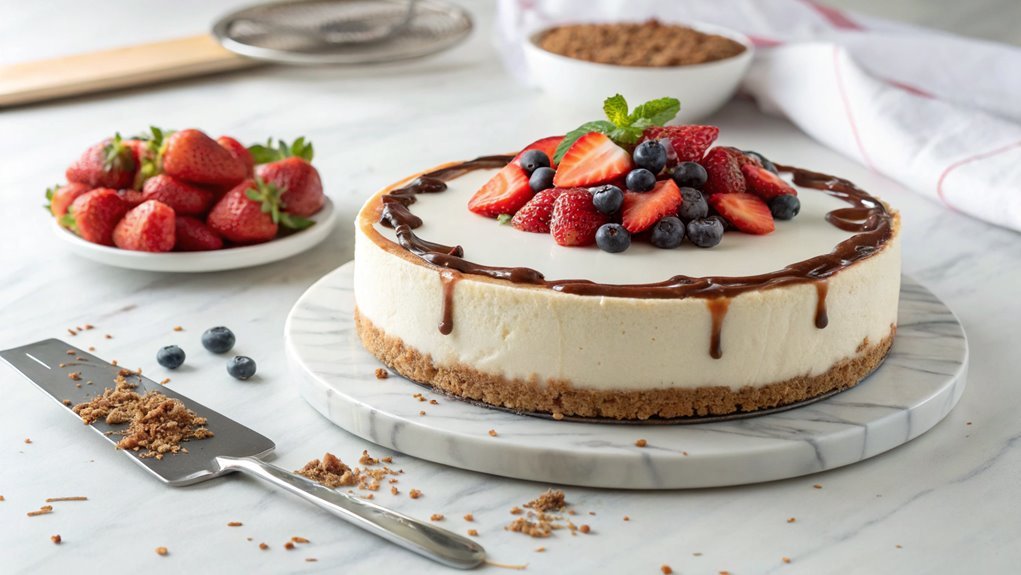
A no-bake cheesecake is a simple yet elegant dessert that requires minimal effort and no baking, making it perfect for warmer months. The silky cream cheese combined with a buttery graham cracker crust allows for endless flavor possibilities. Personalize your cheesecake with various toppings and flavorings to elevate it from good to unforgettable. What might your ideal twist be?
Recipe
No-bake cheesecake is a delightful dessert that brings together the rich and creamy goodness of cream cheese with the crisp texture of a buttery crust, all without the need for an oven.
This simple and approachable dessert is perfect for any occasion, whether you’re celebrating a special event or just treating yourself to a sweet indulgence. The best part is that it comes together quickly and requires minimal effort, making it accessible for both novice and experienced bakers alike.
The beauty of a no-bake cheesecake lies in its versatility. You can customize the flavor by adding your favorite extracts or fruit toppings, and it can easily be made gluten-free or dairy-free if needed.
With just a few basic ingredients, you’ll be able to whip up a creamy, luscious cheesecake that’s sure to impress family and friends. So grab your ingredients, and let’s get started on this delightful dessert!
Ingredients:
- 1 ½ cups graham cracker crumbs
- ½ cup unsalted butter, melted
- 2 cups cream cheese, softened
- 1 cup powdered sugar
- 1 teaspoon vanilla extract
- 1 cup heavy whipping cream
- Fresh fruit or chocolate for topping (optional)
Now let’s move on to the cooking steps.
Cooking Steps
Now that you have your ingredients ready, it’s time to get cooking!
Start by combining the cream cheese and sugar until it’s nice and smooth, then gently fold in the whipped topping to create a light and airy mixture.
Once that’s done, you’ll chill it in your crust, set the stage for a delicious treat, and top it with some fresh fruit for a beautiful finish!
Step 1. Combine Cream Cheese and Sugar
Begin by placing softened cream cheese in a large mixing bowl, as this will guarantee easy blending.
Next, grab your electric mixer or a sturdy whisk, and beat the cream cheese until it’s smooth and creamy. This step is essential, as it helps create a luscious cheesecake texture.
Once it’s well-blended, add in the granulated sugar. The sweetness will balance the cheese’s tang, so don’t skip this part!
Continue mixing until the sugar is fully incorporated, and you notice a glossy finish. You want to make sure there are no lumps, as they can ruin the silky consistency of your cheesecake.
Feel free to scrape down the sides of the bowl to catch any stubborn bits of cream cheese that might need more attention.
If you’re feeling adventurous, consider adding a splash of vanilla extract for that classic cheesecake flavor. This little touch can elevate your dessert to the next level.
Step 2. Add Whipped Topping Gently
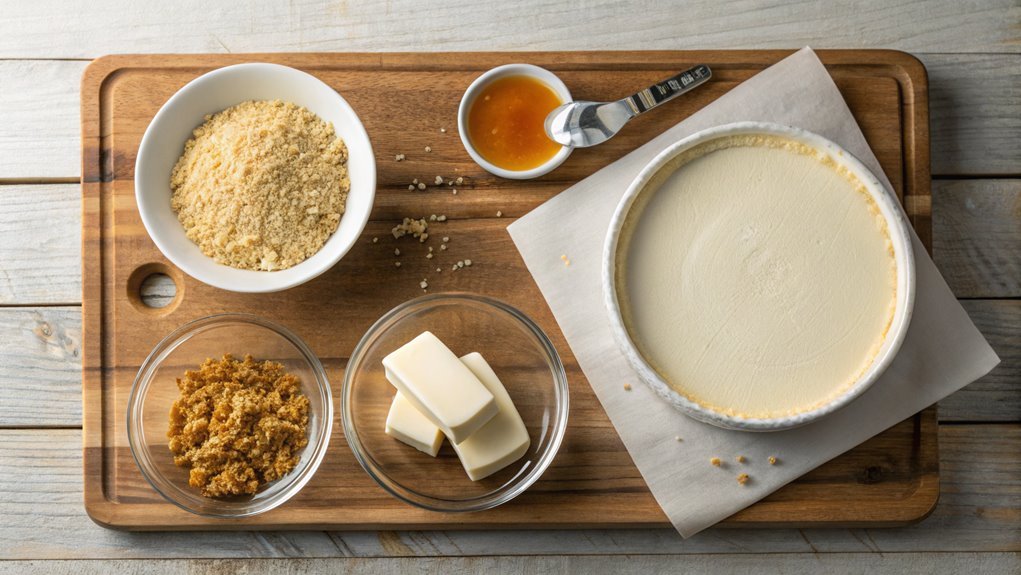
Once you’ve achieved that smooth cream cheese and sugar mixture, it’s time to gently fold in the whipped topping. This step is essential for creating that airy texture that makes no-bake cheesecake so delightfully light.
Grab a spatula and scoop your whipped topping into the bowl with the cream cheese mixture. You’ll want to use a folding technique here—this means incorporating the whipped topping without deflating it.
Start by cutting through the mixture with the spatula, then lift and fold. Turn the bowl as you go, so every bit gets mixed evenly. Try to be gentle; you’re aiming to maintain that fantastic volume from the whipped topping.
Keep folding until you no longer see any streaks of white; the two mixtures should be beautifully combined.
This is where the magic happens! You create a creamy and luscious filling that’s brimming with flavor. Once you’ve got the perfect blend, you’ll feel an exciting anticipation building for the next steps in your cheesecake adventure.
Trust me, the texture and taste will amaze you, making every bite an experience to remember. Now, get ready to take it to the next level!
Step 3. Chill Mixture in Pan
As you’re enthusiastic to finalize your no-bake cheesecake, carefully pour the mixed filling into your prepared crust. This is an essential step, as it sets the stage for your luscious dessert!
Once your filling’s in, it’s time to chill it in the refrigerator. Chilling helps the flavors meld beautifully and gives the cheesecake that delightful, creamy texture you love.
Here’s what to do next:
- Cover the pan with plastic wrap or a lid to avoid any fridge odors affecting your cheesecake.
- Place the pan on a flat shelf in your refrigerator. This guarantees even chilling and prevents the filling from settling unevenly.
- Chill for at least 4 hours, but overnight is even better for the best flavor and texture.
- Check the firmness by gently shaking the pan; it should be set but still creamy.
- Prepare your toppings while the cheesecake chills, so you’re ready to go when it’s time to serve!
Patience is key here!
Once your cheesecake is fully chilled, you’ll feel a wave of excitement as you get closer to enjoying your delicious creation.
Step 4. Spread Mixture in Crust
Now it’s time to spread the creamy cheesecake mixture into your prepared crust! Grab your spatula and dive right into that luscious filling. Start by spooning a generous portion of the cheesecake mixture onto the crust. As you do this, let your excitement build—this dessert is about to take shape!
With a gentle hand, begin spreading the mixture evenly across the crust. Make certain to reach the edges so every bite is bursting with flavor. Don’t rush; it’s worth spending a little time to achieve that smooth, beautiful layer. If you find the mixture sticking, a light touch of water on your spatula can help glide it effortlessly.
Once you’ve spread the mixture evenly, take a moment to admire your handiwork! It’s looking so good already. To guarantee a perfect finish, use the back of your spatula to smooth out the top, creating a nice, even surface. This step not only enhances its appearance but also makes it easier for the final touches.
Now, you’re ready to pop that masterpiece into the fridge! Allow it to chill and set perfectly, which is just what you need before the final garnishing. Enjoy every moment of this delicious journey!
Step 5. Top With Fruit Garnish
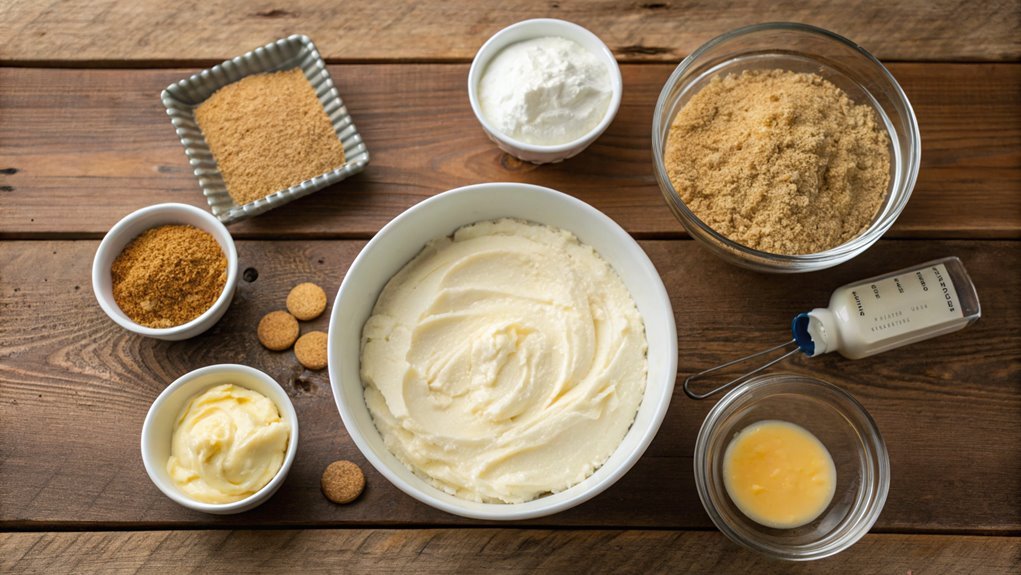
To elevate your no-bake cheesecake and add a burst of vibrance, it’s time to top it with a vibrant fruit garnish. This simple step can transform your dessert into an eye-catching masterpiece that tantalizes both the eyes and the palate.
Whether you go for a single fruit or a colorful medley, fresh fruit complements the creamy texture of the cheesecake beautifully.
Here are some delicious fruit ideas to reflect upon:
- Sliced Strawberries: Sweet and juicy, they offer a classic pairing with cheesecake.
- Blueberries: Their deep color and slight tartness create a delightful contrast.
- Kiwi Slices: With their bright green color and exotic flavor, they add a rejuvenating twist.
- Peach Chunks: Sweet and fragrant, they bring a summery vibe to your dessert.
- Raspberries: Their natural sweetness and vibrant hue provide an elegant finishing touch.
Once you’ve chosen your fruits, artfully arrange them on top of your cheesecake.
Feel free to get creative! You can even create a pattern or a whimsical design.
Enjoy every bite of this delicious treat that not only looks stunning but tastes incredible.
Happy garnishing!
Final Thoughts
While you may be tempted to dismiss a no-bake cheesecake as less impressive than its traditional counterpart, this dessert proves that simplicity can yield extraordinary results. With just a handful of ingredients and minimal effort, you can create a creamy, luscious treat that’ll wow your family and friends.
Imagine serving them a slice of this delightful cheesecake, topped with fresh fruit or a drizzle of syrup. They won’t believe you made it without turning on the oven!
Cooking should be fun, and this no-bake cheesecake invites you to express your creativity. You can experiment with different flavors, such as adding chocolate, caramel, or even a hint of citrus. The possibilities are endless!
Best of all, it’s a perfect choice for warm weather days when you want a revitalizing dessert without heating up your kitchen.
Don’t hesitate to try this recipe; you might just find it becomes a staple in your dessert rotation. Gather your ingredients, invite loved ones to join you in the kitchen, and enjoy a rewarding experience.
You’ll be amazed at how easy it’s to impress, and you’ll be craving more of this delightful no-bake cheesecake!
Frequently Asked Questions
Can I Use Low-Fat Cream Cheese for This Recipe?
You’ve heard the saying, “You can’t have your cake and eat it too.” Using low-fat cream cheese alters the texture and richness, but it works well if you’re watching your calories without sacrificing flavor. Enjoy!
How Long Does the Cheesecake Need to Set in the Fridge?
You should let the cheesecake set in the fridge for at least four hours. If you can wait longer, it’ll firm up even better, resulting in a smoother texture and richer flavor when you serve it.
Can I Substitute the Graham Cracker Crust With Something Else?
Yes, you can substitute the graham cracker crust with other options. You might try cookie crumbs, crushed nuts, or even a sponge cake. Each brings unique flavors and textures, enhancing your dessert experience beautifully.
What Toppings Pair Well With No-Bake Cheesecake?
When it comes to toppings, you can’t go wrong with fresh fruit like berries or mango. For a richer touch, try chocolate sauce or caramel. Whipped cream adds a delightful creaminess that complements your dessert beautifully.
How Do I Store Leftover No-Bake Cheesecake?
Storing leftover cheesecake’s as easy as pie. Just cover it tightly with plastic wrap or transfer it to an airtight container. Refrigerate it, and it’ll stay fresh for up to four days. Enjoy!
