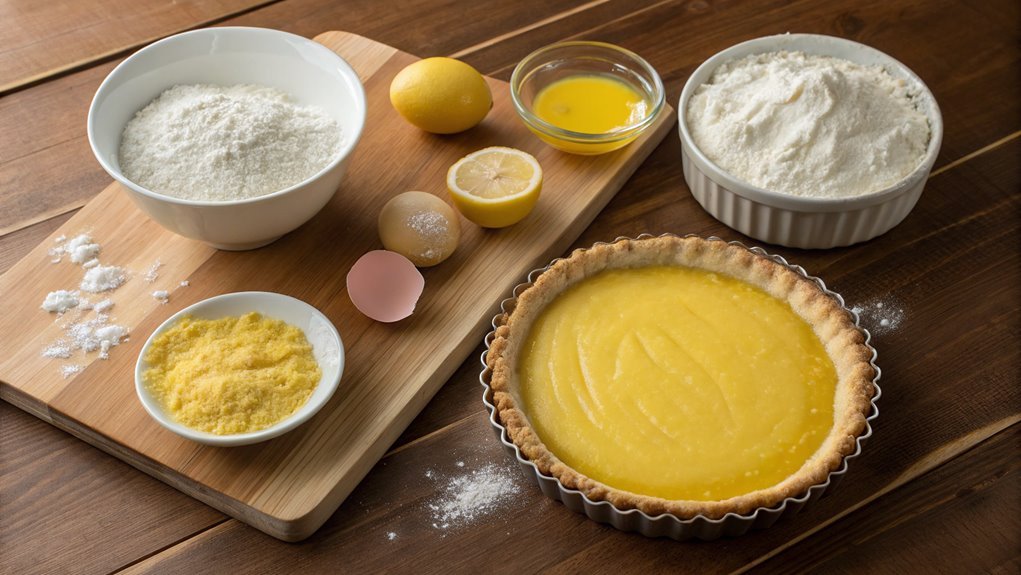
Lemon Curd Tart Recipe

Is there anything quite as refreshing as a slice of lemon curd tart? This recipe pairs a buttery crust with a tangy lemon filling, embodying the essence of a warm spring day.
As you prepare this dessert, you’ll appreciate the balance of sweet and tangy flavors. You’ll also uncover the intricacies involved in crafting the perfect tart.
What essential steps should you follow to ensure your tart turns out beautifully?
Recipe
Lemon curd tart is a delightful dessert that combines the tartness of fresh lemons with a rich, buttery crust. This dish is perfect for those who enjoy a balance of sweet and tangy flavors, making it an ideal treat for any occasion, whether it be a summer picnic or a classy dinner party.
The invigorating taste of lemon curd pairs beautifully with a crisp tart shell, creating a dessert that isn’t only visually appealing but also full of bright, zesty notes.
Making a lemon curd tart may take a bit of time, but the process is fairly straightforward and well worth the effort. The tart shell can be made in advance and filled with lemon curd just before serving for a prime fresh flavor.
With just a few simple ingredients, you can whip up a luscious tart that will impress your family and friends.
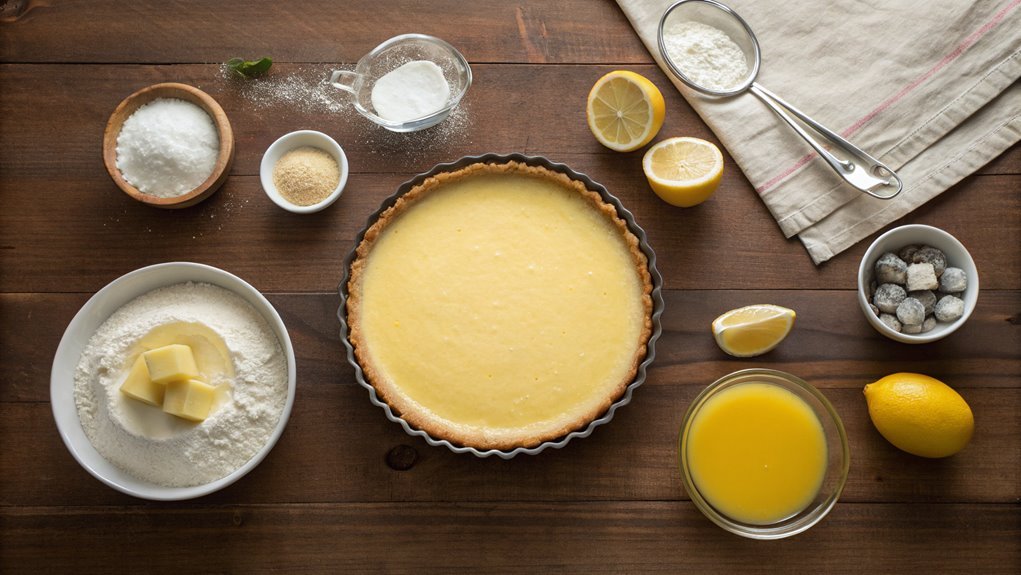
Ingredients:
- 1 ¾ cups all-purpose flour
- ½ cup powdered sugar
- ½ cup unsalted butter, chilled and cubed
- 1 large egg yolk
- 2 tbsp cold water
- 1 cup granulated sugar
- 3 large eggs
- 2 large egg yolks
- ⅔ cup freshly squeezed lemon juice
- Zest of 2 lemons
- 6 tbsp unsalted butter, cut into pieces
- A pinch of salt
Now let’s move on to the cooking steps.
Cooking Steps
Let’s get started on making your delicious lemon curd tart!
First, you’ll preheat the oven to a perfect 350°F to create the ideal baking environment.
Then, you’ll whisk together the eggs and sugar, adding that zesty lemon juice and zest, which really brings the flavor to life!
Step 1. Preheat the Oven to 350°F
Before you plunge into mixing the ingredients, make sure to preheat your oven to 350°F. This step is essential for achieving that perfect tart! A properly preheated oven helps the crust bake evenly, creating a delightful texture and flavor. It’s simple, but so important!
Here’s how to get it done:
- Find your oven’s dial or digital controls. Most ovens have a clear display or markings for temperature settings.
- Turn the dial or set the temperature to 350°F. This is the sweet spot for your lemon curd tart, ensuring the crust cooks just right.
- Wait for the oven to beep or indicate it’s preheated. This usually takes about 10-15 minutes, so be patient—good things take time!
- Use an oven thermometer, if you have one. It helps confirm that your oven is at the right temperature, ensuring your tart turns out perfectly every time.
Once your oven is ready, you can immerse yourself in mixing the ingredients with confidence.
Preheating may seem like a small step, but it sets the stage for a delicious lemon curd tart that you and your loved ones will enjoy. Happy baking!
Step 2. Whisk Eggs and Sugar Together

Begin by whisking the eggs and sugar together in a mixing bowl until the mixture becomes smooth and well combined. You’ll want to use a whisk or an electric mixer, which will help create a delightful airy texture.
As you whisk, watch as the color transforms and the mixture lightens. This is where the magic begins!
Once you notice the mixture thickening slightly and achieving a lovely, pale yellow hue, you’re well on your way to creating a luscious lemon curd. Keep whisking steadily; the goal is to guarantee that the sugar is completely dissolved into the eggs.
You’ll want to take your time with this step because a good emulsification here lays the groundwork for a creamy curd later on.
Don’t be shy! Put some muscle into it. If you’re using a hand whisk, the exercise will only make you more passionate about your creation.
And trust me, the results will be worth it! Once you’re satisfied with the consistency, you’re all set for the next steps.
This simple yet vital process truly elevates your tart, so get ready to impress your friends and family with your fantastic baking skills!
Step 3. Add Lemon Juice and Zest
To create that irresistible tangy flavor in your lemon curd, add 1/2 cup of freshly squeezed lemon juice and the zest of 2 lemons to your egg and sugar mixture. This step is essential because the bright acidity of the lemons will make your tart truly unforgettable.
As you stir, you’ll see how the ingredients come together in a vibrant, sunny yellow color that promises deliciousness.
Here’s how to make this part of the process a breeze:
- Choose the Right Lemons: Opt for fresh, ripe lemons as they yield the best juice and zest.
- Zest Like a Pro: Use a microplane or zester to get fine shavings of the lemon peel; it’s the key to intense flavor.
- Squeeze with Purpose: Roll the lemons on the counter before squeezing. This helps extract maximum juice!
- Mix it All Together: Gently fold the lemon juice and zest into your egg mixture until everything’s well blended.
Now, take a moment to appreciate the invigorating aroma that fills your kitchen—it’s a sign that you’re on your way to creating something delightful!
Step 4. Pour Mixture Into Tart Shell
With your bright and zesty lemon mixture ready, it’s time to pour it into the prepared tart shell. Take a moment to appreciate the lovely color of your lemon curd; it’s truly a feast for the eyes!
Gently place the tart shell on a stable surface, perhaps a baking sheet, to catch any spills. Using a ladle or measuring cup, slowly pour the lemon mixture into the shell, allowing it to flow evenly across the surface. This is where the magic happens, as your delightful curd settles into the shell’s crust.
Make sure to keep an eye on the edges of the crust while you pour, ensuring the filling doesn’t overflow. If you notice any air bubbles forming on the surface, simply tapping the shell lightly on the counter can help them rise to the top.
As you complete this step, you can almost taste that bright citrus flavor already! Feel that rush of excitement—you’re one step closer to enjoying this delicious dessert.
Once you’ve poured in the filling, give the tart a gentle shake to level the curd, and get ready for the next phase of baking. Happy cooking!
Step 5. Bake for 25 Minutes

After you’ve poured the luscious lemon curd into the tart shell, it’s time to bake it for 25 minutes. This step is essential, as it allows the curd to set, creating that perfect balance of creamy and tangy. Your kitchen will soon be filled with an irresistible aroma that makes waiting worth it!
Here’s what you’ll want to do during the baking process:
- Preheat your oven: Make sure it’s set to 350°F (175°C) before you begin.
- Place the tart in the oven: Position it on the center rack for even baking.
- Check at the 20-minute mark: Gently jiggle the tart; it should be slightly wobbly but firm around the edges.
- Cool it down properly: Once it’s baked, remove it from the oven and let it rest on a wire rack for about 10-15 minutes before slicing.
Once you’re done, the tart will be beautifully set and ready to impress your friends and family.
Baking is a joy, and this lemon curd tart is a delightful way to showcase your skills! Enjoy every delicious bite!
Final Thoughts
As you savor your homemade lemon curd tart, it’s easy to appreciate how the bright, tangy flavor elevates any dessert table. This tart isn’t just a treat; it’s a celebration of all things lemon! Every bite offers a zesty punch that awakens your taste buds, making it perfect for any occasion, from backyard barbecues to elegant dinner parties.
You might find that making this tart is as rewarding as eating it. The process of whipping up the velvety lemon curd and perfecting the crust can be surprisingly fulfilling.
Plus, the delightful aroma that fills your kitchen while it bakes is pure magic. Invite friends and family to join you in the kitchen; sharing the experience can make the final product even sweeter.
Don’t be afraid to get creative, too! You can experiment with different toppings like fresh berries or a dollop of whipped cream.
Once you see the smiles on everyone’s faces, you’ll know that this lemon curd tart is a recipe to cherish. So roll up your sleeves and plunge into this fun culinary adventure. You won’t just make a tart; you’ll create delicious memories!
Frequently Asked Questions
Can I Use Bottled Lemon Juice Instead of Fresh Lemons?
You can use bottled lemon juice, but fresh lemons offer a brighter, more vibrant flavor. If you’re in a pinch, bottled juice works fine; just remember it might not provide the same zing as fresh.
How Long Can I Store Lemon Curd Tart in the Fridge?
Think of your tart as a delicate flower; it thrives best in cool conditions. You can store it in the fridge for up to four days, but its vibrant taste will fade with each passing moment.
What Are Some Popular Variations for Lemon Curd Tart?
You can experiment with various flavors in your tart. Try orange, raspberry, or passionfruit curd for something different. Adding meringue, fresh fruit toppings, or even a graham cracker crust can elevate your dessert beautifully!
Can I Freeze Lemon Curd Tart for Later Use?
Yes, you can freeze a lemon curd tart for later use. Just wrap it tightly in plastic wrap or aluminum foil before placing it in the freezer. Thaw it in the refrigerator before serving.
What Type of Crust Works Best for Lemon Curd Tart?
Imagine biting into a perfectly crisp crust that complements a tangy filling. For your tart, a buttery shortcrust or graham cracker crust works best. They add texture and sweetness, enhancing every delightful experience you’ll create.


