No-Bake Mint Chocolate Bars Recipe
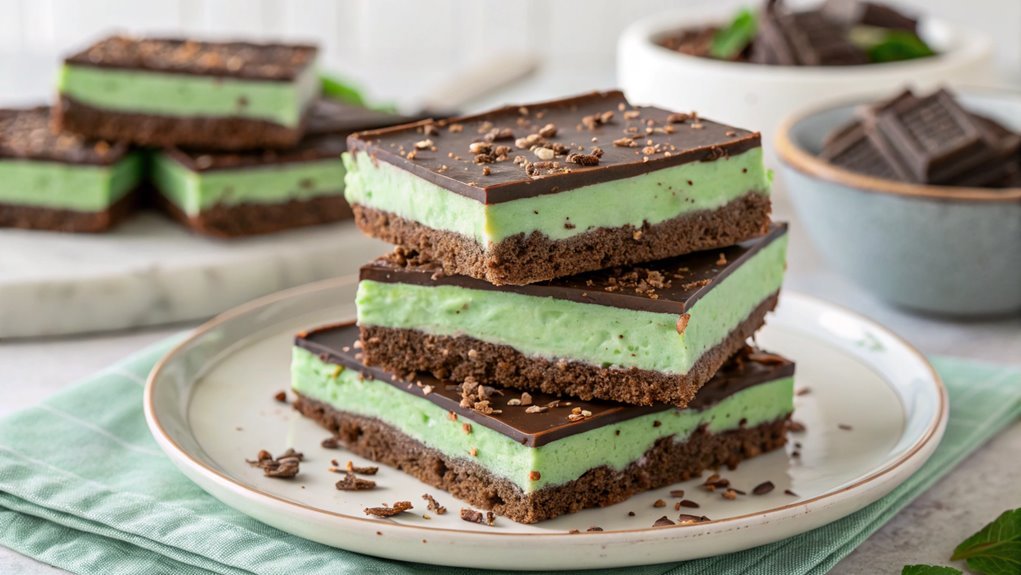
Discover a no-bake dessert that’s both easy and indulgent with these mint chocolate bars. Featuring a creamy mint filling and a rich chocolate layer, they require no oven time. Perfect for last-minute gatherings or an everyday treat, they come together quickly. A few key ingredients elevate this dessert, ensuring it impresses everyone.
Recipe
Indulging in a delicious treat doesn’t have to involve baking, especially when it comes to these irresistible No-Bake Mint Chocolate Bars. Perfect for satisfying your sweet tooth without heating up the kitchen, these layered bars are a delightful combination of rich chocolate and invigorating mint.
Whether you’re preparing a special dessert for a gathering or simply treating yourself, these bars are sure to impress. The best part? They require minimal effort and cooling time!
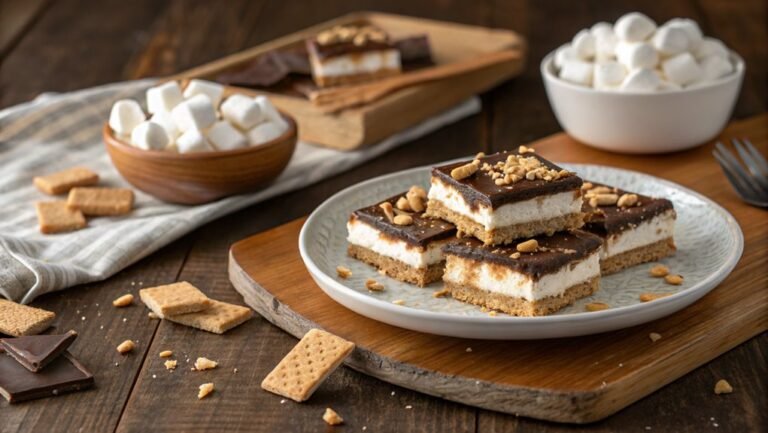
Begin by considering the texture and balance of flavors. The base is a crunchy blend of Graham crackers and cocoa, perfectly complemented by a creamy mint layer. Topped with a smooth chocolate finish, these bars are a heavenly balance of textures and tastes.
All you need is a bit of time for the layers to set, and soon you’ll have a delightful dessert that’s just waiting to be devoured!
Ingredients:
- 1 cup Graham cracker crumbs
- 1/4 cup unsweetened cocoa powder
- 1/2 cup unsweetened shredded coconut
- 1/2 cup unsalted butter, melted
- 1 cup powdered sugar
- 1 teaspoon peppermint extract
- 1/4 cup milk
- 1 cup semi-sweet chocolate chips
- 1 tablespoon coconut oil (optional, for shine)
Now let’s move on to the cooking steps.
Cooking Steps
Get ready to create some delicious No-Bake Mint Chocolate Bars!
First, you’ll combine that invigorating mint with rich chocolate, setting the foundation for an amazing treat.
Then, you’ll chill the mixture, spread it evenly, cut it into squares, and drizzle with even more melted chocolate to finish off this mouthwatering dessert!
Step 1. Combine Mint and Chocolate
While preparing to combine mint and chocolate, you’ll want to start by melting the chocolate first. You can do this by using a microwave-safe bowl or a double boiler. If using the microwave, heat the chocolate in short bursts, stirring often until it’s smooth.
Once the chocolate is melted, you’re ready to blend in the mint flavor.
In a separate bowl, mix your creamy filling ingredients, which usually include softened cream cheese, powdered sugar, and a splash of mint extract. The mint extract is where the magic happens, giving your bars that invigorating burst of flavor.
Don’t forget to taste as you go! This step allows you to adjust the mintiness to your liking.
Now, slowly pour the melted chocolate into the mint mixture. Stir continuously until everything is thoroughly combined, creating a rich and luscious blend.
Confirm there are no lumps and that the mint is evenly distributed. The combination of creamy, sweet chocolate with that zingy mint is truly delightful!
This step is vital to achieving the perfect balance of flavors.
Get ready to share this indulgent treat with friends, as they’ll definitely want a bite of these delicious mint chocolate bars!
Step 2. Chill Mixture for 30 Minutes
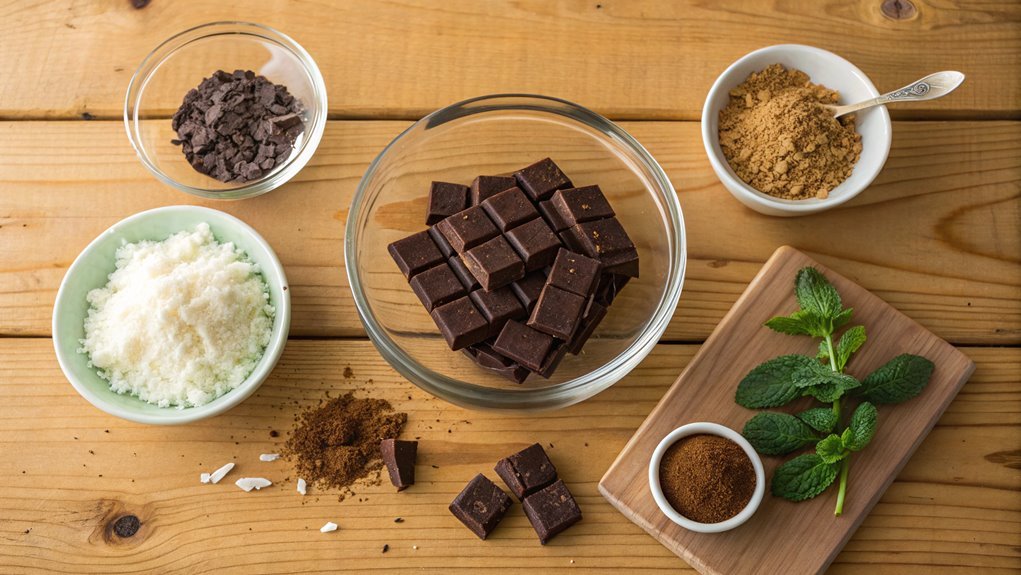
After ensuring your chocolate and mint mixture is well combined, you’ll need to chill it for about 30 minutes. This step is essential because it allows the flavors to meld beautifully and the mixture to firm up, making it easier to handle later.
While you’re waiting, why not take a moment to appreciate the delightful scents wafting through your kitchen? The aroma of chocolate and mint is simply irresistible!
Make sure to cover the bowl tightly with plastic wrap or a clean kitchen towel to prevent any odors from affecting your mixture. Place it in the fridge and let the magic happen.
During this time, you can prep your workspace for the next steps. Gather your baking pan, spatula, and any toppings you might want to use, like crushed candy canes or extra chocolate chips.
As time ticks by, imagine how wonderful these no-bake mint chocolate bars will taste once they’re ready to enjoy.
Don’t rush it! Trust the process, and soon enough, you’ll have a luscious, chilled mixture, perfectly primed for spreading evenly. This is the fun part of creating a delicious treat!
Step 3. Spread the Mixture Evenly
Once the mixture has chilled and firmed up, it’s time to spread it evenly in your prepared baking pan. Grab a spatula or the back of a spoon, and dive right in!
You’ll want to be gentle yet decisive as you scoop the mixture out of the bowl. Start by dolloping small portions into the center of the pan. This way, you’ll have more control as you spread it outwards.
Now, take your time! With a gentle hand, spread the mixture from the center toward the edges. Aim for an even layer, which guarantees every bite of your mint chocolate bars is perfectly balanced.
If the mixture sticks to your spatula, try slightly dampening it with a bit of water. This little trick will make your life easier and help you achieve a smooth finish.
Don’t rush through this part; it’s vital for the texture of the bars. You want a lovely, flat surface to work with!
Once you achieve an even layer, you’ll feel a sense of accomplishment. Trust me, it’s worth the effort, and you’ll be one step closer to enjoying these delicious mint chocolate bars!
Step 4. Cut Into Squares
With your mint chocolate mixture spread evenly in the pan, it’s time to cut it into squares. Grab a sharp knife and make sure it’s clean and dry. This step is essential because a clean edge makes your bars look beautiful and professional!
Start by cutting the mixture into equal squares, about one to two inches in size, depending on your preference. If you find the mixture sticking to the knife, dip it in hot water, then wipe it clean before making another cut. This trick really helps create smooth edges.
Gently press down, and don’t saw back and forth; that might ruin the texture. Once you’ve cut all your squares, carefully lift them out of the pan. You can use a spatula or your hands, just be gentle!
Arrange the squares on a serving plate or a storage container. These delightful treats are now ready for the next step, so get excited! Imagine how pleased your friends and family will be when they see these minty, chocolatey treasures.
Enjoy every moment of this cutting process; you’re one step closer to indulging in these delicious bars! Happy cooking!
Step 5. Drizzle With Melted Chocolate
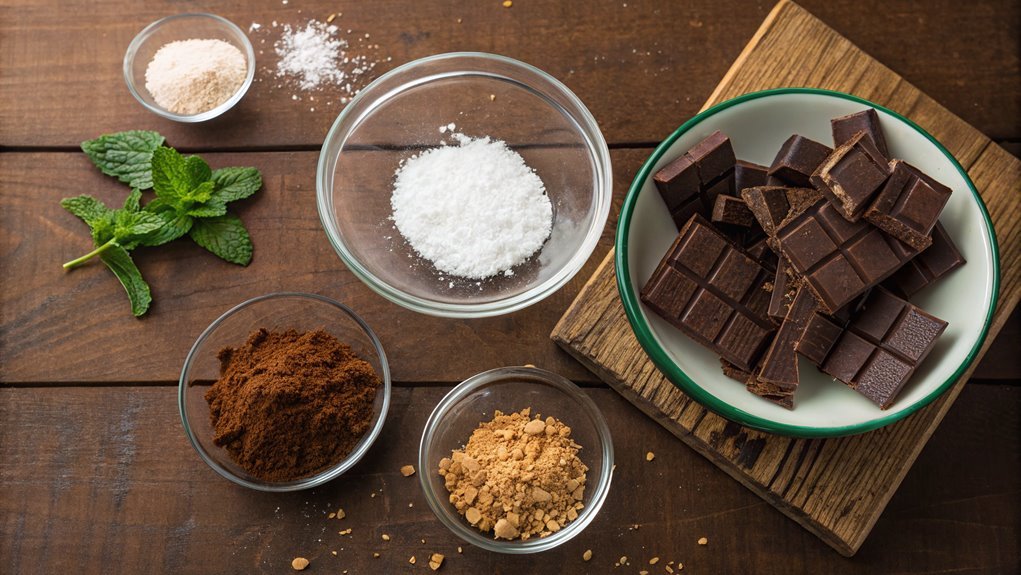
Now that your mint chocolate bars are perfectly cut into squares, it’s time to elevate their appearance and flavor by drizzling them with melted chocolate. This is where you can add a touch of elegance that’ll impress anyone who tries them!
Start by gathering your favorite chocolate; dark, milk, or even white chocolate works beautifully. Melt it gently in the microwave or on the stovetop, using a heat-safe bowl. If you’re using the microwave, heat in short intervals, stirring between each until smooth. Be careful not to overheat, as chocolate can seize up quickly!
Once your chocolate’s melted and glossy, grab a fork or a piping bag for easier control. Hold it above the bars and drizzle the chocolate back and forth in a zigzag motion. Don’t worry if it gets a bit messy; that rustic look adds charm!
Allow the chocolate to cool and harden for a few minutes—patience pays off here. When you take that first bite, you’ll taste the divine combination of mint and chocolate. Trust me, these bars are sure to be a hit at your next gathering!
Final Thoughts
Although experimenting with new recipes can sometimes feel intimidating, making these no-bake mint chocolate bars is a breeze. You’ll be surprised at how easily you can whip up this delicious treat without turning on the oven. The combination of rich chocolate and invigorating mint creates a dessert that’s not only delightful but also perfect for any occasion.
As you layer the ingredients, you’ll see how simple it’s to create something that looks and tastes gourmet. These bars are ideal for impressing friends at a gathering, or simply indulging in after a long day. Plus, since there’s no baking involved, you can enjoy more time with loved ones instead of being stuck in the kitchen.
When you take that first bite, the creamy texture will melt in your mouth, and the peppermint flavor will awaken your taste buds. You’re likely to want to share, but you might just find it hard to resist keeping them all to yourself!
Don’t hesitate to experiment with toppings or variations as you gain confidence in your skills. Immerse yourself in this no-bake experience that promises satisfaction and joy with each delicious bite! Happy cooking!
Frequently Asked Questions
Can I Substitute the Mint Extract With Essential Oils?
Sure, you can swap mint extract for essential oils, but be cautious! Concentrated oils can overwhelm the dish. Start with a small drop, taste, and adjust to achieve that delightful, desired minty magic you crave.
How Long Do the Bars Last in the Refrigerator?
The bars last about a week in the refrigerator. Just make sure you store them in an airtight container to keep them fresh. If they last longer, check for any signs of spoilage before enjoying!
Are There Any Vegan Options for This Recipe?
Yes, you can definitely find vegan options! Substitute traditional ingredients with plant-based alternatives, like coconut oil instead of butter and maple syrup instead of honey. It’ll keep the flavors while making your treats completely vegan-friendly.
Can I Add Nuts or Toppings to the Bars?
Sure, you can definitely add nuts or toppings to the bars! Just mix them in or sprinkle them on top before the mixture sets. Get creative with flavors that complement the bars for extra deliciousness!
What Can I Use Instead of a Springform Pan?
Imagine the delicious creation waiting to be formed. Instead of a springform pan, you can grab a regular baking dish or even a loaf pan. Just remember to line it well for easy removal later!
