Peanut Butter Cheesecake Recipe
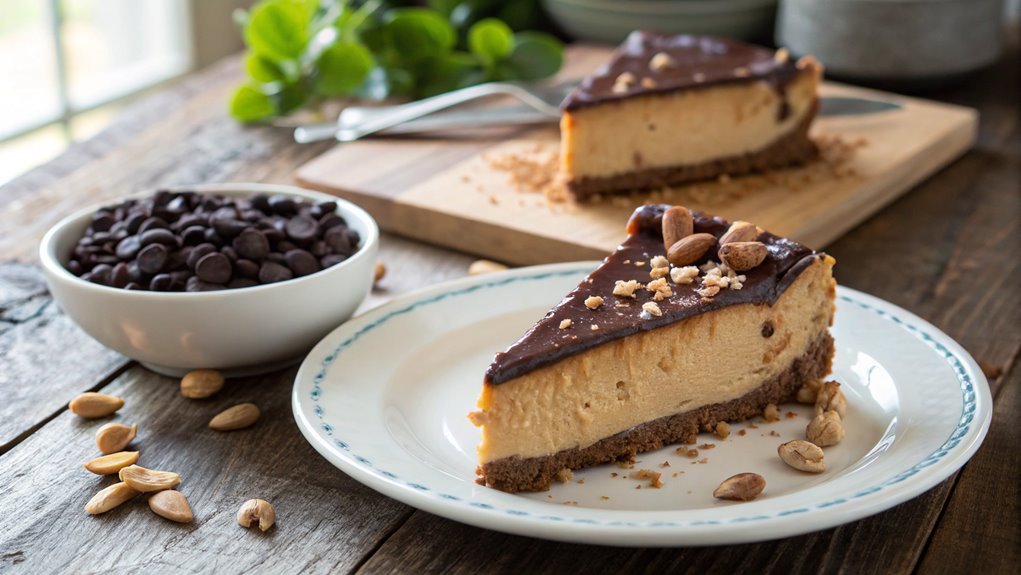
A creamy peanut butter cheesecake offers a delightful indulgence, combining rich cream cheese with smooth peanut butter for an irresistible flavor. Achieving the perfect balance of textures and tastes requires careful attention to detail.
Surprisingly, simple yet essential steps can elevate this dessert from ordinary to extraordinary. Reflect on how each component contributes to the final result as you prepare this treat.
Recipe
If you’re a fan of rich, creamy desserts with a nutty twist, this peanut butter cheesecake is sure to satisfy your cravings. Combining the classic flavors of cheesecake with the delightful taste of peanut butter, this dessert is perfect for any occasion, whether it’s a birthday celebration, a family gathering, or simply a treat for yourself.
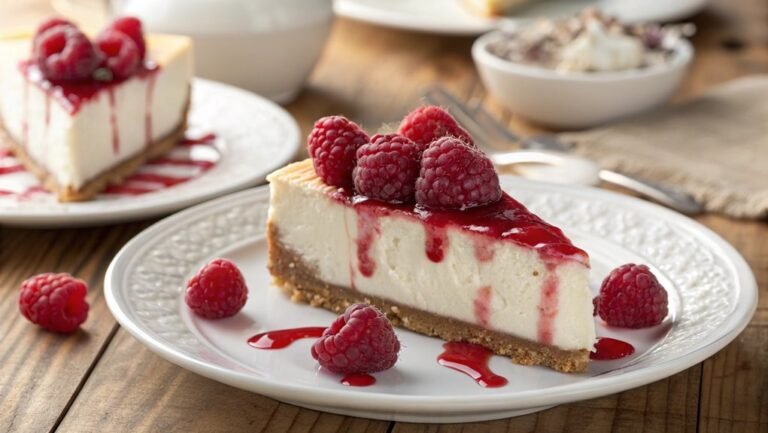
The smooth texture of the cheesecake paired with a buttery graham cracker crust creates a deliciously indulgent experience that will have everyone coming back for seconds.
This recipe isn’t only easy to follow but also allows you to customize it to your liking. You can add chocolate drizzles, crushed peanuts, or even a layer of chocolate ganache on top to elevate your cheesecake further.
With just a few simple ingredients, you can create a mouthwatering dessert that will impress your guests and leave them asking for the recipe. So, roll up your sleeves and get ready to whip up this delectable peanut butter cheesecake!
Ingredients:
- 1 ½ cups graham cracker crumbs
- ½ cup unsalted butter, melted
- 2 cups cream cheese, softened
- 1 cup peanut butter
- 1 cup powdered sugar
- 1 teaspoon vanilla extract
- 1 cup heavy whipping cream
- ¼ cup granulated sugar
- ½ cup chocolate chips (optional for topping)
Now let’s move on to the cooking steps.
Cooking Steps
Now that you have your ingredients ready, it’s time to bring your peanut butter cheesecake to life!
You’ll start by preparing the crust mixture, then smoothly blend in the cream cheese and sugar for that rich flavor.
As you layer in the peanut butter mixture and chill it for a while, the anticipation of that delicious dessert will surely get your taste buds excited!
Step 1. Prepare the Crust Mixture
To create a delicious crust for your peanut butter cheesecake, start by combining crushed graham crackers and melted butter in a mixing bowl. You want the graham cracker crumbs to be fine, so crush them well, either in a food processor or by placing them in a plastic bag and rolling over them with a rolling pin.
Once you’ve got a nice crumb texture, pour in the melted butter. This buttery goodness will bind everything together, giving your crust that perfect chewy texture.
Next, mix the crumbs and butter until they’re fully combined. You should be able to press the mixture between your fingers, and it should hold together nicely.
Now, take a 9-inch springform pan and firmly press the crust mixture into the bottom, making sure it’s even and compact. Use the bottom of a measuring cup or your fingers to achieve a smooth surface.
Don’t forget to push the crumbs slightly up the sides of the pan for added texture. Once you’ve got that beautiful crust ready, pop it in the fridge for about 10-15 minutes. This chilling time helps it set perfectly, so you’re ready for the next delicious steps!
Step 2. Mix Cream Cheese and Sugar
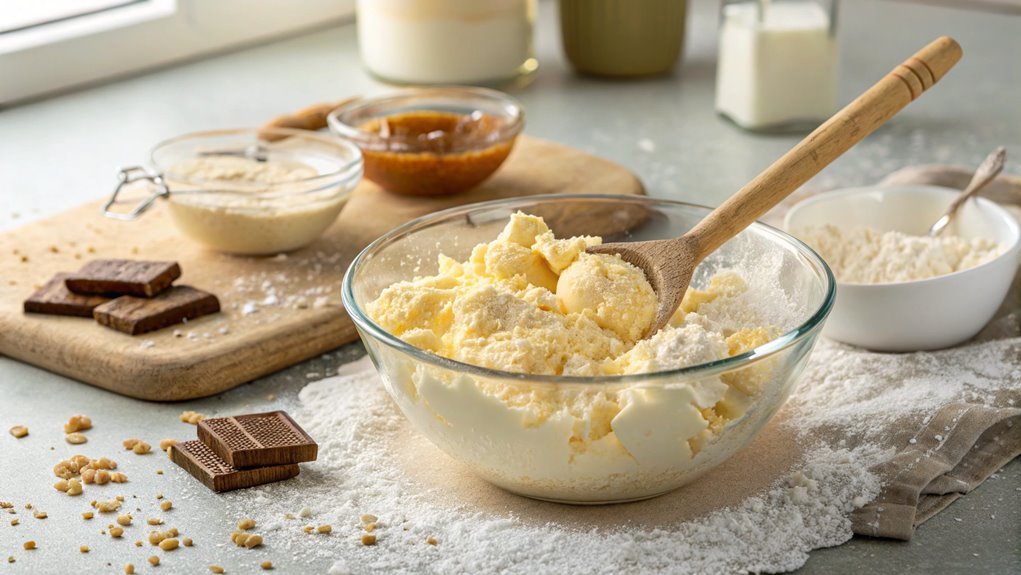
Beat the cream cheese in a mixing bowl until it’s smooth and creamy. This step is essential because it sets the stage for your luscious cheesecake.
Once it’s perfectly blended, grab your granulated sugar. Slowly add it to the cream cheese while continuing to beat the mixture. You want to achieve a delightful, velvety texture that’s free of lumps.
Take your time with this process; it’s all about creating that rich, creamy base that makes your cheesecake shine. As you mix, notice how the sugar begins to dissolve, enhancing the sweetness of the cream cheese. Don’t be afraid to scrape down the sides of the bowl to guarantee everything is well incorporated.
Once you’ve got a smooth consistency, it’s time to take a moment and appreciate the transformation happening in your bowl. You’re on your way to a decadent dessert that will impress everyone!
The sweet, creamy blend you’ve just created is going to be the heart of your peanut butter cheesecake. So, get excited! You’re one step closer to indulging in a delicious treat that’s sure to be a crowd-pleaser. Keep that energy up, and let’s move on to the next step!
Step 3. Add Peanut Butter Mixture
Gently fold in the peanut butter to your cream cheese and sugar mixture, and watch the magic happen. This step brings out that rich, nutty flavor you love in peanut butter cheesecake. As you mix, the creamy texture will transform into a luscious blend, inviting you to take a taste!
Here are three key tips to keep in mind:
- Use Room Temperature Ingredients: Make certain your cream cheese and peanut butter are at room temperature. This guarantees a smooth and consistent mixture without any lumps.
- Be Gentle: When folding in the peanut butter, use a spatula and be gentle to maintain the airiness of the mixture. This will help create a light and fluffy cheesecake.
- Taste as You Go: Don’t hesitate to sneak a taste! Adjust the sweetness or peanut butter flavor according to your preference. This is your creation, after all!
Once combined, you’ll have a delightful mixture that’s ready for the next step.
The anticipation builds as you envision the final product – a creamy, dreamy peanut butter cheesecake that’s sure to impress your friends and family. Get ready for a treat!
Step 4. Chill the Cheesecake Mixture
With your peanut butter perfectly folded into the cream cheese mixture, it’s time to chill the cheesecake mixture. This step is essential for achieving that creamy, smooth texture we all crave.
Start by pouring your mixture into the prepared crust. Make sure it’s evenly spread to create a beautiful, uniform surface.
Once you’ve done that, it’s time to cover your cheesecake. Use plastic wrap to seal it tightly, ensuring no air can get in. This will help prevent any unwanted flavors from the fridge from seeping into your delicious creation.
Now, pop it into the refrigerator and let it chill for at least four hours, though overnight is even better if you can wait!
As it chills, the flavors will meld beautifully, and the cheesecake will firm up just right. You’ll want to check on it occasionally, but resist the urge to sneak a taste until it’s fully set.
Trust us, the anticipation will only make the first bite even more satisfying! So go ahead, embrace the wait, and get ready for a delightful treat that’s worth every minute spent in the fridge. You’re one step closer to a peanut butter cheesecake that will impress everyone!
Step 5. Top With Chocolate Drizzle
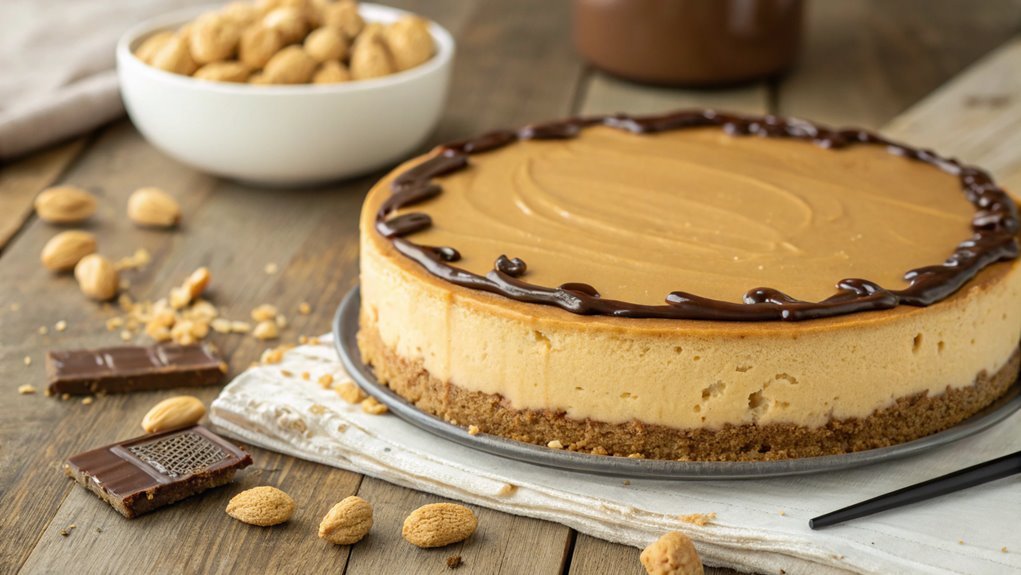
To create a luscious chocolate drizzle for your peanut butter cheesecake, start by melting about half a cup of chocolate chips. You can use a microwave or a double boiler—whichever you prefer!
If you opt for the microwave, heat the chips in 30-second intervals, stirring in between to make sure they don’t burn. Once melted, let the chocolate cool slightly, so it’s easier to drizzle.
Now, it’s time to add that delightful touch to your cheesecake! Follow these steps:
- Use a piping bag or a fork: If you have a piping bag, fill it with the melted chocolate for a more controlled drizzle. If not, just use a fork!
- Drizzle over the cheesecake: Start from one edge and gently move your piping bag or fork back and forth to create a beautiful pattern across the cheesecake.
- Let it set: Allow the chocolate drizzle to cool and harden for a few minutes before slicing into your masterpiece.
This simple addition takes your cheesecake to the next level, making it a showstopper at any gathering.
Enjoy every delicious bite!
Final Thoughts
As you savor each bite of your homemade peanut butter cheesecake, it’s clear that this dessert is more than just a sweet treat; it’s a celebration of flavors and textures that come together beautifully.
The creamy, rich peanut butter filling contrasts perfectly with the crunchy crust, creating a delightful experience for your taste buds. You can’t help but feel proud knowing you created this indulgent masterpiece right in your own kitchen.
This cheesecake isn’t just about flavor; it’s also about making memories. Imagine sharing this dessert with friends and family, watching their faces light up with joy as they take their first bites.
It’s a showstopper at any gathering, and it’s bound to impress everyone who tries it. Plus, it’s versatile! You can easily tweak the recipe by adding toppings or mixing in chocolate chips for extra flavor.
Frequently Asked Questions
Can I Use Crunchy Peanut Butter Instead of Creamy?
Absolutely, you can use crunchy peanut butter instead of creamy. It’ll add a nice texture and enhance the flavor. Just remember, it might change the overall consistency slightly, but it’ll still taste delicious!
How Long Can I Store Leftover Cheesecake?
You can store leftover cheesecake in the fridge for about 5 to 7 days. Just make sure to cover it well to keep it fresh. If you freeze it, it can last up to 2 months.
Can I Freeze Peanut Butter Cheesecake?
Sure, you can freeze peanut butter cheesecake! Who wouldn’t want a frozen delight? Just wrap it tightly in plastic wrap and foil before placing it in the freezer. It’ll keep for about two months. Enjoy!
What Can I Substitute for Cream Cheese?
If you’re looking to substitute cream cheese, try using Greek yogurt, cottage cheese, or mascarpone. Each option provides a different flavor and texture, so experiment to find the perfect match for your recipe.
Is This Recipe Suitable for Gluten-Free Diets?
Yes, this recipe can be suitable for gluten-free diets if you confirm all ingredients are gluten-free. You’ll want to check the crust and any other components to avoid hidden gluten sources. Enjoy your dessert!
Conclusion
You’ve crafted a peanut butter cheesecake that’s both impressive and simple to make. Each creamy, melt-in-your-mouth bite feels heavenly. Share it at your next gathering or savor it yourself. Treat yourself and enjoy every delicious moment!
