Salted Caramel Ice Cream Recipe
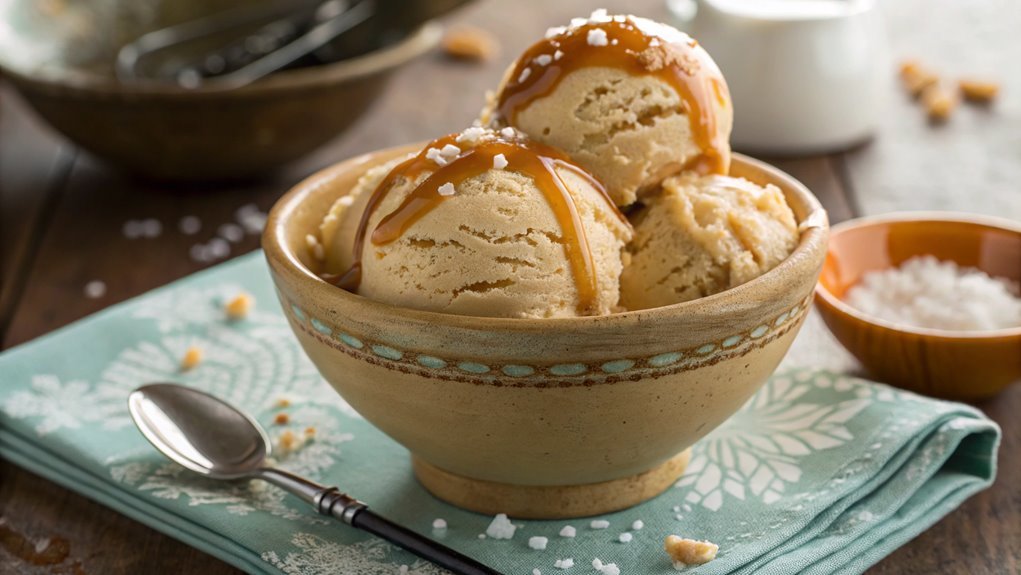
To elevate your dessert game, try making your own salted caramel ice cream. The combination of rich caramel and sea salt transforms this classic treat. Start with simple ingredients, but focus on mastering the technique. Once you understand the steps, you’ll find homemade ice cream is well worth the effort. So, what’s the first essential step to achieving a perfect creamy texture?
Recipe
Salted Caramel Ice Cream Recipe
Homemade salted caramel ice cream is a delightful treat that combines the rich flavors of creamy vanilla ice cream with the sweet and savory notes of salted caramel. The process might seem intimidating at first, but once you master the art of making caramel and churning your ice cream, you’ll be rewarded with a luscious dessert that’s sure to impress friends and family alike.
Perfect for a summer day or as a special indulgence any time of the year, this ice cream recipe will elevate your dessert game.
To get started, you’ll want to gather all your ingredients and equipment ahead of time. A good ice cream maker is essential for achieving that perfectly smooth and creamy texture, but if you don’t have one, you can still make this recipe with a bit of extra effort.
This ice cream is best enjoyed straight from the maker, but if you prefer a firmer consistency, you can transfer it to an airtight container and freeze it for a couple of hours before serving. Let’s get started with the ingredients!
- 1 cup granulated sugar
- 1/4 cup water
- 1/2 cup heavy cream
- 1/2 cup whole milk
- 1 teaspoon vanilla extract
- 1/2 teaspoon sea salt
- 3/4 cup heavy cream (for the ice cream base)
- 1/2 cup granulated sugar (for the ice cream base)
- 1/2 cup whole milk (for the ice cream base)
- 1 teaspoon vanilla extract (for the ice cream base)
- 4 large egg yolks
Now let’s move on to the cooking steps.
Cooking Steps
Now it’s time to get into the fun part—cooking!
You’ll start by combining cream and milk, which creates the perfect base for your delightful ice cream.
After that, you’ll add the rich caramel and a pinch of salt, and soon enough, you’ll be ready to churn your mixture into a creamy masterpiece!
Step 1. Combine Cream and Milk
To create a rich base for your salted caramel ice cream, start by combining two cups of heavy cream with one cup of whole milk in a large mixing bowl. This creamy mixture will give your ice cream that luscious texture we all crave.
As you pour the cream and milk together, take a moment to appreciate how these simple ingredients will come together to create something truly extraordinary.
Next, grab a whisk and stir the mixture gently but thoroughly. You want to guarantee that the heavy cream and milk blend together completely, creating a smooth and silky base.
Don’t rush it; take your time! This step is vital for achieving that delightful creaminess in your finished ice cream.
Once the cream and milk are well combined, you can feel the excitement building as you think about the delicious salted caramel flavor that’s coming next.
Remember, each step is essential, and a well-mixed base is the foundation of great ice cream. So, embrace the process as you move forward, knowing that you’re just moments away from crafting your very own salted caramel delight!
Enjoy every second as you make this delightful treat!
Step 2. Add Caramel and Salt
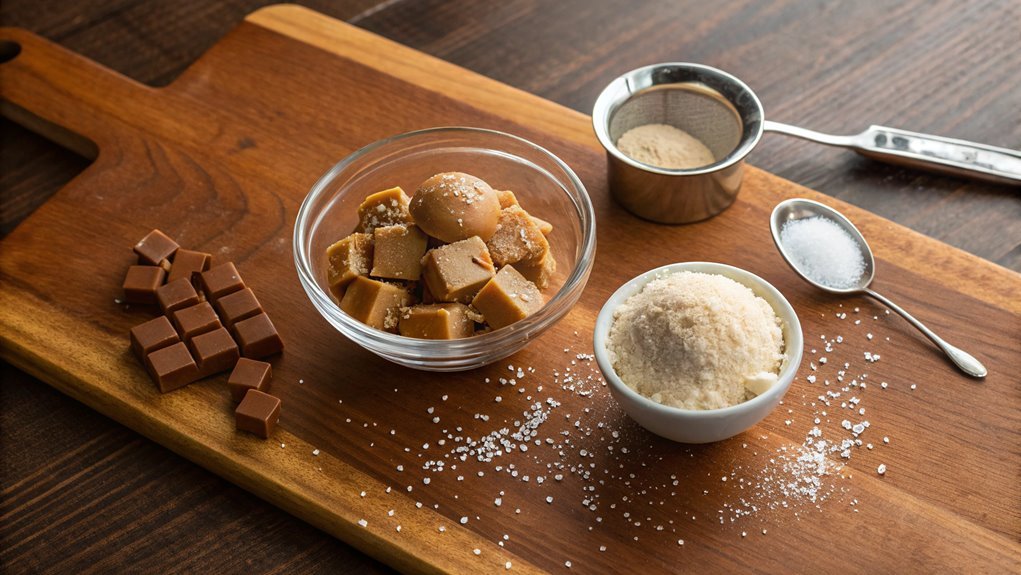
As you prepare to enhance your ice cream base, carefully drizzle in one cup of homemade or store-bought caramel sauce, stirring gently to guarantee an even distribution. This is where the magic happens! The caramel not only adds sweetness, but it also transforms your ice cream into a decadent treat.
Next, it’s time to bring in that essential touch of salt. It’ll intensify the caramel flavor and create balance in every creamy bite. Here’s how to do it:
- Sprinkle about half a teaspoon of flaky sea salt into your mixture.
- Taste the blend, adjusting the salt according to your preference; you might want more for an extra kick!
- Mix thoroughly, ensuring the salt dissolves and blends into the caramel.
- Set aside a small pinch of salt to sprinkle on top right before serving for that delightful finishing touch.
Feel free to get a little adventurous here—try different types of salt or add a flavor twist.
Enjoy the joyful process of crafting this salted caramel ice cream, and get ready for an amazing treat that’s sure to impress!
Step 3. Churn Ice Cream Mixture
Churn your ice cream mixture to achieve that perfect creamy texture. Once you’ve combined all your ingredients, it’s time to transfer the mixture to your ice cream maker. Make certain your ice cream maker is properly assembled and chilled, as this guarantees the mixture freezes evenly.
Set your machine to the appropriate speed and pour in your mixture. As you churn, keep an eye on the mixture’s consistency. It’ll begin to thicken and develop a delightful creaminess. This process usually takes about 20 to 30 minutes, depending on your machine. You can gently scrape down the sides with a spatula if you notice any mixture sticking. This helps incorporate everything nicely.
Make certain you’re enjoying this time—the sight of your ice cream thickening and the rich aroma filling the air is nothing short of magical! If you want to enhance the flavor, consider adding small chunks of caramel or sprinkling in a bit of sea salt during the last few minutes of churning.
Once you’ve reached a soft, scoopable consistency, you’ll know it’s almost ready for the next stage. Embrace this moment; you’re one step closer to indulgent salted caramel ice cream!
Step 4. Freeze for Several Hours
With your mixture now churned to a creamy perfection, the next step is all about freezing it to achieve that ideal texture. The excitement grows as you prepare to transform your creation into luscious salted caramel ice cream! Here’s how to get it just right:
- Transfer It: Carefully pour your churned mixture into an airtight container. Make sure it’s evenly spread to help with freezing consistency.
- Seal It Up: Cover the container tightly with a lid or plastic wrap. This prevents ice crystals from forming and keeps your ice cream smooth and creamy.
- Freeze Time: Place the container in the freezer, ensuring it’s in a flat position. Let it freeze for at least 4 to 6 hours, or overnight if you can resist that sweet temptation!
- Check Consistency: After several hours, take a peek. Your ice cream should be firm yet scoopable, ready to reveal its deliciousness when you dig in.
As it freezes, your anticipation will build!
You’ll soon be able to savor each delightful bite of this rich and creamy salted caramel ice cream. Enjoy the process and get ready to indulge!
Step 5. Serve With Chocolate Sauce
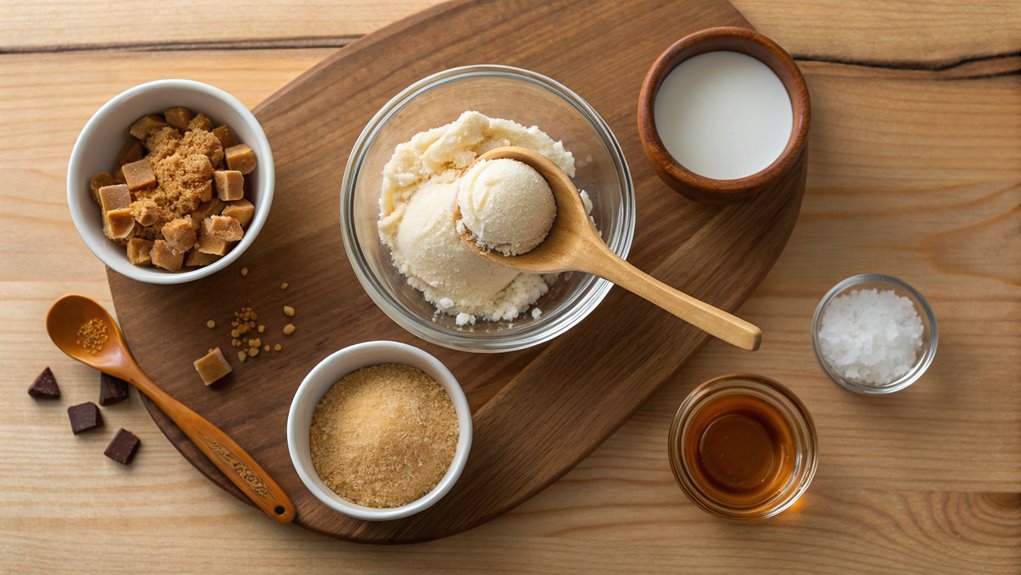
Ready to elevate your salted caramel ice cream experience? Drizzling warm chocolate sauce over your creamy creation adds an irresistible twist that’ll leave everyone craving more.
To start, grab a small saucepan and pour in about a cup of high-quality chocolate chips, or use semisweet chocolate if you prefer. Gently heat these over low heat while stirring continuously. This keeps the chocolate from burning and guarantees a smooth sauce.
Once the chips start to melt, pour in a splash of heavy cream or milk to help reach that perfect drizzle consistency. Stir until everything melds into a glossy sauce that’s ready to impress!
Now, you’ve got your chocolate sauce, so it’s time to serve. Scoop your delicious salted caramel ice cream into bowls, and don’t skimp on those generous portions.
Next, grab that warm chocolate sauce and drench it over the ice cream, allowing it to flow and pool deliciously.
Feel free to sprinkle a touch of sea salt on top to enhance the flavors. Enjoy this exquisite combination of salty and sweet with family and friends. Believe us, they’ll be coming back for seconds!
Final Thoughts
Creating your own salted caramel ice cream is a delicious adventure that brings together sweet and salty flavors in every creamy bite.
You’ll not only impress your family and friends, but you’ll also indulge in an irresistible treat that satisfies your cravings.
Making this ice cream from scratch is a rewarding experience, and it’s easier than you might think!
As you commence this ice cream journey, keep these key points in mind for the best results:
- Use High-Quality Ingredients: Fresh cream and natural sea salt can enhance the flavor profile remarkably.
- Cook Slowly: When making your caramel, patience pays off. Watching your mixture transform guarantees you achieve the perfect texture and color.
- Chill Well: Allow your ice cream base enough time to chill before churning, as it helps create a smooth, creamy final product.
- Experiment: Don’t hesitate to add mix-ins like chocolate chips or nuts to customize your treat.
Frequently Asked Questions
Can I Use Store-Bought Caramel Sauce Instead?
Absolutely, you can use store-bought caramel sauce! It saves time and still offers great flavor. Just make sure to adjust the sweetness to your liking, as some sauces can be quite sweet already. Enjoy!
How Long Does Salted Caramel Ice Cream Last in the Freezer?
Salted caramel ice cream typically lasts about two to three months in the freezer if stored properly in an airtight container. After that, the texture and flavor might deteriorate, so enjoy it while it’s fresh!
Is There a Dairy-Free Version of This Recipe?
Did you know nearly 40% of people follow a dairy-free diet? You can definitely make a dairy-free version using coconut milk or almond milk, plus a dairy-free caramel sauce for that rich flavor you crave.
What Can I Use Instead of Heavy Cream?
You can use coconut cream, cashew cream, or blended silken tofu instead of heavy cream. They’ll provide a rich texture while keeping your dish creamy. Just choose the one that best fits your dietary needs.
Can I Add Mix-Ins Like Nuts or Chocolate Chips?
Imagine a treasure chest overflowing with deliciousness! Yes, you can add mix-ins like nuts or chocolate chips. Just fold them in gently once your mixture is ready, and enjoy an irresistible treat with every spoonful!
