Classic Vanilla Pudding Recipe
Hosting a dinner party and want to impress with classic vanilla pudding? Paying attention to details, like combining milk and sugar properly and timing the vanilla addition, can elevate this simple dish.
Curious to master this timeless dessert and learn some expert tips? Understanding each step’s importance can make all the difference.
Recipe
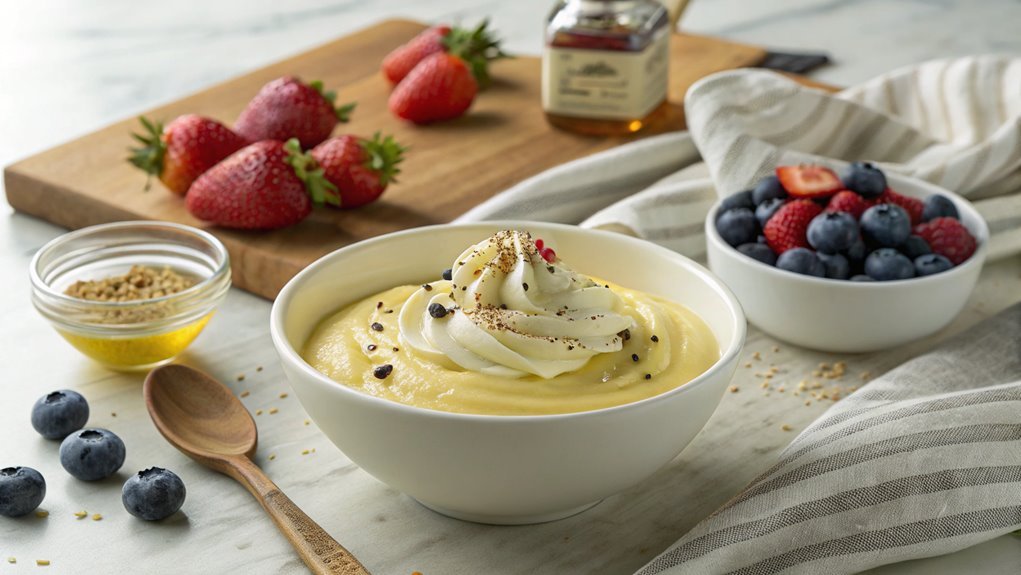
Classic Vanilla Pudding is a timeless dessert that brings comfort and nostalgia in every spoonful. This creamy and luscious pudding is perfect for any occasion, whether you’re serving it at a family gathering or just indulging in a sweet treat at home.
With its simple ingredients and straightforward preparation, you can easily whip up a batch of this delightful dessert.
The key to a successful vanilla pudding lies in the balance of flavors and the cooking technique. Using high-quality vanilla extract or vanilla beans enhances the natural sweetness, while the careful heating of the milk guarantees a smooth and velvety texture.
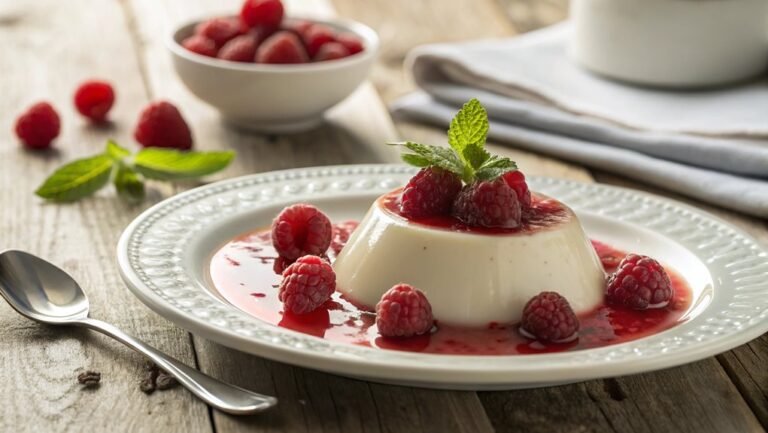
Once you’ve mastered this classic recipe, feel free to experiment by adding your favorite toppings, such as whipped cream, fresh fruit, or even a drizzle of chocolate sauce.
Ingredients:
- 2 cups whole milk
- 1/2 cup granulated sugar
- 1/4 cup cornstarch
- 1/4 teaspoon salt
- 2 large egg yolks
- 2 tablespoons unsalted butter
- 1 tablespoon pure vanilla extract
Now let’s move on to the cooking steps.
Cooking Steps
Let’s get started on making that delicious vanilla pudding!
First, you’ll combine the milk and sugar, creating a sweet base that’s hard to resist.
Then, whisk in the egg yolks and heat the mixture until it thickens, transforming it into a creamy delight you can’t wait to chill and savor!
Step 1. Combine Milk and Sugar
To create a smooth and creamy vanilla pudding, start by combining two cups of milk with half a cup of granulated sugar in a medium saucepan. This simple step is the foundation of your delightful dessert, so make sure you have everything ready.
As you pour the milk into the saucepan, watch how it swirls with the sugar, creating a lovely mixture that promises a delicious treat.
Next, place the saucepan over medium heat. Stir the mixture gently but constantly, allowing the sugar to fully dissolve into the milk. This is essential for achieving that velvety texture you crave in your pudding.
Keep an eye on the mixture, as you want to prevent any scorching or sticking to the bottom of the pan.
As the mixture heats, you’ll notice it starting to steam gently. That’s your cue to keep stirring, as the heat will help blend the flavors beautifully. The aroma of sweet milk fills the air, making the anticipation even sweeter.
Once the sugar’s dissolved, you’re ready for the next exciting step in your pudding-making adventure. Enjoy each moment—this classic dessert is well worth the effort!
Step 2. Whisk in Egg Yolks
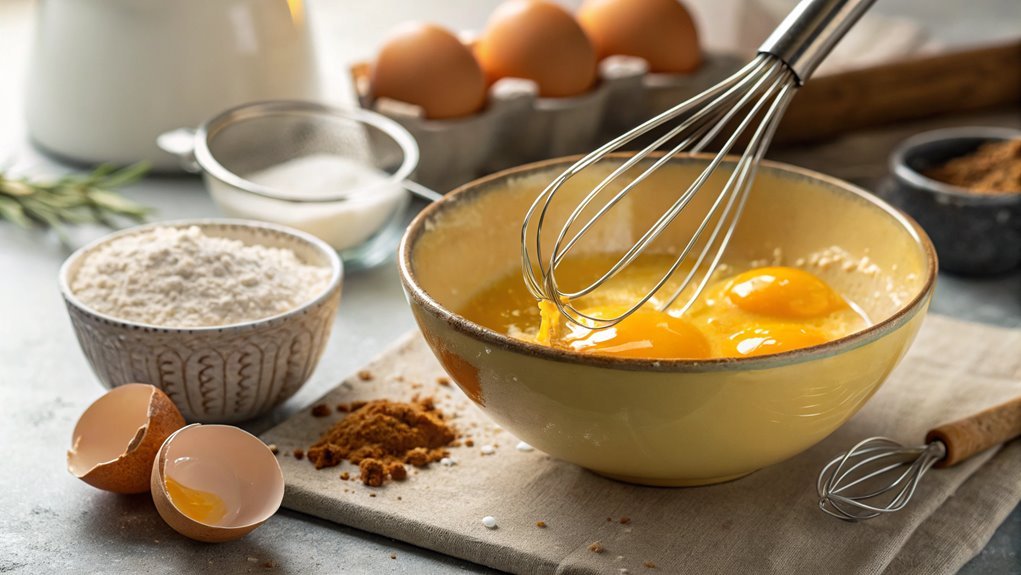
Once the milk and sugar mixture is steaming and the sugar has fully dissolved, whisk in three egg yolks until they’re well combined. This step is essential, as it adds richness to your pudding and contributes to that smooth, creamy texture you crave.
Make sure to whisk vigorously but gently; you want to fully incorporate the yolks without scrambling them. Feel the excitement build as you see the mixture turning a pale yellow, indicating that the yolks are blending beautifully with the milk and sugar.
As you whisk, focus on achieving a uniform mixture. The egg yolks will thicken the pudding when heated, so ensuring they’re well combined at this stage will lead to a delightful final result.
You might notice the creamy consistency starting to develop, which is a fantastic sign that you’re on the right track. Don’t rush this part; it’s all about getting it just right.
Trust your instincts and enjoy the process! You’re creating something special—classic vanilla pudding that will impress everyone.
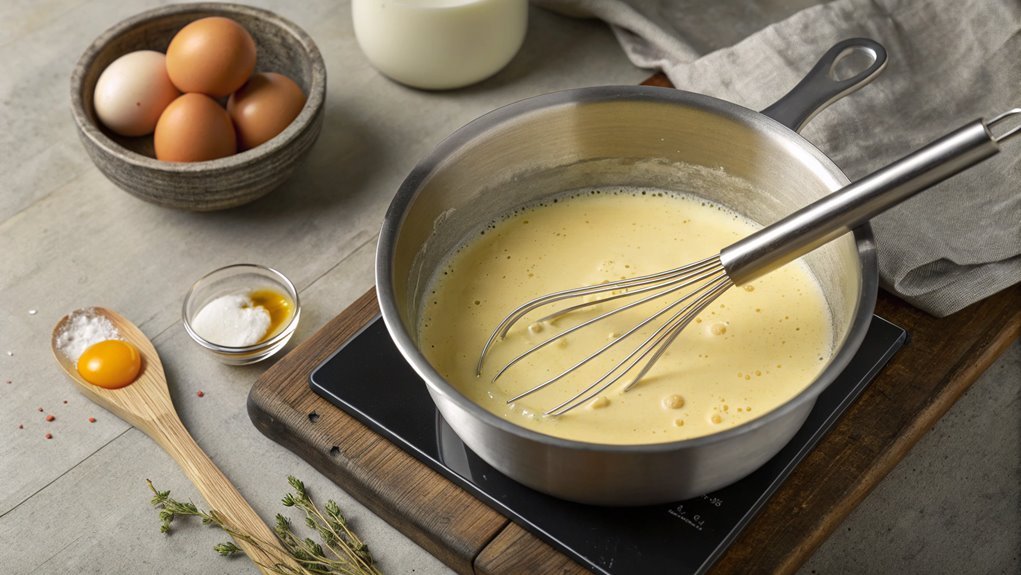
Step 3. Heat Mixture Until Thickened
Gently heat the mixture over medium-low heat, stirring continuously to prevent it from sticking to the bottom of the pan. As you do this, you’ll notice the mixture start to warm up and thicken.
This step is essential, as it transforms your ingredients into that irresistible pudding texture you crave! Keep your eye on it, and don’t rush; patience is key here.
As you stir, feel the mixture change from a liquid to a creamy consistency. It’ll take about 5 to 10 minutes, so stay engaged! You want it to thicken enough to coat the back of a spoon.
This is the moment when your kitchen starts to smell incredible, filling the air with sweet anticipation.
If you notice any lumps forming, don’t fret; simply keep stirring, and they’ll smooth out. It’s all part of the process!
By the end of this step, you’ll have a rich, velvety pudding that’s begging for a splash of vanilla and a dollop of whipped cream.
Step 4. Add Vanilla Extract
As soon as your pudding has thickened to that perfect creamy consistency, it’s time to elevate its flavor by adding vanilla extract. This step is essential for enhancing the taste, and it brings a warm, inviting aroma that makes your dessert irresistible.
Grab your pure vanilla extract, and measure out about one to two teaspoons, depending on how strong you want the flavor to be.
Once you’ve measured it, pour the extract into your pudding mixture. Stir gently but thoroughly, ensuring the vanilla is evenly distributed throughout. You’ll notice how the rich, sweet scent fills your kitchen, and it’s hard not to feel excited about your creation!
If you want to take it a step further, consider scraping the seeds from a vanilla bean pod for an even more intense flavor. Just remember to add it along with the extract.
After mixing, give your pudding a quick taste. You might find it’s the perfect balance of creamy and sweet, but feel free to adjust the vanilla to match your preference.
This simple addition transforms your pudding into a truly delightful treat that everyone will love! Enjoy the process, and get ready for a delicious dessert!
Step 5. Chill Before Serving
After you’ve added the vanilla extract, it’s important to let your pudding chill before serving. This step not only enhances the flavors but also gives your pudding that delightful, creamy texture everyone loves.
Pour your pudding into individual serving dishes or one large bowl, whichever you prefer. Cover it with plastic wrap, ensuring it touches the surface of the pudding to prevent a skin from forming.
Now, pop it into the refrigerator and let it chill for at least two hours. This waiting period might feel long, but trust me, it’s worth it! As the pudding cools, it thickens and becomes perfectly set, creating that luscious consistency that makes each spoonful a treat.
While you wait, you can think about how you’ll serve it. Will you top it with whipped cream, fresh fruit, or maybe even a sprinkle of chocolate shavings? The possibilities are endless!
When the time is up, take it out of the fridge, and prepare to impress your family or friends. They’ll be amazed by your homemade vanilla pudding, and you’ll feel proud of your delicious creation!
Final Thoughts
While you may have enjoyed the process of making classic vanilla pudding, the true reward lies in savoring your creation. There’s something magical about the creamy, luscious texture and the sweet, comforting vanilla flavor.
As you take your first spoonful, you’ll appreciate the effort you put in and the joy of homemade desserts.
Imagine the delight as you experience:
- The smoothness gliding over your tongue, melting effortlessly with every bite.
- The rich aroma wafting through the air, inviting you to indulge in this classic treat.
- The satisfaction of knowing you made this from scratch, using simple ingredients.
This pudding is perfect for any occasion, whether it’s a weeknight dessert or a special celebration.
You can even personalize it with toppings like whipped cream, fresh fruits, or a sprinkle of chocolate shavings. Each variation adds its own flair and elevates the experience.
Frequently Asked Questions
Can I Substitute Almond Milk for Regular Milk?
Yes, you can substitute almond milk for regular milk in many recipes. Just keep in mind that the flavor and texture might change slightly, but it’ll still work well in most dishes you try.
How Long Does Homemade Vanilla Pudding Last in the Fridge?
Homemade vanilla pudding can last in the fridge for up to a week, but it’s best enjoyed fresh. Just store it in an airtight container, and you’ll savor its creamy goodness for days!
Is It Possible to Make Vanilla Pudding Dairy-Free?
Yes, you can definitely make vanilla pudding dairy-free! Substitute traditional milk with almond, coconut, or oat milk, and use dairy-free butter or cornstarch as a thickener. It’ll taste deliciously creamy and satisfying!
What Can I Use as a Thickener Besides Cornstarch?
If cornstarch isn’t your go-to, consider using arrowroot powder or tapioca starch. These alternatives work wonders, thickening your mixture perfectly. Just remember, each option might alter the final texture slightly, so experiment a bit!
Can I Freeze Vanilla Pudding for Later Use?
Yes, you can freeze vanilla pudding for later use. Just store it in an airtight container, but keep in mind the texture might change slightly after thawing. Stir it well before serving to improve consistency.
Conclusion
Discover the magic of classic vanilla pudding, a dessert that delights the taste buds and warms the heart. Enjoy it plain or with your favorite toppings, and watch as each creamy spoonful leaves everyone wanting more. Embrace the joy of creating this sweet masterpiece!