Gluten-Free Pie Crust Recipe
Creating a gluten-free pie crust is easier than it seems, with the right flours and techniques leading to a flaky, delicious result. Key factors include your choice of fats and proper chilling methods.
Achieving a texture comparable to traditional crusts involves more than just mixing ingredients. The secret lies in balancing these elements for the perfect outcome.
Recipe
Making a gluten-free pie crust can be incredibly satisfying, especially when you’re able to create a delicious base for your favorite fillings. This recipe isn’t only simple but also versatile, allowing you to use it for both sweet and savory pies.
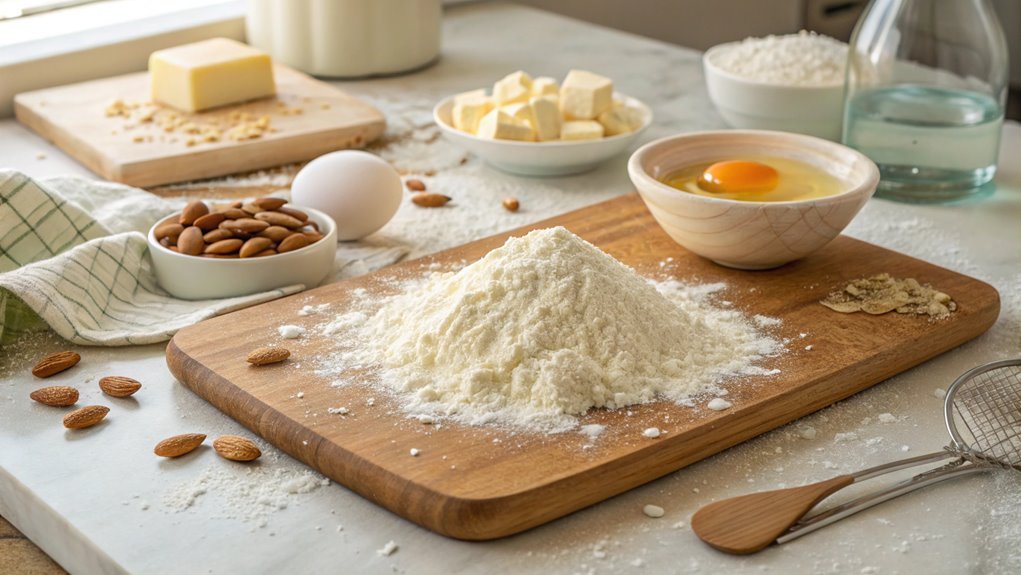
The key to a perfect gluten-free crust is to combine different types of gluten-free flours to achieve the right texture and flavor. By blending almond flour with a gluten-free all-purpose flour, you can create a crust that’s both flaky and sturdy.
Before you begin, verify all your ingredients are at room temperature for the best results. You can customize this crust by adding a pinch of sugar for sweet pies or herbs for savory ones.
Whether you’re making a fruit pie, a quiche, or a custard filling, this gluten-free pie crust will hold up beautifully, allowing you to enjoy your favorite recipes without the worry of gluten.
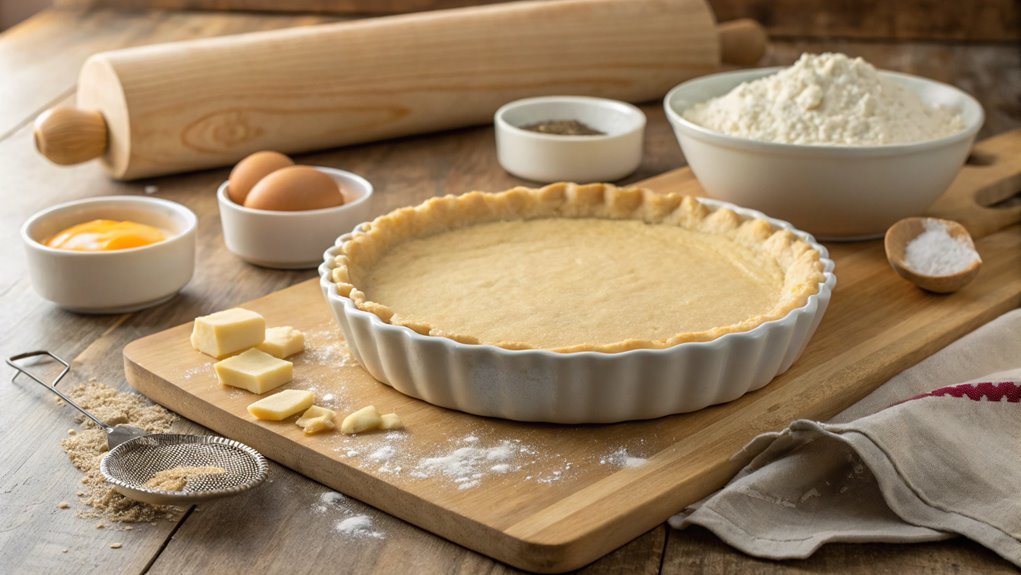
Ingredients:
- 1 ½ cups gluten-free all-purpose flour
- ½ cup almond flour
- 1 teaspoon salt
- 1 tablespoon sugar (optional, for sweet pies)
- ½ cup cold butter or coconut oil, cubed
- 1 egg
- 2-4 tablespoons cold water
Now let’s move on to the cooking steps.
Cooking Steps
Now that you’ve gathered your ingredients, let’s get cooking!
Start by preheating your oven to 350°F, setting the stage for a perfectly baked pie crust.
As you mix your dry ingredients thoroughly, you’ll feel the excitement build, knowing you’re one step closer to enjoying a delicious homemade gluten-free treat!
Step 1. Preheat the Oven to 350°F
To kick off your gluten-free pie crust, preheating the oven to 350°F is essential. This step sets the stage for perfectly baked crusts that are crispy on the outside and tender on the inside.
As you turn the oven dial, take a moment to appreciate the exciting journey you’re about to begin. The warm air will help your pie crust bake evenly, ensuring it holds its shape beautifully while you fill it with your favorite ingredients.
While the oven heats up, you can gather your other ingredients and tools, making the whole process smooth and enjoyable. A preheated oven not only influences the texture but also enhances the flavors of your crust.
You’ll find that the right temperature can make a world of difference in achieving that golden brown hue that looks as good as it tastes.
Step 2. Mix Dry Ingredients Thoroughly
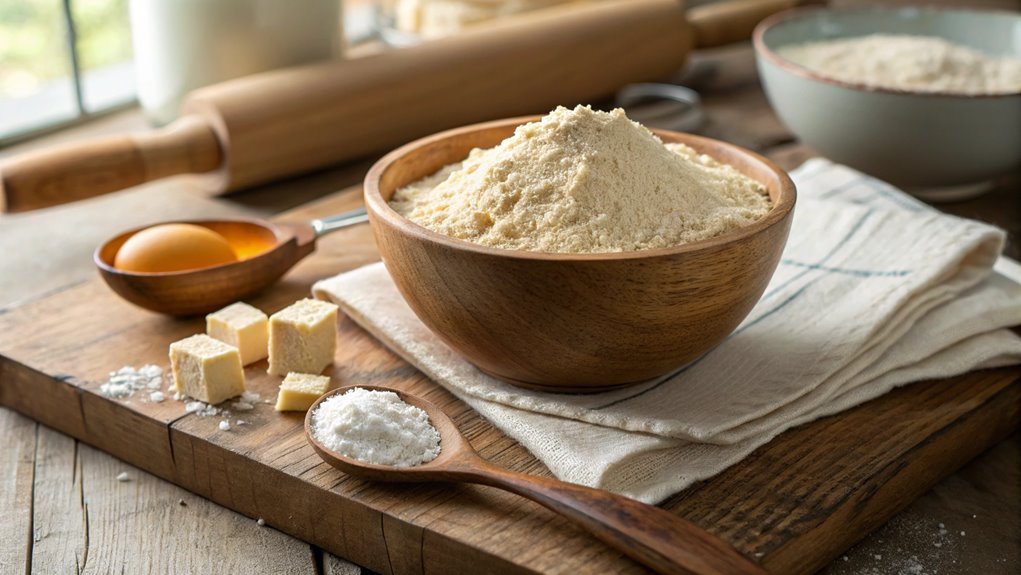
With the oven preheated, it’s time to focus on mixing the dry ingredients thoroughly. This step is essential for achieving a delicious and flaky gluten-free pie crust.
Start by gathering your gluten-free flour blend, salt, and any additional dry ingredients like sugar or spices. In a large mixing bowl, add your flour and salt, then sprinkle in the sugar if you’re using it.
Now, grab a whisk or a fork and mix these ingredients together. You want to make certain that everything is evenly distributed, as this helps create a uniform texture in your crust.
Take your time with this step; it’s worth it! If you’re using a gluten-free flour blend, make sure it contains xanthan gum, which helps bind the ingredients without gluten.
Once you’ve thoroughly mixed the dry ingredients, you’ll be ready for the next exciting phase of your pie crust adventure. This foundation sets the stage for a delightful pie that’s perfect for any occasion.
Step 3. Add Wet Ingredients Gradually
As you prepare to add the wet ingredients, be mindful of how each component will contribute to your pie crust’s texture and flavor.
Start by measuring out your chosen liquid, whether it’s water, milk, or a dairy-free alternative. You want to use just enough to bind the dry ingredients together without making the dough too sticky.
Begin by pouring in a small amount of the liquid, then mix it into the dry ingredients gently. It’s essential to do this gradually, so you can control the consistency of your dough.
As you fold the wet ingredients in, you’ll notice the dry mix transforming into a cohesive mass. If the dough feels crumbly, add a little more liquid, but don’t rush it.
Step 4. Chill Dough for 30 Minutes
Once you’ve formed your dough, chilling it for 30 minutes is essential for achieving the perfect pie crust. This step might seem simple, but it makes a world of difference in texture and flavor. When you chill the dough, the fats solidify, which helps create that flaky, tender crust we all love.
Plus, it gives the gluten-free flour a chance to hydrate, ensuring your crust holds together beautifully.
To chill your dough, wrap it tightly in plastic wrap or place it in an airtight container. Make sure it’s well-covered to prevent it from drying out. While the dough chills, you can take a moment to appreciate your hard work so far! You’re one step closer to a delicious homemade pie.
After 30 minutes, your dough will be more manageable, making it easier to roll out without crumbling. This is a fantastic time to think about what delicious filling you want to use, from sweet fruit to rich chocolate.
Trust me, this little wait is totally worth it, and your taste buds will thank you. So, grab a cup of tea or coffee, and enjoy the anticipation of your delightful pie ahead!
Step 5. Roll Out the Dough
Now it’s time to roll out the dough and bring your pie to life! Start by lightly dusting your work surface with gluten-free flour to prevent sticking.
Take the chilled dough and place it in the center of your floured surface. Using a rolling pin, gently flatten the dough into a disk. Roll it out evenly, applying gentle pressure. Aim for about a quarter-inch thickness, which will give your crust a perfect texture.
As you roll, keep lifting the dough occasionally to verify it isn’t sticking. If you notice any sticky spots, sprinkle a bit more flour underneath.
Once you’ve achieved your desired thickness, it’s time to transfer the dough to your pie dish. You can do this by carefully rolling it around the pin and then unrolling it over the dish.
Press the dough gently into the corners and edges of the dish, making sure it fits snugly. Trim any excess dough hanging over the edges, and if you like, crimp the edges for a beautiful finish.
Now you’re ready to fill it with your favorite pie filling! Get excited—your gluten-free pie adventure has just begun!
Final Thoughts
While creating a gluten-free pie crust might seem challenging at first, it can be a rewarding experience that opens up a world of delicious possibilities.
With a few simple ingredients and techniques, you can whip up a crust that’s not only gluten-free but also incredibly tasty. Imagine serving a beautiful pie at your next gathering, knowing everyone can enjoy it, regardless of dietary restrictions.
Don’t hesitate to experiment with different flours, like almond or coconut, to find the perfect flavor and texture that suits your taste.
You’ll discover that gluten-free baking can be just as satisfying as traditional methods. Remember, practice makes perfect. Your first attempt may not be flawless, but each pie will teach you something new, helping you refine your skills.
Frequently Asked Questions
Can I Use Almond Flour Instead of Gluten-Free All-Purpose Flour?
Yes, you can use almond flour instead of gluten-free all-purpose flour, but it’ll change the texture and flavor. You might need to adjust the liquid and binding agents for the best results in your baking.
How Should I Store Leftover Pie Crust?
You should store leftover pie crust in an airtight container in the fridge for up to three days. If you want to keep it longer, freeze it, wrapping it tightly to prevent freezer burn.
Is Xanthan Gum Necessary in Gluten-Free Pie Crust?
Think of xanthan gum as the glue that holds your gluten-free creations together. While it’s not strictly necessary, it helps improve texture and elasticity, making your crusts flakier and more enjoyable. You might want to try it!
Can I Freeze the Pie Crust Before Baking?
Yes, you can freeze the pie crust before baking. Just wrap it tightly in plastic wrap or foil and store it in an airtight container. When you’re ready, thaw it in the fridge before baking.
What Are Some Good Fillings for Gluten-Free Pie Crust?
You can fill your gluten-free pie crust with a variety of delicious options. Consider classic fruit fillings, rich chocolate ganache, or creamy custards. Each choice brings unique flavors that’ll satisfy any dessert lover’s cravings!
Conclusion
You’ve made a delightful gluten-free pie crust that will surely impress! Its perfect blend of textures and flavors can elevate any filling into a fabulous feast.
Remember, chilling the dough is essential for a flaky finish. Gather your favorite fillings, roll out the dough, and enjoy sharing a scrumptious slice with friends and family.
Happy baking and savor every bite of your delicious creation!