Chocolate Bark Recipe
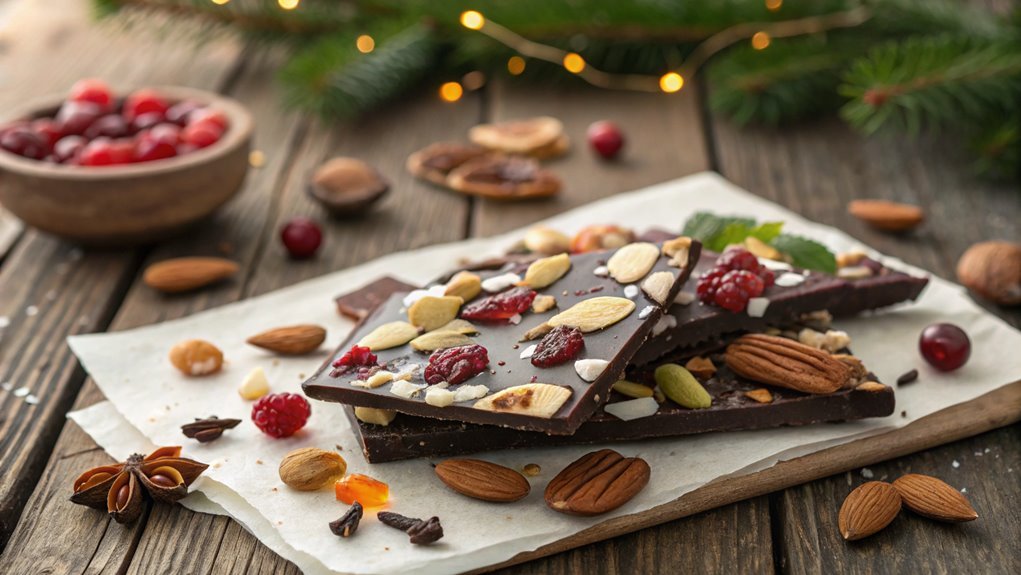
Chocolate bark is a simple treat that allows for culinary creativity. Mix and match flavors, textures, and dietary preferences to create a unique combination. Classic or adventurous pairings both lead to satisfying results. Elevate your bark beyond just melting chocolate and adding toppings by considering different techniques and tips.
Recipe
Chocolate bark is a delightful and versatile treat that’s incredibly easy to make. This simple confection is perfect for various occasions, whether you’re looking for a sweet snack to enjoy at home or a thoughtful handmade gift for friends and family.
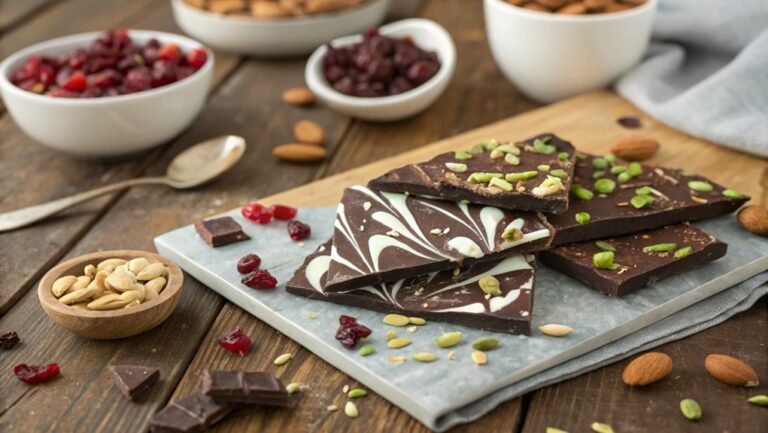
With a base of smooth melted chocolate, you can customize your bark by adding your favorite toppings—nuts, dried fruits, or even crushed candies—to create a unique flavor combination that suits your taste.
To get started on your chocolate bark journey, you’ll need to gather your ingredients and choose the type of chocolate you prefer. Dark, milk, or white chocolate can all serve as the foundation for your bark, and mixing different chocolates can add a delicious twist.
Once it’s melted and spread out on a baking sheet, all you need to do is sprinkle your chosen toppings and let it cool. In no time at all, you’ll have a delicious homemade treat that’s sure to impress!
- 12 ounces of chocolate (dark, milk, or white)
- 1 cup mixed nuts (e.g., almonds, walnuts, pecans)
- 1/2 cup dried fruit (e.g., cranberries, raisins, orange peel)
- 1/4 cup crushed candy (e.g., peppermint, toffee)
- Sea salt (optional, for garnish)
Now let’s move on to the cooking steps.
Cooking Steps
Get ready to create your own delicious chocolate bark!
You’ll start by melting chocolate over low heat, which brings out the rich flavor in every bite.
Once it’s smooth, add your favorite toppings, spread the mixture on a baking sheet, and chill it until it’s firm—easy, right?
Now let’s move on to the cooking steps.
Step 1. Melt Chocolate Over Low Heat
As you prepare to melt the chocolate, remember that low heat is essential for achieving a smooth, glossy result. Melting chocolate can be a delightful experience, allowing you to see the transformation of solid to silky.
Start by breaking your chocolate into small, uniform pieces; this helps it melt evenly. Use a heatproof bowl placed over a pot of simmering water, creating a gentle steam bath that warms the chocolate slowly.
Here are a few tips to make the process even easier:
- Choose the right chocolate: Dark, milk, or white chocolate all have different melting points.
- Avoid water: Even a tiny drop can cause the chocolate to seize, ruining the smooth texture.
- Stir gently: Use a spatula to mix the chocolate as it melts; this encourages even heating.
- Monitor the heat: Keep the flame low, and turn it off before the chocolate’s fully melted—residual heat will finish the job.
With patience and a little care, you’ll end up with beautifully melted chocolate, ready for your delicious chocolate bark.
Enjoy each step, knowing you’re creating something scrumptious!
Step 2. Add Toppings of Choice
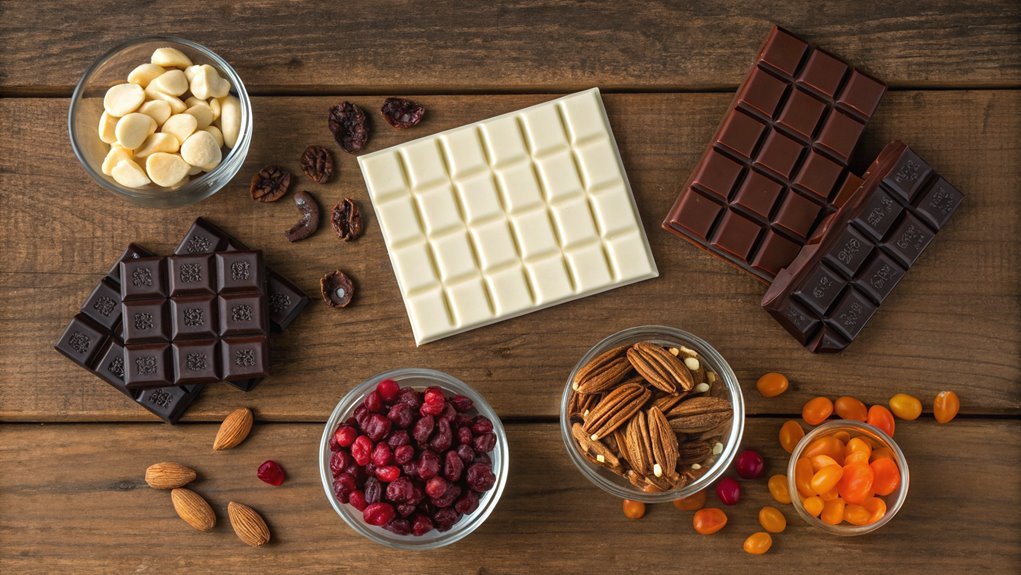
Once your chocolate is perfectly melted and glossy, it’s time to make it your own by adding toppings of choice. This is where the fun really begins! You can let your creativity shine while personalizing your chocolate bark.
Think about your favorite flavors and textures. Crushed nuts, like almonds or walnuts, add a delightful crunch, while dried fruits, such as cranberries or raisins, introduce a sweet and chewy element.
Other delicious options include coconut flakes for a tropical twist, or pretzels for that salty-sweet balance. Don’t forget about sprinkles or colorful candies if you want to bring some cheerfulness to your creation!
As you sprinkle your toppings over the warm chocolate, press them down gently to guarantee they stick. Feel free to mix and match, creating combinations that excite you. Just remember, it’s your chocolate bark, so there are truly no limits!
Use this opportunity to try something new or to incorporate seasonal favorites. Once you’re satisfied with your toppings, get ready to move on to the next step of spreading your delicious creation out. Enjoy this creative stage; it’s all about making it uniquely yours!
Step 3. Spread Mixture on Baking Sheet
Carefully spread the chocolate mixture onto a lined baking sheet, ensuring an even layer for uniform thickness. This step is essential, as it sets the stage for your beautiful chocolate bark. You’ll want to make sure every corner of the baking sheet is covered with the delightful blend of chocolate and toppings.
Use a spatula for the best control, making it effortless to achieve that perfect finish. As you spread, keep an eye out for a smooth, even surface.
Here are some tips to enhance your experience:
- Maintain thickness: Aim for about ¼-inch thickness for a perfect balance between crisp and chewy.
- Use a spatula: A silicone spatula works wonders for even spreading and scraping.
- Tap gently: Once spread, gently tap the baking sheet on the counter to help eliminate air bubbles.
- Don’t rush: Take your time—this is where the magic begins!
With the chocolate layer ready, you’re one step closer to indulging in this delicious treat. Enjoy this creative cooking moment—you’re doing great, and the outcome will be so rewarding!
Step 4. Chill Until Firm
After you’ve spread the chocolate mixture evenly, it’s important to chill it until firm. This step might seem simple, but it’s vital for the perfect bark. You’ll want to pop your baking sheet or pan into the refrigerator for at least 30 minutes, or until you can press on the chocolate and it feels solid.
The chocolate’s cool embrace will help it set nicely, locking in all those delicious flavors you’ve layered in.
As the chocolate chills, you can spend this time dreaming up creative toppings or flavors. Maybe you want a sprinkle of sea salt on top or some dried fruits for a pop of color and taste. This is your chance to personalize the bark to suit your taste buds!
Keep an eye on the chocolate while it chills. Once it’s firm enough to hold its shape, you’ll know it’s time for the next exciting step. The anticipation builds as you imagine the sweet creation waiting for you.
Step 5. Break Into Pieces
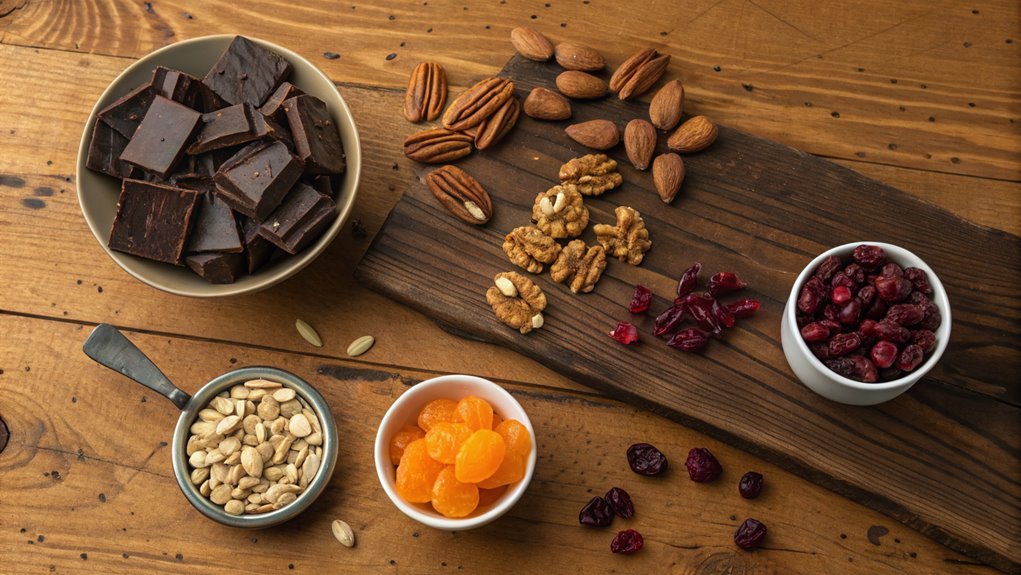
With the chocolate now set and firm, it’s time to break it into pieces. This step is incredibly satisfying, and watching your chocolate bark come apart in delightful chunks is part of the fun! Grab a sharp knife or simply use your hands to snap off pieces. Remember, each piece can be as large or small as you want, depending on your preference.
Here are a few tips to make breaking your bark even easier:
- Chill the bark slightly longer for a firmer texture.
- Place the bark on a cutting board for easy access.
- Use a large knife for clean, straight cuts on thicker pieces.
- Enjoy the unique shapes when you snap it by hand!
Once you’ve broken the bark, arrange the pieces on a beautiful platter. This makes it perfect for sharing with friends and family or for storing as a tasty treat later.
You’ll love tasting the mingling flavors of chocolate and your chosen toppings. The moment you take a bite, you’ll realize that it was all worth it! So go ahead, break it apart, and indulge in your delicious creation!
Final Thoughts
When it comes to homemade chocolate bark, you’ll find that the possibilities are endless. You can mix and match your favorite ingredients, from nuts to dried fruits to sprinkles, to create something truly unique.
This flexibility allows you to tailor each batch to your taste or even make themed treats for special occasions. Imagine the joy of sharing your creations with friends and family!
Making chocolate bark is a simple process, and it doesn’t require any fancy equipment. You’ll love how quickly it comes together, making it a perfect option for last-minute gifts or snacks.
Plus, there’s nothing quite like melting chocolate and watching it transform right before your eyes. It’s genuinely a delightful experience!
Frequently Asked Questions
Can I Use White Chocolate Instead of Dark Chocolate?
Yes, you can absolutely use white chocolate instead of dark chocolate. Just keep in mind that the flavor and sweetness will differ, so adjust your toppings and ingredients to complement that richer, creamier taste.
How Long Does Chocolate Bark Last in Storage?
Chocolate bark typically lasts about two weeks when stored properly. Keep it in an airtight container at room temperature to maintain freshness. If refrigerated, it may last a bit longer, but moisture can affect texture.
What Toppings Pair Well With Chocolate Bark?
When you’re exploring toppings, consider nuts, dried fruits, or sea salt. You can also try crushed cookies, pretzels, or coconut flakes. Each adds unique flavors and textures that’ll elevate your sweet creation beautifully!
Is It Possible to Make Vegan Chocolate Bark?
Making vegan chocolate bark’s as easy as pie! You can use dairy-free chocolate and top it with your favorite nuts, fruits, or seeds. Just melt, mix, and let it cool for a delightful treat.
Can I Freeze Chocolate Bark for Later Use?
Yes, you can freeze chocolate bark for later use. Just wrap it tightly in plastic wrap or foil, then seal it in an airtight container. It’ll maintain its flavor and texture for up to three months.

