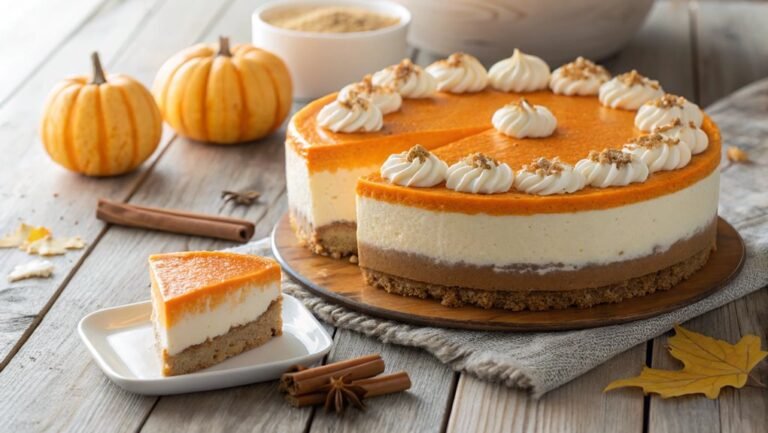
Sugar-Free Pumpkin Pie Recipe
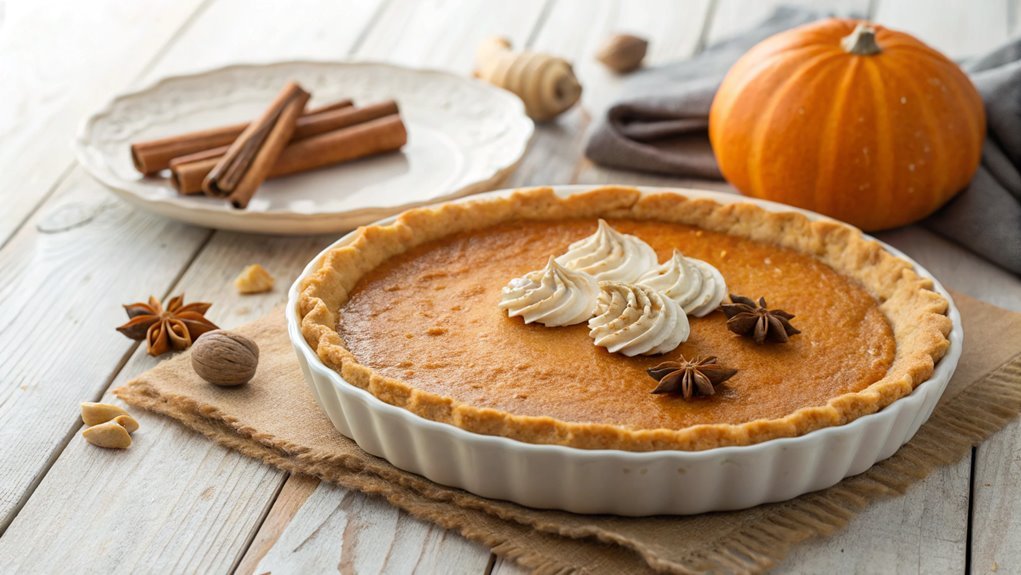
Did you know that nearly 70% of Americans are reducing their sugar intake? A sugar-free pumpkin pie offers a guilt-free dessert option that retains the rich flavors of traditional pumpkin pie. It’s also easy to prepare. Curious about the healthy and delicious ingredients? Keep reading to learn how to impress your guests this season.
Recipe
If you’re looking to enjoy a classic dessert without the added sugar, this sugar-free pumpkin pie is the perfect solution! Packed with the rich flavors of pumpkin and a blend of warm spices, this pie offers a delightful twist on a traditional favorite.
Whether it’s for Thanksgiving, a family gathering, or simply a sweet treat, this recipe will satisfy your craving for something delicious while keeping it healthy.
To make this sugar-free pumpkin pie, you’ll need to gather a few simple ingredients. This recipe uses a sugar substitute to bring sweetness to the filling without the calories or blood sugar spikes associated with traditional sugar.
Plus, it combines nutmeg, cinnamon, and ginger to create a mouthwatering aromatic experience. Serve it with a dollop of sugar-free whipped cream for an extra touch!
Ingredients:
- 1 prepared pie crust (store-bought or homemade)
- 1 can (15 oz) pure pumpkin puree
- 1 cup sugar substitute (e.g., erythritol, stevia, or monk fruit)
- 1 tsp ground cinnamon
- 1/2 tsp ground nutmeg
- 1/2 tsp ground ginger
- 1/2 tsp salt
- 3 large eggs
- 1 cup evaporated milk (or coconut milk for a dairy-free option)
- 1 tsp vanilla extract
Now let’s move on to the cooking steps.
Cooking Steps
Let’s get started on making your delicious sugar-free pumpkin pie!
First, you’ll want to preheat the oven to 350°F to guarantee it’s nice and warm for baking.
Then, gather your ingredients in a bowl; mixing them together will set the stage for a delightful dessert that everyone will love!
Step 1. Preheat the Oven to 350°F
As you prepare to whip up your sugar-free pumpkin pie, preheating the oven to 350°F is an essential first step.
This temperature is perfect for baking, ensuring your pie crust turns golden brown and your filling cooks evenly. Don’t skip this vital step, as starting with a hot oven helps to create that delicious, flaky crust we all love.
To preheat, simply turn your oven dial or press the corresponding button and wait for it to reach the desired temperature.
You’ll often hear a beep or see a light to indicate it’s ready. While you’re waiting, it’s a great time to gather your ingredients and get excited about the baking process.
Step 2. Combine Ingredients in Bowl
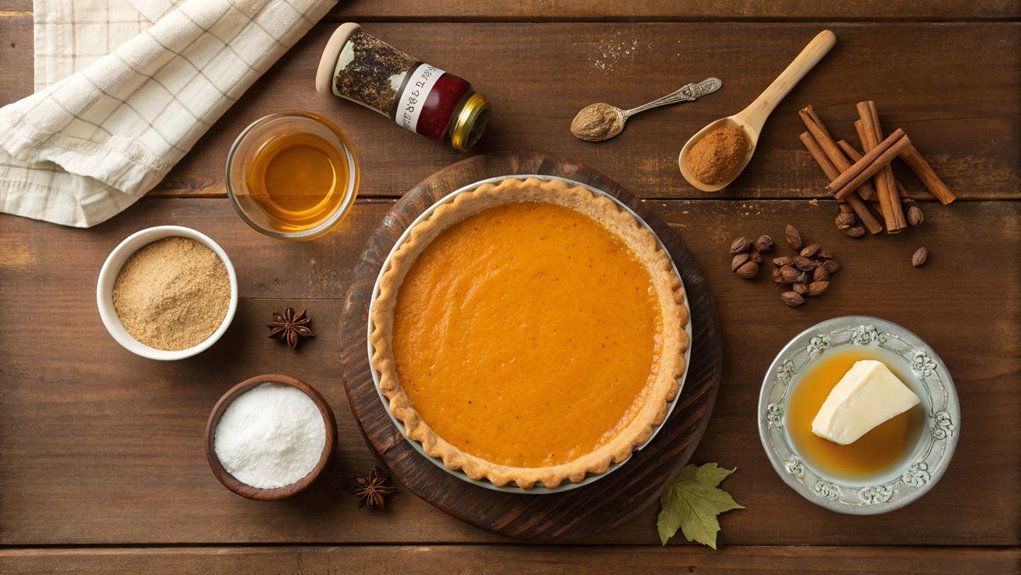
Start by gathering all your ingredients in a large mixing bowl. You’ll need canned pumpkin, sugar-free sweetener, eggs, heavy cream, pumpkin spice, and a pinch of salt.
As you hold these ingredients, take a moment to marvel at how they’ll come together to create that classic autumn flavor you love.
Next, add the canned pumpkin and sugar-free sweetener into the bowl. This sweetener will keep your pie delicious while cutting down on sugar!
Crack the eggs and whisk them gently before adding them to the mix. They add richness and help bind everything together.
Pour in the heavy cream for a delightful creaminess—it’s key to a smooth filling!
Now, sprinkle in that warm pumpkin spice and a dash of salt, enhancing the flavors beautifully.
Using a whisk or spatula, mix everything together until it’s smooth and well combined. You want your batter to be silky and uniform, free of lumps.
Give it a taste, and you’ll feel that excitement building! The aroma of spices will surely make your mouth water, setting the stage for an incredible pumpkin pie experience.
Enjoy this simple yet satisfying step—you’re just a whisk away from dessert magic!
Step 3. Pour Mixture Into Pie Crust
Gently pour the smooth pumpkin mixture into your prepared pie crust, guaranteeing an even distribution for a perfectly baked pie. Take your time with this step, as it’s key to achieving that ideal texture. As you pour, you might notice the rich, warm color of the mixture, which is absolutely inviting.
Once you’ve poured the mixture in, use a spatula to help spread it out if necessary. This will guarantee that every bite of your pie gets that lovely pumpkin flavor. It’s also important to tap the pie dish gently on your counter to release any air bubbles that may have formed during mixing. Removing these bubbles gives you a lovely, even texture after baking.
Feeling excited yet? You should be! This step is one of the most rewarding moments in the process. Picture the delicious aroma filling your kitchen soon.
Before proceeding to the next steps, take a moment to admire your creation in the pie dish. You’ve put in the work, and it’s looking fantastic. Now, you’re just a short step away from enjoying your scrumptious, sugar-free pumpkin pie that you’ve poured your heart into!
Step 4. Bake for 45 Minutes
Now it’s time to bake your pie! Preheat your oven to 350°F (175°C) to create the perfect baking environment. Once it’s ready, slide your beautiful pumpkin pie into the oven and set a timer for 45 minutes.
As your pie bakes, the delightful aroma of pumpkin and spices will fill your kitchen, creating an atmosphere of warmth and comfort.
During this baking time, keep an eye on the pie. You want the filling to set, ideally looking firm yet slightly jiggly at the center. This texture guarantees it won’t be overly dry once it’s cooled. If you notice the crust browning too quickly, don’t hesitate to cover the edges with a bit of foil to protect them.
As the timer approaches, you can almost taste that delicious sugar-free goodness! Just imagine serving a slice to family and friends, all while knowing you’ve created something healthy yet satisfying.
Once the 45 minutes are up, carefully remove the pie from the oven using oven mitts. This is a moment to celebrate your culinary skills, and you’re just a step away from enjoying a homemade treat!
Step 5. Cool Before Serving
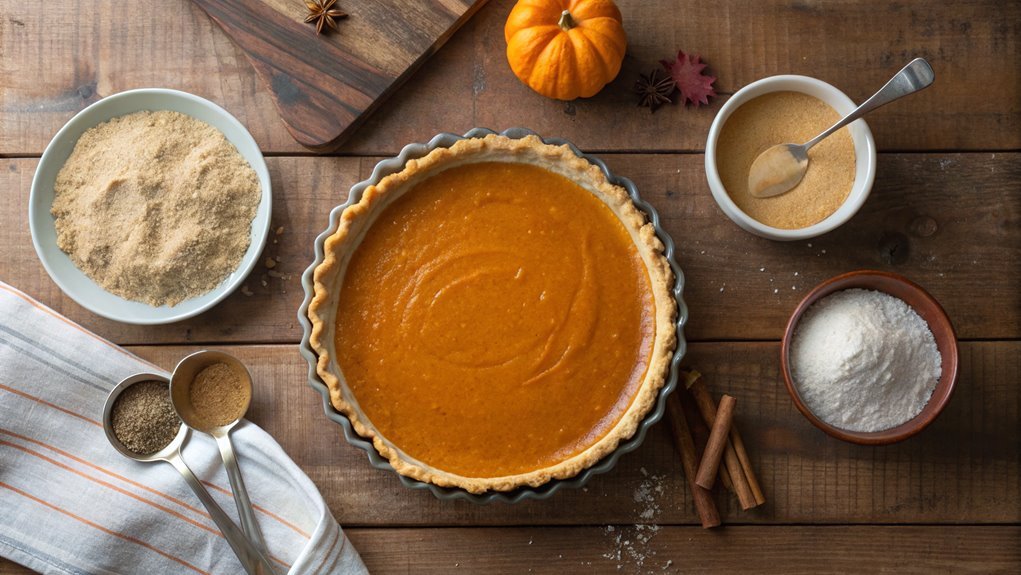
Once you’ve taken your pie out of the oven, it’s crucial to let it cool before serving. Cooling not only helps set the filling but also enhances the flavors, making each slice taste even better.
Place your pumpkin pie on a wire rack if you have one; this allows air to circulate and cool the pie evenly. If you don’t have a wire rack, it’s fine to set it on a cutting board.
Allow your pie to cool for at least two hours at room temperature. This waiting period might feel like a test of patience, but trust me, it’s worth it!
You can also refrigerate your pie after it’s cooled. Chilling it for a few hours or overnight can intensify the flavors and offer a revitalizing, cool treat when you serve it.
When it’s time to slice your perfectly cooled pie, use a sharp knife for clean cuts. Serve it plain or with your favorite sugar-free whipped cream for an added touch.
Each bite will be a delightful explosion of fall flavors, reminding you why pumpkin pie is a classic! So go ahead, dig in and enjoy your fantastic creation!
Final Thoughts
As you savor your sugar-free pumpkin pie, it’s hard not to appreciate how deliciously satisfying a healthier version of this classic dessert can be. This recipe allows you to indulge your sweet tooth without the guilt. The flavors of pumpkin, cinnamon, and nutmeg come together beautifully, providing that warm, comforting sensation we all crave during the fall season.
Making this pie is a fantastic way to impress family and friends at gatherings. They’re sure to love the recipe, and you can share that it’s sugar-free! It’s a wonderful opportunity to show everyone that you don’t have to sacrifice flavor for health.
With simple ingredients and easy steps, you can whip up this delightful treat in no time. Don’t hesitate to experiment with variations, whether adding a dash of maple extract or sneaking in some extra spices. Your kitchen can become the happy backdrop for creating sweet memories while enjoying a healthier lifestyle.
Frequently Asked Questions
Can I Use Fresh Pumpkin Instead of Canned?
Yes, you can definitely use fresh pumpkin instead of canned. Just roast and puree it first. It’ll give your dish a fresher flavor, but you’ll need to adjust your cooking time to guarantee it’s tender.
What Sweeteners Can I Substitute for Sugar?
You can substitute several sweeteners for sugar, like stevia, erythritol, or monk fruit. Each adds sweetness without calories, but adjust quantities according to taste, as they differ in sweetness levels. Experiment to find your favorite!
How Do I Store Leftover Pumpkin Pie?
Your leftover pumpkin pie’s like a cherished secret; store it in the fridge within an airtight container. Each slice will stay fresh, holding onto that warmth and flavor, waiting for your next sweet moment.
Is This Recipe Suitable for Diabetics?
This recipe’s designed to cater to diabetics, as it contains no added sugars. You’ll enjoy a delicious pumpkin pie while keeping your blood sugar levels stable. It’s a great choice for satisfying your sweet cravings!
Can I Make This Pie Crustless?
Absolutely, you can whip up a pie that’s as light as a feather, crustless and free! Just pour the pumpkin filling into a greased dish. Bake it to perfection, and enjoy every velvety bite.
