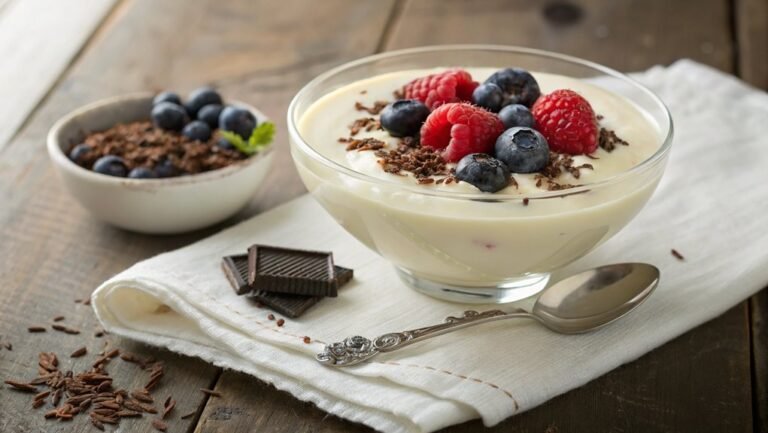
No-Churn Ice Cream Recipe
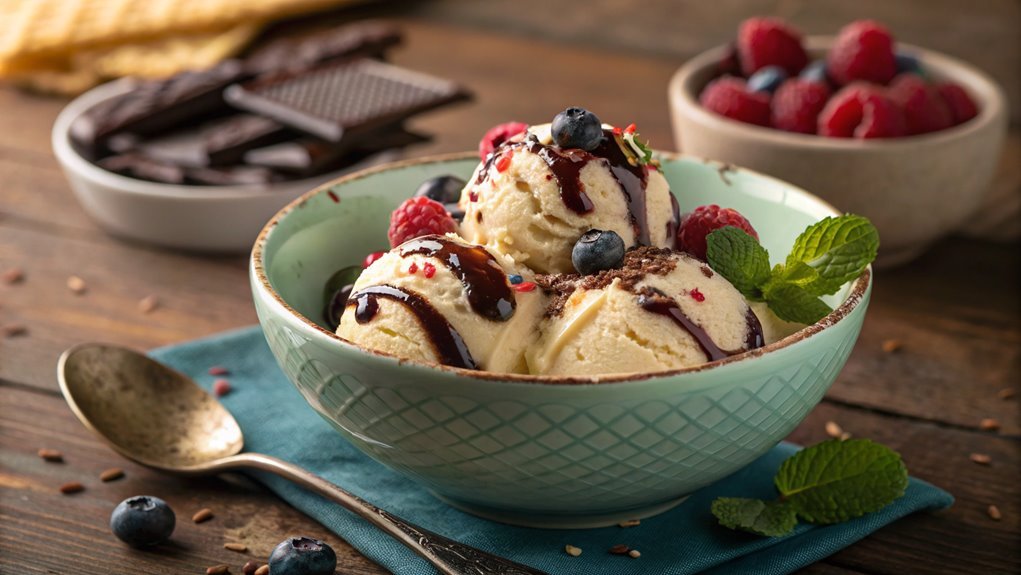
Create no-churn ice cream effortlessly with minimal ingredients, achieving a creamy texture that rivals store-bought versions without traditional complexities. Gather essentials and follow straightforward steps to craft this delightful dessert.
The magic lies in the endless flavor variations you can explore, transforming simple ingredients into a frozen masterpiece. Curious to try it yourself?
Recipe
Making no-churn ice cream is a delightful way to satisfy your sweet tooth without the need for an ice cream maker. This simple recipe combines just a few ingredients to create a creamy, rich treat that can be customized with your favorite flavors and mix-ins.
Perfect for hot summer days or any time you crave a frozen dessert, no-churn ice cream is easy to whip up and requires minimal effort.
To start, you’ll need sweetened condensed milk and heavy cream as your base. The sweetened condensed milk adds sweetness and a smooth texture, while the heavy cream provides the necessary richness.
Once you have your base, you can get creative with flavorings such as vanilla extract, cocoa powder, or fresh fruit. Simply mix your chosen ingredients, fold them together, and freeze for a few hours until set. The result is a creamy, indulgent ice cream that rivals store-bought varieties without the hassle.
Ingredients:
- 2 cups heavy cream
- 1 can (14 ounces) sweetened condensed milk
- 1 teaspoon vanilla extract (or other flavorings)
- Optional mix-ins (chocolate chips, crushed cookies, fruit, etc.)
Now let’s move on to the cooking steps.
Cooking Steps
Let’s get started on making your delicious no-churn ice cream!
First, you’ll want to gather all your ingredients to guarantee a smooth process.
Once you have everything ready, mixing the cream and sweetener will set the stage for a tasty treat that you won’t soon forget.
Step 1. Gather Your Ingredients First
Before diving into the delicious world of no-churn ice cream, it’s essential to gather your ingredients first. This simple step sets the stage for an amazing treat that you and your loved ones will enjoy.
You’ll need just a few key ingredients to get started: heavy cream, sweetened condensed milk, and vanilla extract. If you’re feeling adventurous, consider adding mix-ins like chocolate chips, crushed cookies, or fresh fruits.
Make sure your heavy cream is cold, as this helps create that perfect airy texture when whipped. Grab a large mixing bowl and a whisk or an electric mixer to make the process even easier.
You might also want to have a loaf pan or an airtight container ready for freezing your ice cream later on.
Take a moment to measure everything out, so you won’t have to scramble once you start mixing. Organizing your ingredients will make the whole experience smoother and more enjoyable. Plus, you’ll feel like a pro in your kitchen!
Once you’ve got everything gathered, you’re just moments away from creating a delightful homemade ice cream that’s sure to impress. So, let’s get started!
Step 2. Mix Cream and Sweetener
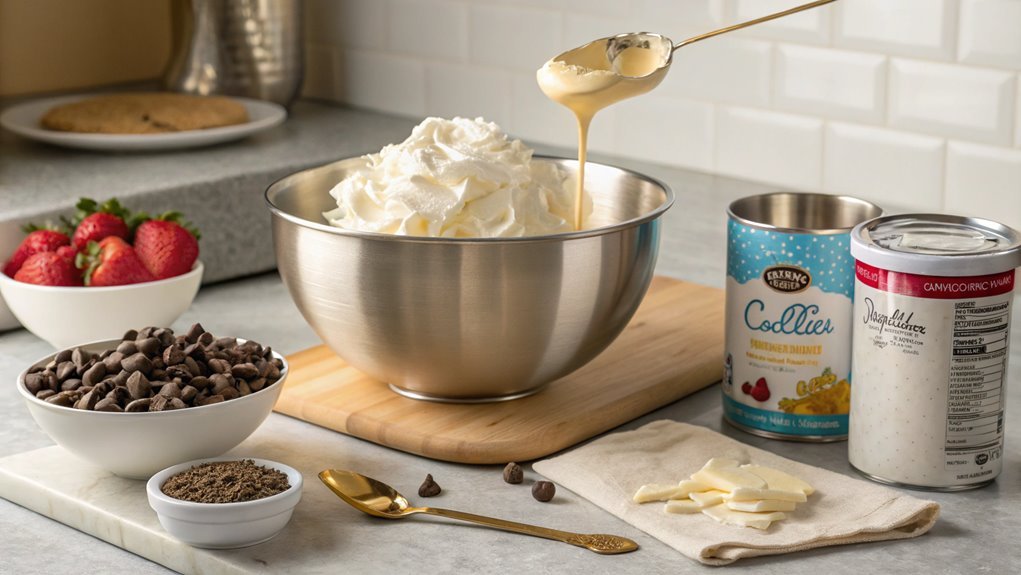
Start by pouring the cold heavy cream into your mixing bowl. The cream should be cold, as this helps to achieve that luscious texture we all love in ice cream.
Next, grab your sweetener. Whether you’re using granulated sugar or a sugar substitute, sprinkle it into the bowl with the cream. Don’t be shy with the sweetener; it’s what brings all the flavors to life!
Now, take your hand mixer or stand mixer and beat the mixture on medium speed. You want to blend the cream and sweetener until soft peaks form. This usually takes about 3 to 5 minutes.
As you mix, watch how the cream transforms! It’s like magic as it thickens and becomes airy.
Make certain to scrape down the sides of the bowl occasionally. This guarantees everything gets evenly mixed and sweetened. If you taste a bit of that creamy goodness, you’ll see how delicious it’s already!
Once you’ve reached that perfect consistency, you’re ready to move on to the next step. This creamy base is the heart of your no-churn ice cream, and you’re one step closer to a delightful treat! Enjoy the process!
Step 3. Add Flavorings and Mix
With your creamy base ready, it’s time to add some flavorings to elevate your ice cream. This is where the magic happens! You can get creative by mixing in your favorite extracts or ingredients.
For a classic vanilla ice cream, simply stir in a teaspoon or two of pure vanilla extract. If you’re craving something fruity, consider adding pureed strawberries, crushed cookies, or chocolate chips.
Don’t forget about the fun extras! Swirls of caramel or fudge can really take your ice cream to the next level. Try folding in a few tablespoons of peanut butter or Nutella for a delightful twist.
When you’re ready, grab a whisk or a spatula and gently mix everything together. You want to guarantee the flavorings are evenly distributed without deflating your creamy base.
Taste as you go! This is your chance to adjust the sweetness or intensity of the flavors to your liking.
Step 4. Chill Mixture in Freezer
Once you’ve mixed in your flavorings, it’s time to transfer your ice cream mixture to a suitable container and pop it in the freezer.
Choose a container with a tight-fitting lid to keep your ice cream fresh and prevent ice crystals from forming. A loaf pan or a shallow dish works well. Pour the mixture in, taking care to spread it evenly.
Now, here comes the exciting part—freezing! Place your container in the coldest part of your freezer. You’ll want to let it chill for at least four hours, but overnight is even better. This allows the flavors to meld beautifully and gives your ice cream a creamy texture.
Every hour or so, if you can, check on it and give it a gentle stir with a spatula. This little step can help improve the consistency, making your ice cream even creamier.
As the freezing process progresses, you’ll notice the mixture getting firmer and more delectable.
Trust me, the anticipation will be worth it when you finally scoop out your homemade, no-churn ice cream! So, be patient, and get ready for a delicious treat that you created yourself!
Step 5. Fold in Toppings Gently
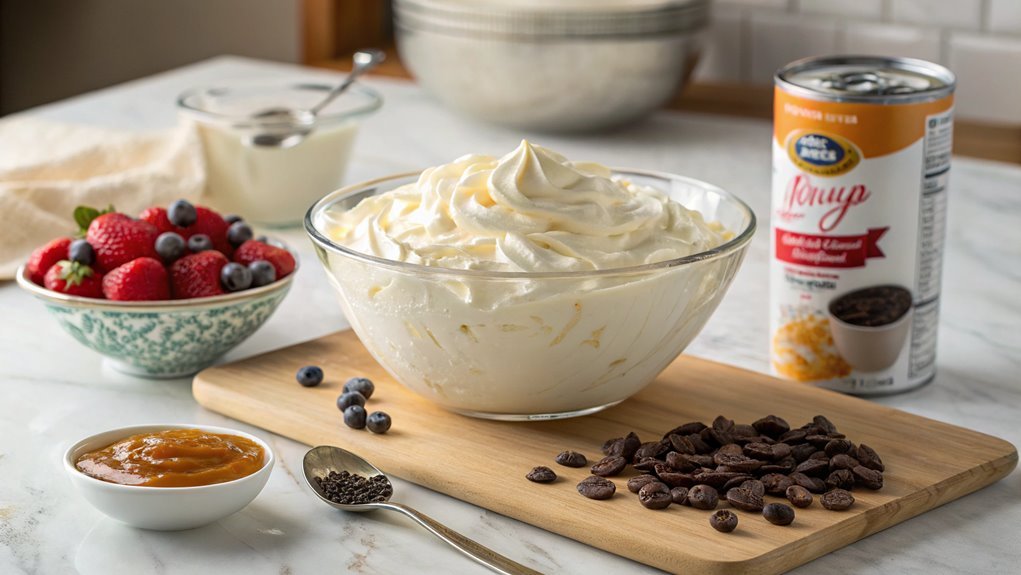
As you prepare to add your favorite toppings, gently folding them into the ice cream mixture is key to maintaining its fluffy texture. You want to guarantee that your delicious mix stays light and airy, so take your time with this step.
Start by choosing toppings that excite you—think chocolate chips, crushed cookies, or fresh fruit. Once you’ve gathered your ingredients, grab a spatula or a large spoon.
Now, scoop a portion of your ice cream mixture into a large bowl. Add your chosen toppings, but don’t dump them all in at once. Instead, sprinkle them in gradually.
With a gentle hand, start folding the toppings into the ice cream. Use a motion that lifts from the bottom and turns over the mixture. This way, you’ll evenly distribute the toppings without deflating the ice cream.
Final Thoughts
While making no-churn ice cream might seem intimidating at first, it’s actually a fun and rewarding experience that anyone can enjoy. You don’t need fancy machines or endless ingredients to whip up a delicious treat that will impress your friends and family.
With just a few simple components, you can create creamy, dreamy flavors that are perfect for any occasion.
The best part? You can customize your no-churn ice cream to suit your taste. Whether you prefer classic vanilla, rich chocolate, or adventurous flavors like matcha or salted caramel, the possibilities are endless.
Experiment with different mix-ins, like your favorite candies or fruits, and let your creativity shine!
Frequently Asked Questions
Can I Use a Dairy-Free Alternative for This Recipe?
Absolutely, you can use a dairy-free alternative! Just pick a suitable substitute, like coconut cream or almond milk, and adjust the sweetener if needed. You’ll create a delicious, creamy treat that everyone can enjoy!
How Long Does Homemade No-Churn Ice Cream Last in the Freezer?
“Out of sight, out of mind” applies here! Your homemade ice cream can last about 2 to 3 months in the freezer. Just make sure it’s stored in an airtight container for ideal freshness. Enjoy!
What Are the Best Mix-Ins for No-Churn Ice Cream?
When you’re choosing mix-ins, consider chocolate chips, crushed cookies, fresh fruit, or nuts. They add texture and flavor, making your ice cream unique. Experiment with different combinations to find your perfect blend of deliciousness!
Can I Make No-Churn Ice Cream Without Sweetened Condensed Milk?
You can definitely make no-churn ice cream without sweetened condensed milk! Try using whipped cream and a substitute sweetener like honey or maple syrup instead. Experimenting with different flavors will yield delicious results. Enjoy your creations!
How Can I Achieve a Creamier Texture in No-Churn Ice Cream?
To achieve a creamier texture, you can whip heavy cream until stiff peaks form, then fold in flavorings gently. Adding a splash of milk or cream can also enhance the smoothness of your mixture. Enjoy experimenting!
Conclusion
Enjoy your homemade no-churn ice cream on a sunny day, relishing each creamy bite. This dessert is a canvas for creativity, whether you choose classic flavors or try unique additions. Share this delightful treat with loved ones and create sweet memories together. Dive into this delicious adventure—you won’t regret it!
