Gluten-Free Brownie Recipe
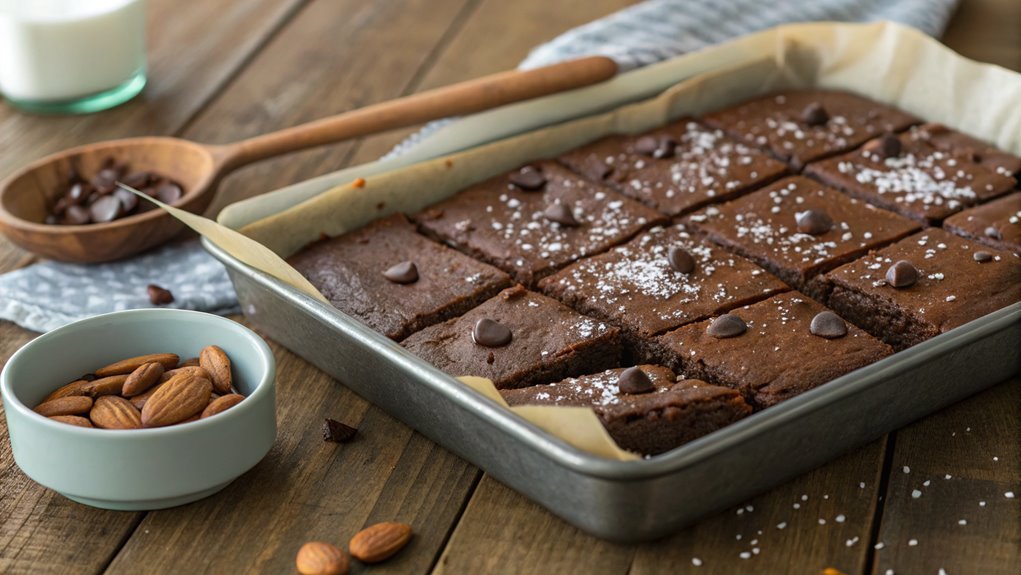
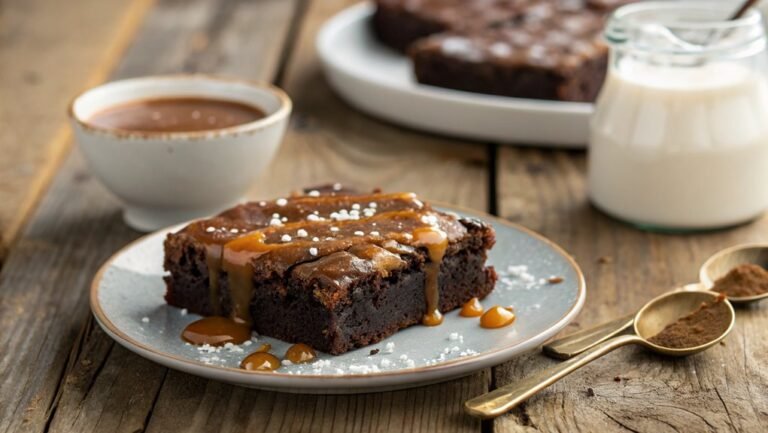
For a gluten-free indulgence, this brownie recipe combines almond flour and rich cocoa for a fudgy texture that retains full flavor. The balance of sweetness from varied sugars and moisture from coconut oil or butter enhances the baking experience.
Consider adding unique twists to elevate these brownies further. Experiment with different ingredients or toppings to make them even more delightful.
Recipe
Gluten-free brownies are a delightful treat that can satisfy your chocolate cravings without the worry of gluten.
Whether you’re gluten-sensitive or simply looking to try something new, these brownies are rich, fudgy, and incredibly easy to make. With a few simple substitutions, you can whip up a batch that everyone will enjoy, regardless of their dietary restrictions.
To start, you’ll need some basic ingredients that are naturally gluten-free. The beauty of this recipe lies in its versatility; you can add nuts, chocolate chips, or a sprinkle of sea salt on top to elevate the flavor even more.
Get ready to indulge in a sweet, chocolatey dessert that will have your friends and family asking for seconds!
Ingredients:
- 1 cup almond flour
- 1/2 cup cocoa powder
- 1/2 cup sugar
- 1/4 cup brown sugar
- 1/2 teaspoon baking powder
- 1/4 teaspoon salt
- 1/2 cup melted coconut oil (or unsalted butter)
- 2 large eggs
- 1 teaspoon vanilla extract
- Optional: 1/2 cup chocolate chips or chopped nuts
Now let’s move on to the cooking steps.
Cooking Steps
Let’s get cooking! First, you’ll want to preheat your oven to 350°F, creating the perfect environment for those delicious brownies.
Next, mix your dry ingredients thoroughly before gradually adding the wet ones—this step is key to achieving that rich, fudgy texture we all love!
Step 1. Preheat Oven to 350°F
Before you plunge into mixing your ingredients, it’s vital to preheat your oven to 350°F. This step isn’t just a formality; it’s fundamental for achieving the perfect texture in your gluten-free brownies. A properly preheated oven guarantees that your brownies rise beautifully and bake evenly, giving you that rich, fudgy center and slightly crisp top that everyone loves.
To preheat, simply turn your oven on and set the temperature to 350°F. It usually takes about 10 to 15 minutes for the oven to reach the right heat, so it’s a great time to gather all your ingredients and get organized.
While you wait, visualize how delicious your brownies will be, and maybe even consider the fun of sharing them with friends or family.
Once your oven beeps, signaling that it’s ready, you’ll be one step closer to brownie bliss. Make sure to double-check your oven’s accuracy—if it runs hot or cold, it can affect your results.
With the oven preheated, you’re set to create something truly delightful. Enjoy the process, and let’s get those brownies baking!
Step 2. Mix Dry Ingredients Thoroughly
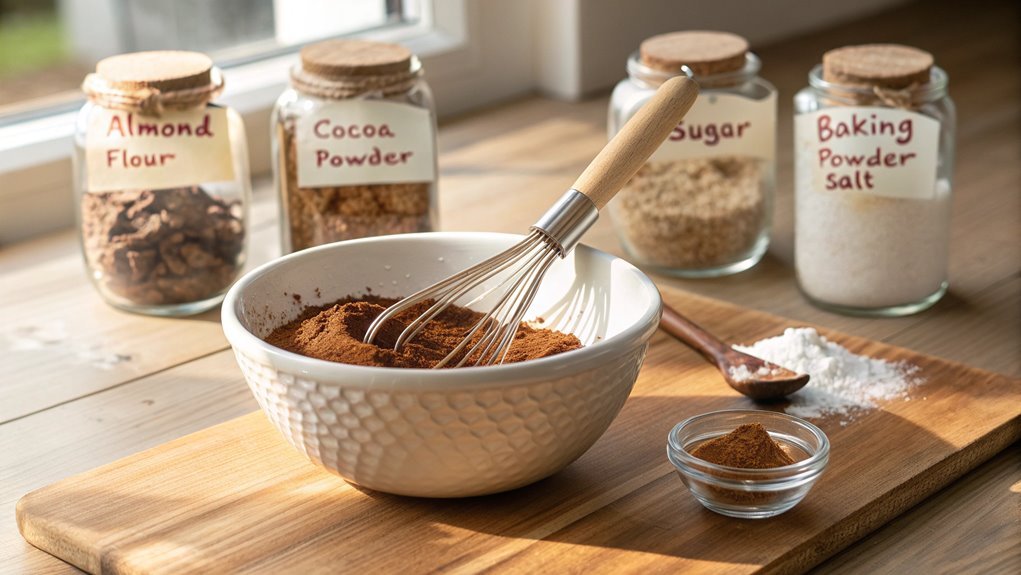
To achieve the best flavor and texture in your brownies, mixing the dry ingredients thoroughly is vital. This step guarantees that all the flavors blend perfectly, preventing any clumps and creating a smooth batter. So, let’s plunge into the mixing process!
First, gather your dry ingredients, which typically include gluten-free flour, cocoa powder, baking powder, and sugar. Use a whisk or a sifter to combine them well.
Here’s a quick list to keep in mind:
- Eliminate Clumps: Sifting your cocoa powder and flour helps break up any clumps, assuring a uniform mix.
- Distribute Ingredients Evenly: Mixing thoroughly allows even distribution of the baking powder, which is critical for achieving that light and fluffy brownie texture.
- Maximize Flavor: Thorough mixing helps to blend the sugar with the cocoa and flour, enhancing the overall taste of your brownies.
Step 3. Add Wet Ingredients Gradually
As you prepare to add the wet ingredients, remember that doing this gradually is key to achieving a smooth and cohesive batter.
Begin by mixing your dry ingredients thoroughly, creating a solid foundation for your brownies. Once that’s done, it’s time to incorporate the wet ingredients. Start by pouring a small amount of your chosen liquid ingredients—like melted butter or eggs—into the dry mix. Stir gently, using a spatula or whisk, to combine them into a thick paste.
Continue adding the wet ingredients in small increments, mixing well after each addition. This gradual process allows the dry ingredients to absorb the moisture evenly, preventing clumps and ensuring a velvety texture.
Keep an eye on the consistency; you want it to be smooth and slightly thick, but not dry or crumbly. If you notice any lumps, don’t hesitate to mix a bit longer until everything is well blended.
Embrace the excitement of watching your batter come together! This process isn’t just about combining ingredients; it’s about creating something delicious.
Step 4. Fold in Chocolate Chips
Gently fold in the chocolate chips once your batter is smooth and well-combined. This step is essential because those delicious little morsels are what make your gluten-free brownies truly irresistible!
As you fold, use a spatula or wooden spoon to carefully incorporate the chips without overmixing. You want those chips distributed evenly throughout the batter, creating pockets of melted chocolate in every bite.
Here are a few tips to keep in mind while folding:
- Be Gentle: You don’t want to deflate your batter. The goal is to maintain its fluffy texture while ensuring the chocolate chips are mixed in.
- Choose Quality Chocolate: Opt for semi-sweet or dark chocolate chips for a rich flavor that pairs perfectly with the brownie base.
- Add Extras: Feel free to toss in nuts or a sprinkle of sea salt for an extra layer of flavor. The contrast between the sweet chocolate and crunchy nuts can elevate your brownies to the next level!
Now that you’ve got those chocolate chips folded in, you’re one step closer to enjoying a decadent treat. Happy baking!
Step 5. Pour Batter Into Pan
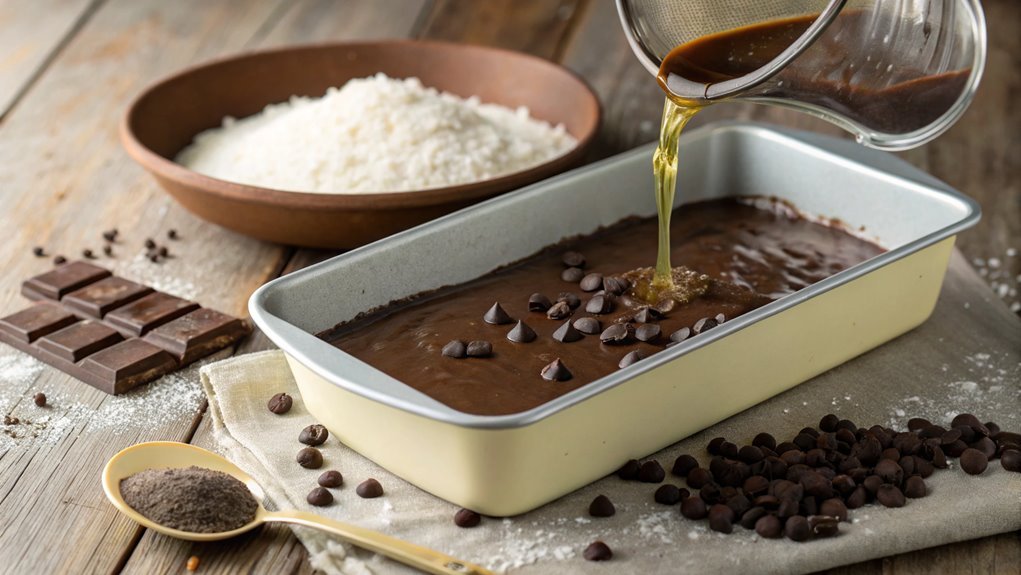
With the chocolate chips beautifully folded into your batter, it’s time to pour it into your prepared baking pan. Grab your spatula and gently scrape the batter from the bowl. You want to guarantee you get every last bit of that rich, chocolatey goodness!
As you pour, let the batter flow evenly into the corners of the pan. Don’t worry if it’s thick; that’s exactly what you want for fudgy brownies.
Once you’ve poured the batter, use your spatula to spread it smoothly across the pan. Make sure it’s level, so your brownies bake evenly. If you like a little texture, you can swirl the top lightly—it’s a fun way to give them a personal touch!
Now, take a moment to admire your work. The anticipation is building as you prepare to bake these delicious treats.
Pop the pan into your preheated oven, and set the timer. While you wait, you can daydream about the delicious chocolatey aroma that’ll soon fill your kitchen. Trust me, it’ll be worth it!
Enjoy the process, and get ready to indulge in some mouthwatering gluten-free brownies!
Final Thoughts
While you may have tried various brownie recipes, this gluten-free version stands out for its rich flavor and satisfying texture.
It’s not just a substitute; it’s a delightful treat everyone can enjoy. You’ll find that gluten-free doesn’t mean sacrificing taste. These brownies are moist, fudgy, and utterly delicious!
As you indulge in these brownies, consider the benefits of making this recipe part of your baking routine:
- Healthier Option: Using gluten-free ingredients opens up a world of healthier alternatives, allowing you to enjoy sweets without the guilt.
- Inclusive Dessert: Perfect for gatherings, this recipe guarantees that friends with dietary restrictions can join in on the fun.
- Simple Ingredients: You probably already have most of the ingredients in your pantry, making it easy to whip up a batch whenever the craving strikes.
Frequently Asked Questions
Can I Substitute Almond Flour for Other Gluten-Free Flours?
Yes, you can substitute almond flour for other gluten-free flours. Just remember that almond flour’s texture and moisture content differ, so you may need to adjust your recipe to achieve the desired consistency and flavor.
How Can I Make These Brownies Vegan?
To make these brownies vegan, you can substitute eggs with flaxseed meal or applesauce. Use dairy-free chocolate and guarantee any other ingredients are plant-based. You’ll enjoy a delicious, guilt-free treat without compromising flavor!
What Toppings Pair Well With Gluten-Free Brownies?
Did you know 70% of people prefer chocolate desserts with toppings? To elevate your brownies, try adding crushed nuts, fresh berries, whipped coconut cream, or a drizzle of caramel sauce. You’ll create a delightful treat!
How Should I Store Leftover Brownies?
To store leftover brownies, wrap them tightly in plastic wrap or place them in an airtight container. Keep them at room temperature for up to three days or refrigerate for longer freshness. Enjoy them later!
Can I Freeze Gluten-Free Brownies?
Did you know that around 30% of people follow a gluten-free diet? Yes, you can freeze gluten-free brownies! Just wrap them tightly in plastic wrap and store in an airtight container for up to three months.
Conclusion
You’ve whipped up gluten-free brownies that rival traditional ones, proving delicious treats don’t need flour. As you savor the first bite, you’ll see that catering to dietary needs doesn’t mean losing flavor. Share them with friends and witness their surprise turn into delight. This simple recipe has become a treat everyone can enjoy, and that’s truly rewarding!
