No-Bake Chocolate Peanut Butter Bars Recipe
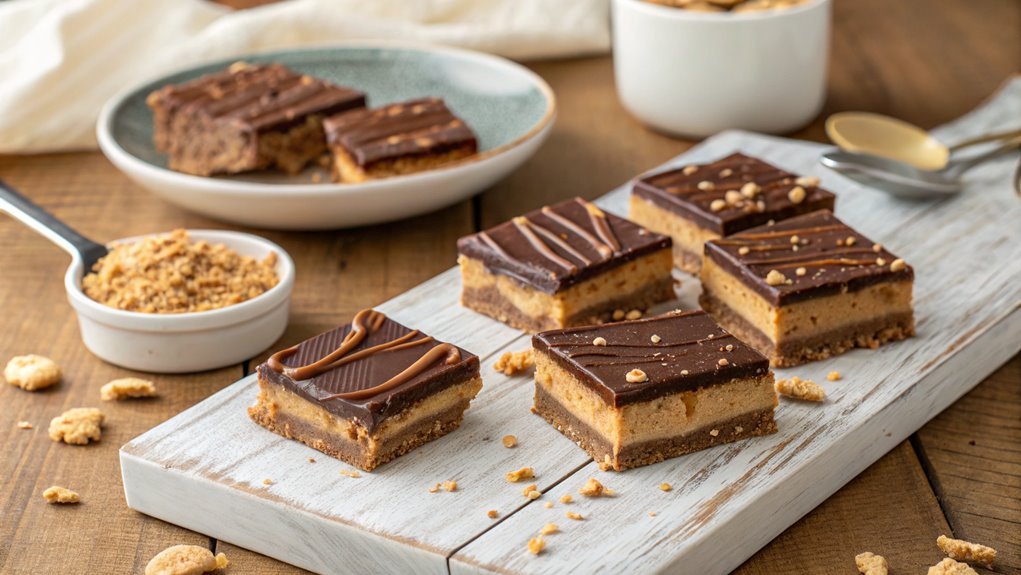
Craving a sweet treat without using the oven? No-bake chocolate peanut butter bars are the perfect solution.
Made with simple ingredients like graham crackers, peanut butter, and chocolate, you can whip them up in no time.
The process is straightforward: mix, press, and chill for a satisfying dessert.
Consider how these bars can elevate your next gathering or satisfy your sweet tooth quickly.
Let’s explore the steps to make them irresistible.
Recipe
Indulging in a sweet treat has never been easier than with these no-bake chocolate peanut butter bars. Perfect for a quick dessert or a satisfying snack, this recipe combines the rich flavors of chocolate and peanut butter in a simple, no-cook preparation.
Whether you’re entertaining guests or simply treating yourself, these bars offer a delightful crunch and creamy texture that will leave everyone wanting more.
Making these bars isn’t only straightforward but also fun! With just a few steps and minimal cleanup required, you can have a delicious batch ready to enjoy in no time.
Simply mix your ingredients, press them into a tray, and let them chill until set. Get ready to impress your friends and family with this delectable dessert that’s sure to become a favorite.
Ingredients:
- 1 cup graham cracker crumbs
- 1 cup powdered sugar
- 1 cup creamy peanut butter
- 1/2 cup unsalted butter, melted
- 1 cup chocolate chips
- 2 tablespoons coconut oil (optional)
Now let’s move on to the cooking steps.
Cooking Steps
Get ready to whip up some deliciousness as we tackle the cooking steps for your No-Bake Chocolate Peanut Butter Bars!
First, you’ll melt the chocolate and peanut butter together, creating a smooth and creamy base that’ll make your taste buds dance.
Then, you’ll mix in those crunchy graham crackers for texture, chill the mixture in the refrigerator, and pour it all into a pan before finishing with a sprinkle of sea salt to elevate the flavors.
Step 1. Melt Chocolate and Peanut Butter
To create that rich, creamy filling for your No-Bake Chocolate Peanut Butter Bars, start by gently melting together the chocolate and peanut butter. For this, you can use either a microwave or a stovetop.
If you choose the microwave, simply place your chocolate and peanut butter in a microwave-safe bowl. Heat it in short bursts, about 30 seconds at a time, stirring in between. This way, you’ll avoid burning, and the mixture will melt evenly.
If you prefer the stovetop method, set a small pot over low heat and add your chocolate and peanut butter. Stir continuously until everything is smooth and combined. The aroma of melting chocolate and peanut butter will definitely amp up your excitement!
Don’t rush this step—patience is key. The goal is to achieve a silky, well-blended mixture that’s bursting with flavor.
Once melted, give it a good stir to combine everything perfectly. The texture should be glossy and luxurious, inviting you to scoop it up. Keep an eye on your mixture as it comes together, and enjoy the anticipation of those delightful bars you’re about to create. You’re in for a treat!
Step 2. Add Crushed Graham Crackers
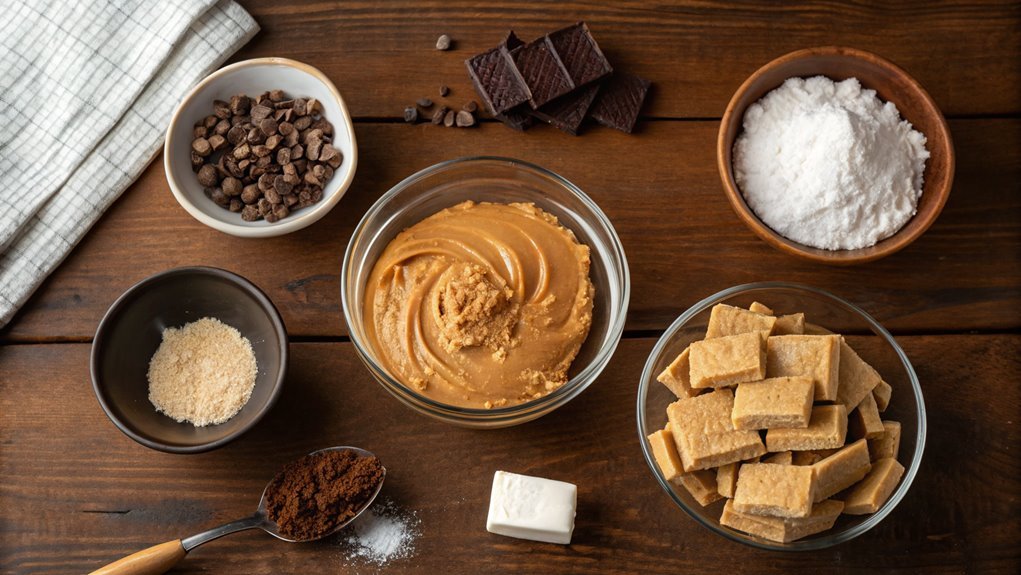
Once your chocolate and peanut butter mixture is smooth and glossy, it’s time to incorporate the crushed graham crackers. This step is vital because it adds texture and that classic graham flavor you love.
Grab about one and a half cups of graham cracker crumbs—if you haven’t crushed them yet, just seal them in a zip-top bag and crush with a rolling pin or use a food processor for an even texture.
Now, gently fold the crumbs into your chocolate and peanut butter mixture. Use a spatula to guarantee even distribution, but be careful not to overmix; you want those delightful bits of cracker to stand out.
As you blend, you’ll notice how the mixture begins to thicken, showcasing the crackers’ golden color against the rich chocolate.
Once combined, you’re almost there! This deliciously gooey mixture will soon be transformed into bars that are perfect for sharing.
You can almost taste the delightful combination of flavors already! So go ahead, get excited, and prepare for the next steps in this no-bake adventure. You’re creating something absolutely scrumptious that everyone will love!
Step 3. Chill Mixture in the Refrigerator
After you’ve folded in the crushed graham crackers, it’s essential to let the mixture chill in the refrigerator. Chilling allows the ingredients to meld together beautifully, creating a delightful texture and enhancing the flavors.
You’ll want to cover the bowl tightly with plastic wrap to prevent any unwanted odors from sneaking in. Ideally, let it chill for at least 30 minutes, but if you can spare some extra time, 1 hour is even better.
As it cools, the mixture will firm up, making it easier to work with when you’re ready for the next step. You might even find that the aroma of chocolate and peanut butter fills your kitchen, heightening your anticipation!
Take a moment to admire your creation so far; you’re only a couple of steps away from a delicious treat that’s sure to impress friends and family alike.
While the mixture chills, you can gather your thoughts, maybe plan how you’ll share these with loved ones or imagine the smiles on their faces when they taste your homemade bars.
Step 4. Pour Mixture Into Pan
With your mixture nicely chilled and firmed up, it’s time to pour it into your prepared pan. Grab your favorite 8×8 or 9×9 inch pan and make certain it’s lined with parchment paper for easy removal later. This step is vital for guaranteeing your bars come out perfectly!
Now, using a spatula, scoop that delicious mixture out of the bowl and transfer it into the pan. Don’t be shy—get every last bit of that chocolate-peanut butter goodness in there. Once you’ve got it all in, spread it evenly across the pan. Make sure the mixture fills every corner, creating an enticing base for your bars.
Next, press the mixture down firmly but gently using either the spatula or your hands. This helps compact it and guarantees a nice solid bar once it’s finished chilling. You want it to be even and smooth on top, so take a moment to get it just right.
When you’re satisfied with the consistency and surface, it’s time to pop the pan back into the refrigerator. Give it time to set completely before you move on to the next exciting step! Your bars are shaping up beautifully!
Step 5. Sprinkle With Sea Salt
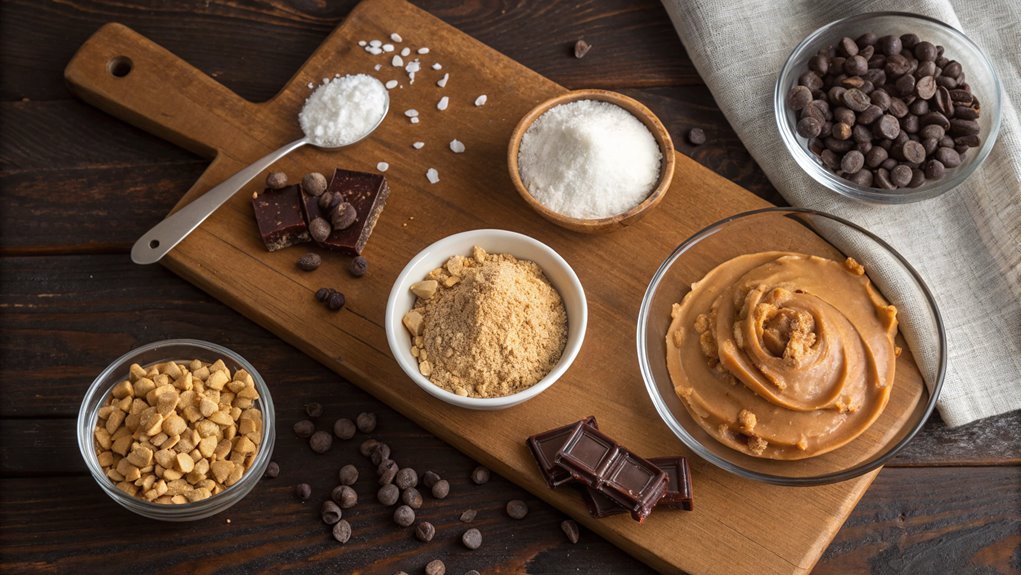
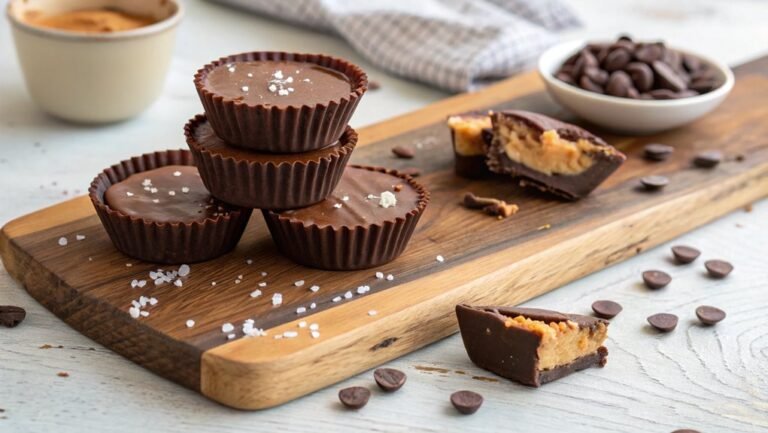
To elevate your chocolate peanut butter bars, sprinkle a generous pinch of sea salt over the top before they fully set. This simple step transforms your bars from delicious to downright irresistible! The salt enhances the rich flavors of chocolate and creamy peanut butter, creating a perfect sweet and salty balance that will have everyone coming back for more.
Here’s why adding sea salt is a game-changer:
- Flavor Boost: Sea salt amplifies the sweetness, adding depth and complexity.
- Textural Contrast: The slightly crunchy salt gives your bars a delightful texture, making each bite exciting.
- Visual Appeal: A sprinkle of sea salt on top adds a beautiful finishing touch, making your bars look as good as they taste.
After you’ve poured your mixture into the pan and smoothed it out, don’t forget this vital step! Using your fingers, sprinkle just the right amount of sea salt across the surface.
Leave it to sit for a bit to let the flavors meld together. Trust me, these little touches make a world of difference in your no-bake chocolate peanut butter bars.
Now, prepare to enjoy a treat that’s sure to impress!
Final Thoughts
As you savor the delightful layers of chocolate and peanut butter in these no-bake bars, you’ll appreciate how simple ingredients can create such a satisfying treat. The rich flavors and creamy textures not only please your palate but also make cooking feel rewarding.
Plus, you don’t need to be a pro in the kitchen; anyone can whip these up quickly. Imagine enjoying these bars as a sweet fix after a long day or serving them at your next gathering. They’re perfect for impressing friends or treating yourself, and their no-bake nature means less cleanup!
You can even customize them with different toppings, like crushed nuts or a drizzle of caramel, to elevate the experience. Once you try this recipe, you might find yourself making it a staple in your dessert repertoire.
Don’t forget to share your creation on social media—your friends will surely want to join in on the delicious fun! So gather your ingredients, get ready to mix things up, and plunge into this indulgent yet easy recipe.
You won’t regret it—each bite is a rewarding moment you’ll cherish. Enjoy your kitchen adventure!
Frequently Asked Questions
Can I Substitute Almond Butter for Peanut Butter?
Yes, you can substitute almond butter for peanut butter in many recipes. It’ll provide a different flavor and texture, but it’s still delicious. Just use the same amount, and you’ll have a tasty alternative!
How Should I Store the Bars for Freshness?
You wouldn’t want your masterpiece to turn into a sad, crumbly mess, right? Store the bars in an airtight container in the fridge, and they’ll stay fresh for about a week—if you can resist devouring them!
Are These Bars Suitable for Vegan Diets?
Yes, these bars can be suitable for vegan diets if you use plant-based ingredients. Substitute any dairy items with vegan alternatives, ensuring everything aligns with your dietary preferences for a delicious, cruelty-free treat.
How Long Do These Bars Last in the Fridge?
Like a hidden treasure, these bars can last up to two weeks in the fridge when stored properly. Just make sure you keep them in an airtight container to maintain their delicious flavor and texture.
Can I Add Other Ingredients, Like Nuts or Chocolate Chips?
Absolutely, you can add other ingredients! Nuts, chocolate chips, or even dried fruit will enhance the flavor and texture. Just mix them in before pressing the mixture into your pan for delicious customization.
