Chocolate Fudge Popsicle Recipe
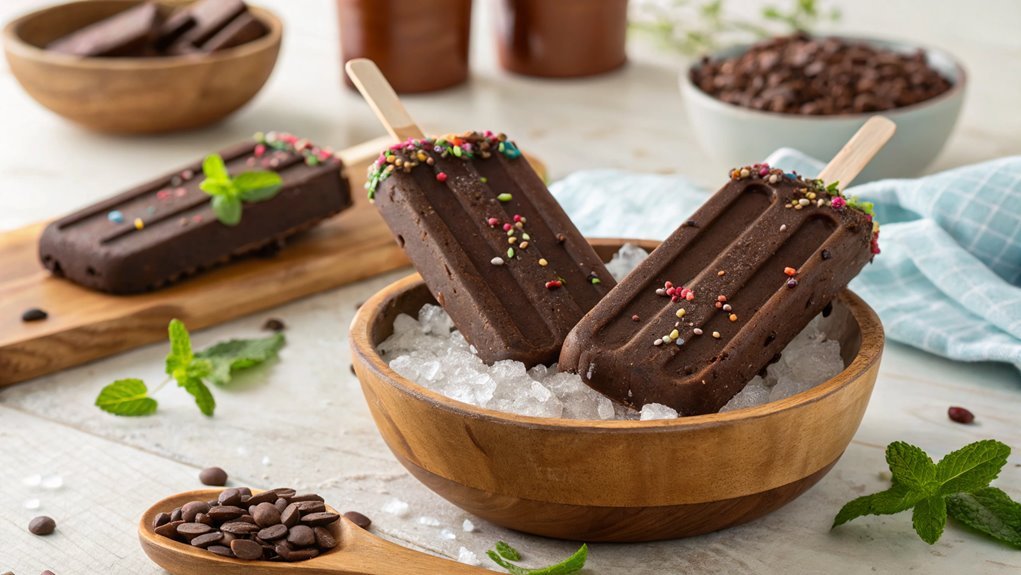
As summer’s heat peaks, this Chocolate Fudge Popsicle recipe is the perfect indulgence. These creamy treats are simpler to make than you might think, offering a delightful balance of flavors and textures. Mastering this recipe could easily elevate your dessert game, so keep exploring potential variations. It might just become your go-to summer treat.
Recipe
If you’re looking for a delicious and satisfying treat to cool you down this summer, there’s nothing quite like homemade chocolate fudge popsicles. Not only are these popsicles rich and creamy, but they’re also incredibly easy to make with just a handful of simple ingredients. You can whip them up in no time, and the best part is that you can customize them to suit your personal taste. From extra chocolatey goodness to a hint of espresso, you can make these popsicles your own!
With these fudge pops, you’ll enjoy a delightful blend of rich chocolate and smooth creaminess that makes each bite a heavenly experience. Perfect for hot days, parties, or when you’re just craving something sweet, these popsicles offer a fun, nostalgic twist on traditional ice cream. They’re a great option for both kids and adults alike!
So, grab your molds, and let’s get started with this easy and delicious chocolate fudge popsicle recipe.
Ingredients:
- 1 cup heavy cream
- 1 cup whole milk
- 1/2 cup granulated sugar
- 1/2 cup unsweetened cocoa powder
- 1 teaspoon vanilla extract
- A pinch of salt
- Optional: chocolate chips or chunks for added texture
Now let’s move on to the cooking steps.
Cooking Steps
Now it’s time to bring your chocolate fudge popsicles to life!
You’ll start by melting the chocolate in a saucepan, then blend in a creamy milk mixture that’s sure to delight your taste buds.
Once you’ve got that delicious mix, pour it into popsicle molds and freeze for at least four hours—don’t forget to add your favorite toppings before freezing for an extra treat!
Step 1. Melt Chocolate in Saucepan
Begin by placing a saucepan over low heat and adding your chopped chocolate. Watching those chocolate pieces slowly melt is pure magic!
Stir the chocolate gently with a spatula, keeping an eye on it as it begins to soften. You’ll want to be patient here; melting it too quickly can lead to burning. So, enjoy this moment and breathe in the rich, sweet aroma of the chocolate!
As you stir, focus on getting a smooth and creamy consistency. It’s crucial to incorporate every piece, ensuring there are no lumps left behind. If you happen to find some stubborn chunks, don’t panic. Just keep stirring and give them a little more time.
After a few minutes of stirring, your chocolate should be melted and glossy, inviting you to take the next step in your fudge popsicle journey.
Step 2. Blend in Milk Mixture
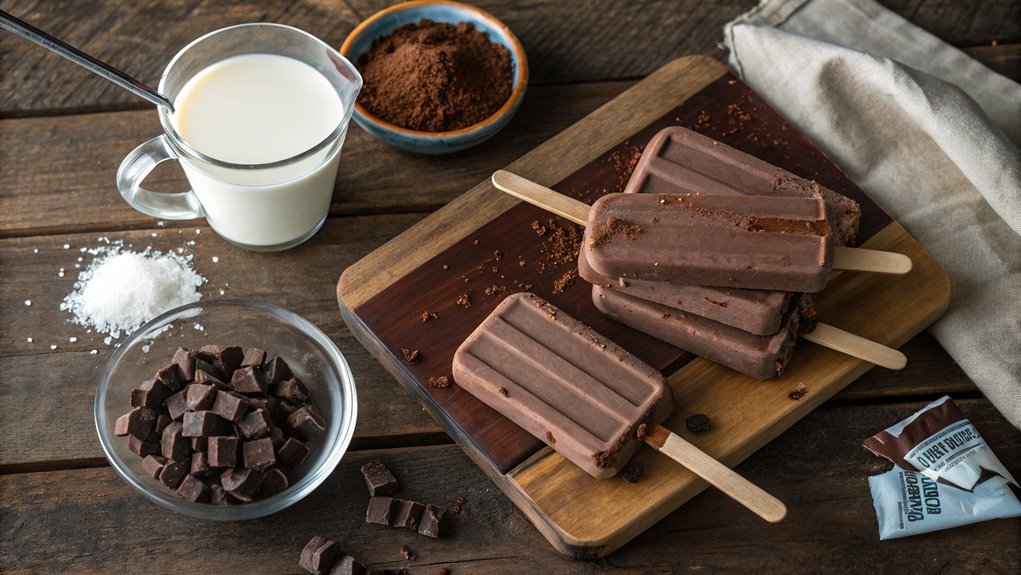
Carefully pour the milk mixture into your melted chocolate, stirring steadily to create a harmonious blend. As the mixture becomes uniform, you’ll notice how the rich chocolate begins to dance with the velvety milk, creating a luscious texture that’s hard to resist.
Keep stirring until there are no lumps left, ensuring a silky-smooth consistency. Feel free to use a whisk or a spatula; both work wonders!
As you mix, imagine the delightful popsicles that await you. The aroma of chocolate wafting through the kitchen makes it all the more exciting! If you want to add a little extra flavor, consider mixing in a dash of vanilla extract right now. That’ll elevate your popsicles to a whole new level!
Once everything is well combined and you can’t wait to taste it, take a moment to appreciate your hard work. You’re just steps away from enjoying those delicious, homemade chocolate fudge pops!
Step 3. Pour Into Popsicle Molds
Once you’ve achieved that silky-smooth chocolate mixture, it’s time to pour it into popsicle molds. Grab your favorite molds, whether they’re silicone or plastic—both work great!
Carefully tilt the mixing bowl to allow the luscious chocolate mixture to flow smoothly into the molds. Fill each mold almost to the top, leaving just a little space to prevent overflow when you insert the sticks. It’s so satisfying to see the rich, dark chocolate filling each cavity!
If you’re using wooden sticks, remember to place them in the center of each mold before the mixture sets. This way, they’ll freeze beautifully in the right position, ensuring you get perfect popsicles.
If you’re using a lid, snap it on tight after pouring; this helps to keep the flavors intact and adds a fun twist to your popsicles!
As you pour, take a moment to admire the glossy chocolate cascading into the molds—it’s the best part! Just imagine the delightful treats you’re creating.
You’ll love how these chocolate fudge popsicles turn out, making every second of this simple process worth it. So, get ready to transform that delicious mixture into velvety pops of joy!
Step 4. Freeze for at Least Four Hours
After pouring the chocolate mixture into the molds, it’s time to let them freeze. This step is essential for achieving those delightful popsicles you’re keen to enjoy.
Place the molds in your freezer, ensuring they’re level, so the mixture doesn’t spill. Now, you’ve got to be patient! Set a timer for at least four hours. This allows the popsicles to solidify completely and gives you a rich, fudgy texture.
While you’re waiting, you can imagine how delicious they’ll taste and plan how you’d like to enjoy them. Will you savor them straight from the mold, or do you have some fun toppings in mind? The anticipation makes the reward even sweeter!
After four hours, check on your popsicles. If they’ve hardened perfectly, it’s time to release the magic.
Run warm water over the outside of the molds for a few seconds to help free your frozen treats. You’ll feel a wave of excitement as you see them pop out, ready to be devoured.
There’s nothing quite like tasting your homemade chocolate fudge popsicles! Enjoy every creamy, chocolatey bite. You deserve this invigorating delight on a warm day!
Step 5. Add Toppings Before Freezing
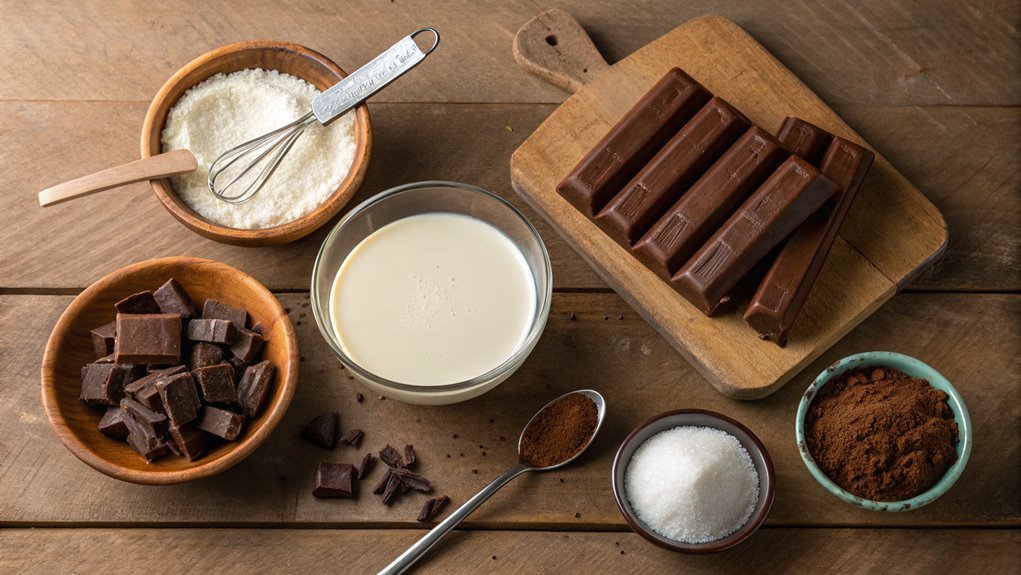
Before you freeze your chocolate fudge mixture, enhancing your popsicles with toppings can elevate their taste and texture.
Adding a little extra flair not only makes your popsicles more visually appealing but also delivers delightful surprises with every bite. Imagine biting into a creamy fudge popsicle, only to discover crunchy bits of chocolate or a sprinkle of sea salt! The choices are endless, and it’s your chance to get creative.
Here are three delicious topping ideas you can try:
- Chopped Nuts: Almonds, walnuts, or hazelnuts add a satisfying crunch that contrasts beautifully with the smooth chocolate.
- Choco Chips: Mini chocolate chips melt slightly into the fudge mixture, creating pockets of rich chocolate flavor throughout.
- Sea Salt: A light sprinkle of flaky sea salt intensifies the chocolate flavor and gives a gourmet touch.
Simply sprinkle your chosen toppings onto the mixture before inserting the popsicle sticks.
Feel free to mix and match these toppings based on your preference. Once you’ve added your desired toppings, it’s time for the magic to happen in the freezer!
Enjoy the creative process, and get ready to savor your delicious treats!
Final Thoughts
As you savor your delicious homemade chocolate fudge popsicles, it’s clear that this treat not only satisfies your sweet tooth but also brings a sense of accomplishment.
You’ll be amazed at how simple it’s to whip up a frozen delight that rivals anything store-bought. With just a few ingredients, you’ve created something truly special.
These chocolate fudge popsicles are perfect for any occasion, whether you’re hosting a summer gathering or just enjoying a quiet night at home.
The rich, creamy texture combined with the chocolatey goodness will make you crave more, and you’ll feel proud knowing exactly what went into them.
Don’t be afraid to get creative—experiment with add-ins like nuts, fruits, or even a swirl of peanut butter for an extra twist.
Each batch can be a new adventure!
Frequently Asked Questions
Can I Use Non-Dairy Milk for This Recipe?
Absolutely, you can swap in non-dairy milk! It’s like inviting a new friend to a party—your recipe’ll still shine with delightful flavors and creamy textures, just tailored to fit your personal taste and needs. Enjoy!
How Long Do These Popsicles Last in the Freezer?
These popsicles can last up to two months in your freezer if stored properly in an airtight container. Just make sure to check for any freezer burn before enjoying them, and you’ll be good to go!
Can I Add Toppings to the Fudge Pops?
Your fudge pops can transform like a canvas, inviting toppings to dance atop them. Whether nuts, sprinkles, or drizzled sauce, you’re free to add whatever sparks joy. Get creative and indulge!
What Is the Best Way to Mold the Popsicles?
To mold the popsicles, pour your mixture into molds and tap gently to remove air bubbles. Freeze them upright for a few hours until solid, then run warm water over the molds to release them easily.
How Can I Make These Pops Gluten-Free?
Think of your popsicles as a garden; you just need to plant the right seeds. Swap regular flour for gluten-free alternatives like almond or coconut flour, and you’ll cultivate a tasty, gluten-free delight everyone can enjoy.
