Rich Chocolate Ice Cream Recipe
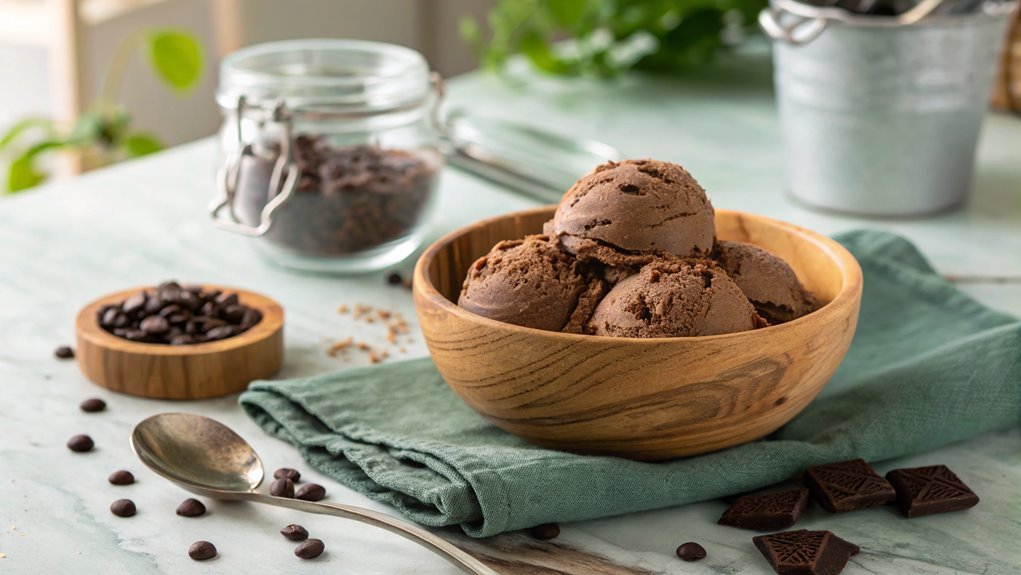
Crafting homemade rich chocolate ice cream strikes a balance between indulgence and simplicity, requiring surprisingly straightforward techniques. Begin by gathering your ingredients to create a creamy delight.
As you follow each step, you’ll uncover nuances that elevate this treat, sparking curiosity about secrets that might enhance your experience further.
Recipe
Creating a rich and creamy chocolate ice cream at home is a delightful way to satisfy your sweet tooth. This recipe captures the essence of true chocolate flavor, making it a favorite for both children and adults alike.
With simple ingredients and a straightforward process, you’ll be able to whip up a batch of this delicious treat that can be enjoyed all year round.
The key to a perfect chocolate ice cream is to use high-quality cocoa powder or melted chocolate, which will elevate the dessert from ordinary to extraordinary. You can customize this recipe by adding your favorite mix-ins, such as chocolate chips, nuts, or even swirls of caramel.
The ice cream machine will do most of the work, but a little patience during the chilling process will yield a wonderfully smooth and decadent final product.
Ingredients:
- 2 cups heavy cream
- 1 cup whole milk
- 3/4 cup granulated sugar
- 1/2 cup unsweetened cocoa powder
- 1 teaspoon vanilla extract
- 1/2 cup semi-sweet chocolate chips (optional)
- Pinch of salt
Now let’s move on to the cooking steps.
Cooking Steps
Now that you’ve gathered all your ingredients, it’s time to get cooking!
Start by chilling your mixing bowl to guarantee your ice cream turns out perfectly creamy.
As you mix the cocoa and sugar, you’ll see the magic begin, and that rich chocolate flavor will start to come alive!
Step 1. Chill Mixing Bowl Beforehand
To guarantee your rich chocolate ice cream reaches the perfect consistency, it’s essential to chill your mixing bowl beforehand. This simple step can make a big difference in the final texture of your ice cream. When your mixing bowl is cold, it helps the mixture stay cool while you’re blending, preventing any unwanted melting of ingredients.
Start by placing your mixing bowl in the freezer for about 15 to 30 minutes. You want it to be nice and frosty, so don’t rush this part! While you wait, you can get excited about the delicious chocolate ice cream that’s on the way.
Chilling the bowl not only helps maintain the cold temperature, but it also allows the ingredients to emulsify better, leading to a creamier and smoother ice cream.
Once your bowl is chilled, you’re ready to move on to the next steps of your ice cream adventure. You’ll feel the difference in the texture and taste, making your homemade treat even more delightful.
Trust me, this little tip will elevate your ice cream game and impress your friends and family. So, go ahead and chill that bowl; your rich chocolate ice cream deserves it!
Step 2. Mix Cocoa and Sugar
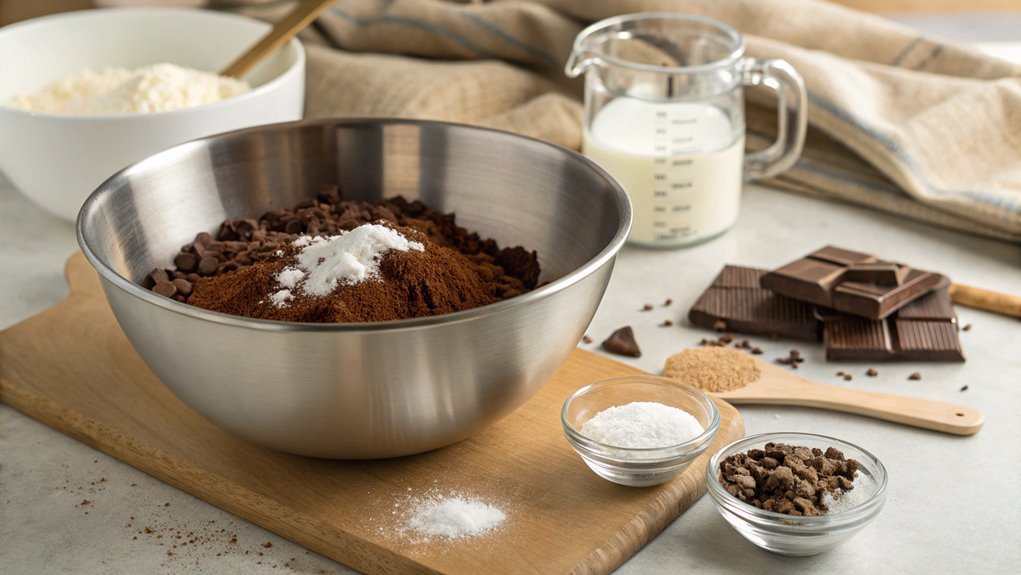
Begin by sifting together the cocoa powder and sugar in your chilled mixing bowl. This step is essential! It helps eliminate any lumps and guarantees that the cocoa and sugar blend seamlessly, creating a rich, velvety base for your ice cream. As you sift, visualize the creamy chocolate delight that awaits you.
Here are a few tips to keep in mind while mixing:
- Use high-quality cocoa powder for the richest flavor.
- Choose superfine sugar to help it dissolve easily into your mixture.
- Sift thoroughly to break up any clumps, ensuring a smooth texture.
- Feel free to adjust the sugar to suit your taste; you can always add a bit more if you like it sweeter!
Once you’ve sifted the cocoa and sugar, give them a good stir. Make certain they’re evenly combined, as this will enhance the chocolate flavor throughout your ice cream.
The aroma of cocoa and sugar mingling in your bowl is truly irresistible! Get ready, because this is just the beginning of your chocolate ice cream adventure. Soon, you’ll be savoring your homemade treat, and every scoop will remind you of the joy of creating something delicious!
Step 3. Add Milk Gradually
With the cocoa and sugar perfectly combined, it’s time to introduce the milk.
Grab your measuring cup and pour in the milk slowly, stirring continuously. This gradual addition is essential because it helps to create a smooth, creamy mixture without any lumps. You want to make sure that each drop of milk blends beautifully with the cocoa and sugar.
As you stir, you’ll notice the rich chocolatey aroma filling your kitchen—it’s simply irresistible!
Keep adding the milk until you’ve reached the desired consistency. If you prefer a thicker ice cream, you might want to hold back a little milk. On the other hand, if you like it creamier, don’t hesitate to add more. The choice is yours!
Step 4. Whip Until Soft Peaks Form
Whip the mixture vigorously until soft peaks start to form, creating a light and airy texture. This step is essential for achieving that creamy goodness in your chocolate ice cream. As you whip, you’ll notice the mixture transforming, getting thicker and fluffier. It’s like magic! Just keep an eye on it, and don’t overdo it; you want soft peaks, not stiff ones.
To help you along, here are some tips to guarantee your whipping goes smoothly:
- Use a clean bowl and whisk: This guarantees no residue interferes with the whipping process.
- Chill your tools: A cold bowl and whisk can help the mixture whip up faster and achieve a better texture.
- Whip at medium speed: Start at a lower speed to mix ingredients, then increase to medium for those soft peaks.
- Pay attention: Watch for the moment when peaks start to form. It’s a delicate balance, so stay focused!
Once you’ve reached that perfect consistency, you’re ready to move on to the next exciting step. Enjoy the process—it’s all part of making your rich chocolate ice cream!
Step 5. Fold in Heavy Cream
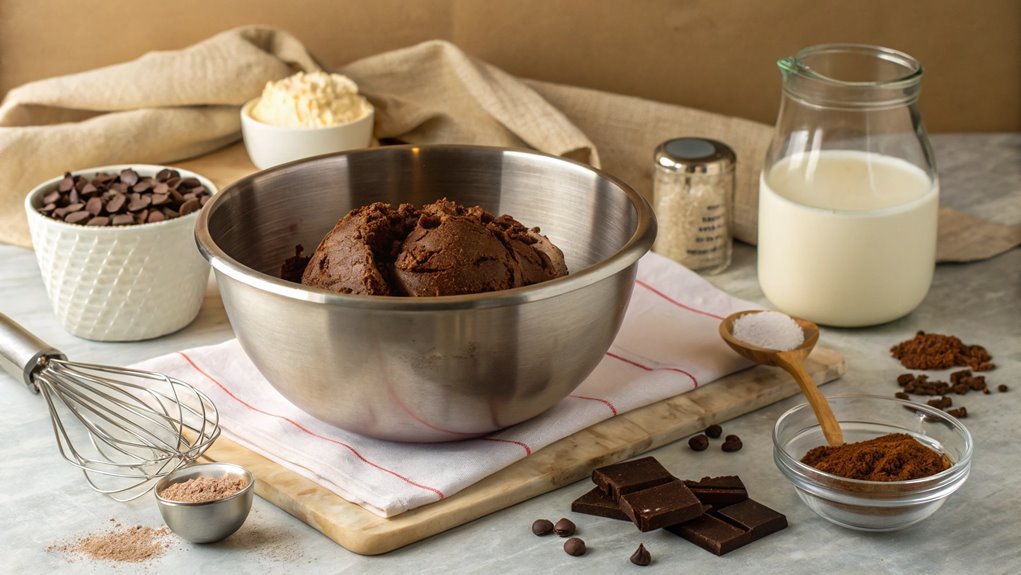
Once you’ve achieved those soft peaks, it’s time to gently fold in the heavy cream to enhance the richness of your chocolate ice cream. This step is essential because it adds that luxurious texture that makes your ice cream feel indulgent.
Using a spatula, take a scoop of the whipped mixture and carefully layer it over the heavy cream. Instead of stirring vigorously, you’ll want to use a folding motion. This means lifting the mixture from the bottom and folding it over the top, repeating until the two mixtures are just combined.
The goal is to maintain as much air as possible, which keeps your ice cream light and fluffy.
Don’t rush this process; take your time to verify everything is evenly mixed, but be cautious not to deflate the whipped cream. You want that airy goodness throughout!
Once you’re satisfied with the consistency, transfer the mixture into your ice cream maker or a container for freezing. The anticipation of homemade chocolate ice cream is exhilarating!
Enjoy the process and look forward to that delicious reward waiting for you in just a few hours. Happy ice cream making!
Final Thoughts
As you savor the rich, creamy goodness of your homemade chocolate ice cream, it’s clear that this recipe is a delightful way to indulge your sweet tooth. Crafting this treat isn’t just about satisfying cravings; it’s about the joy of creating something special in your kitchen.
The simple ingredients meld together to form a luscious dessert that’s perfect for any occasion. You’ll love watching your friends and family relish each scoop!
Here are some key takeaways to remember:
- Use high-quality chocolate for the best flavor.
- Experiment with mix-ins, like nuts or cookie chunks, to add a personal touch.
- Store your ice cream properly to maintain its creamy texture.
- Don’t be afraid to share—homemade ice cream is a gift that brings happiness!
Frequently Asked Questions
Can I Use Dairy-Free Alternatives for This Recipe?
Absolutely, you can use dairy-free alternatives! Substitute regular milk and cream with almond, coconut, or oat milk. Just make certain they’re unsweetened for better flavor balance, and you’ll still get a delicious treat you’ll love.
How Long Will the Ice Cream Last in the Freezer?
Imagine savoring a scoop of homemade ice cream on a hot summer day. If stored properly in an airtight container, your ice cream should last about two to three weeks in the freezer without losing quality.
Is It Necessary to Use an Ice Cream Maker?
You don’t need an ice cream maker, but it makes the process easier and guarantees a smoother texture. If you’re up for it, you can mix and freeze manually, though it’ll require more effort.
Can I Add Mix-Ins Like Nuts or Chocolate Chips?
You can add mix-ins like nuts or chocolate chips to make your creation even more delicious. Just fold them in gently before freezing, and you’ll have a dessert that’s nothing short of heavenly!
What Is the Best Way to Serve Rich Chocolate Ice Cream?
To serve rich chocolate ice cream, scoop it into chilled bowls, drizzle hot fudge or caramel on top, and sprinkle with your favorite toppings. Don’t forget a dollop of whipped cream for extra indulgence!
Conclusion
Indulge in your homemade rich chocolate ice cream, a treat sure to impress! Did you know it can have up to 50% less air than store-bought, making it denser and creamier?
Each scoop bursts with chocolatey goodness that will delight your taste buds. Gather your ingredients, invite some friends, and enjoy creating this delightful dessert together.
You won’t regret it. Savor every delicious bite!
