Kiwi Lime Tart Recipe
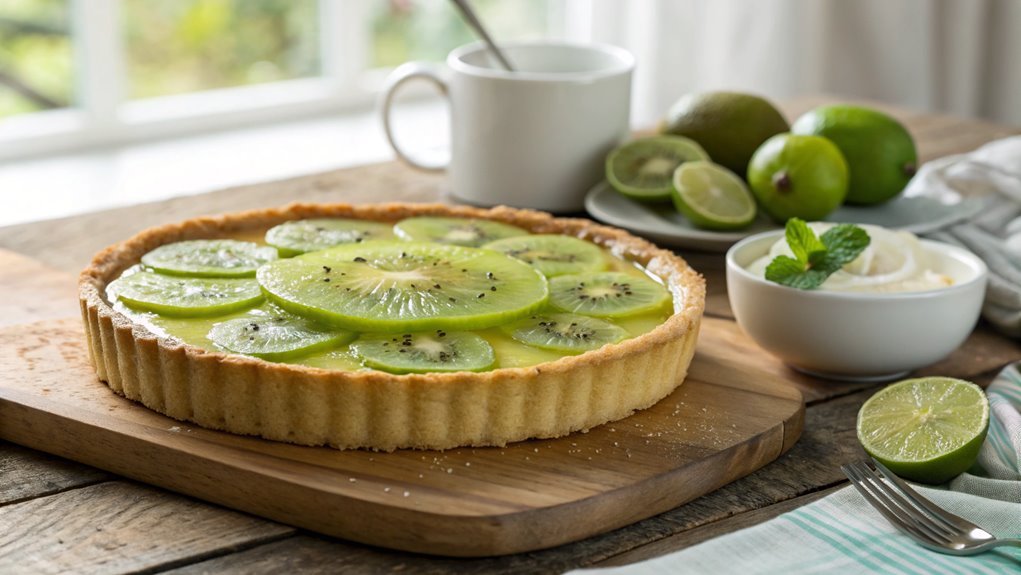
For a dessert that combines sweetness with a zesty kick, try the Kiwi Lime Tart. The buttery crust pairs perfectly with the vibrant lime filling and fresh kiwi.
Follow simple steps for preparation, but keep a few key tips in mind to elevate your tart from good to exceptional. Enjoy the invigorating result!
Recipe
Indulging in a Kiwi Lime Tart is a delightful experience that combines the vibrant flavors of fresh kiwi and zesty lime, all nestled in a buttery crust. This dessert is perfect for warm weather gatherings or as a revitalizing finish to any meal. The tartness of the lime complements the sweetness of the kiwi, creating a beautiful balance that’s sure to impress your guests.
Whether you’re an experienced baker or a novice in the kitchen, this recipe is straightforward and rewarding. To begin, you’ll need to prepare the crust, which provides a sturdy and flavorful base for the creamy filling. Once the crust is baked and cooled, the lime custard filling is whipped together and poured into the shell.
Finally, the fresh kiwi slices are beautifully arranged on top, making for a stunning presentation. This Kiwi Lime Tart isn’t only delicious but also visually appealing, making it a perfect centerpiece for any dessert table.
Ingredients:
- 1 ½ cups all-purpose flour
- ½ cup powdered sugar
- ½ cup unsalted butter, softened
- 1 large egg yolk
- 1 teaspoon vanilla extract
- 1 cup sugar
- ½ cup fresh lime juice
- Zest of 2 limes
- 3 large eggs
- 2 ripe kiwis, peeled and sliced
- Whipped cream (for serving, optional)
Now let’s move on to the cooking steps.
Cooking Steps
Let’s get started on making your delicious Kiwi Lime Tart!
First, you’ll preheat your oven to 350°F, which will set the perfect stage for baking.
Then, gather your tart crust ingredients and mix together the filling to create a sweet and tangy treat that’ll impress everyone!
Step 1. Preheat Oven to 350°F
To kick off your Kiwi Lime Tart, preheat your oven to 350°F. This initial step is essential, as a properly heated oven guarantees your tart crust bakes evenly and achieves that delightful golden-brown color.
While you’re waiting for the oven to reach the perfect temperature, take a moment to gather your ingredients and visualize the delicious tart you’re about to create.
Once the oven beeps, you’ll be ready to plunge into the exciting process of crafting your tart. Preheating not only prepares the oven but also builds anticipation for the delightful flavors of kiwi and lime that are about to come together.
The warm air circulating in the oven will help set the perfect environment for baking, creating a lovely texture that balances crispiness and tenderness.
Step 2. Prepare Tart Crust Ingredients
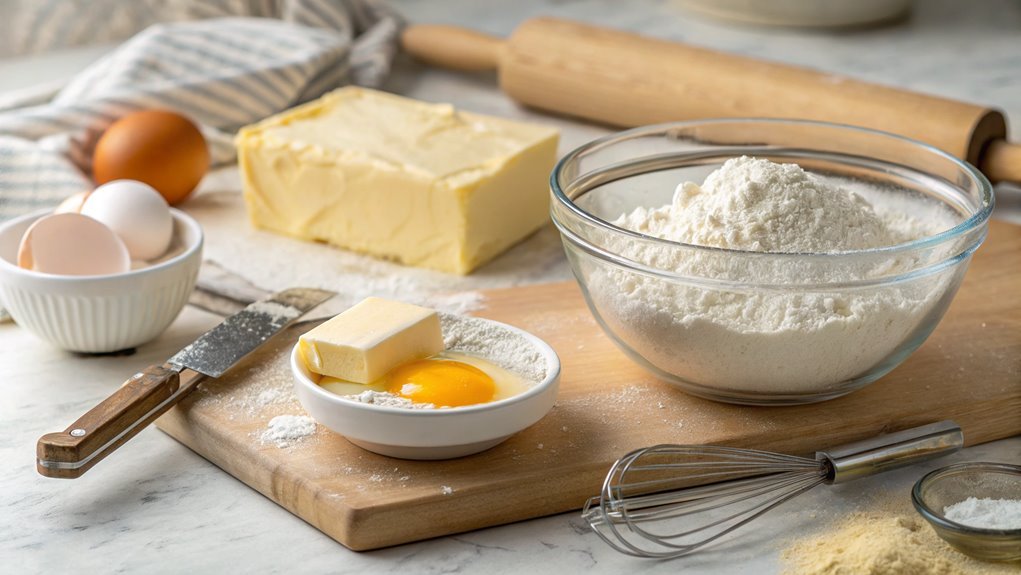
With the oven preheated and ready, it’s time to prepare your tart crust ingredients. Start by gathering 1 ½ cups of all-purpose flour, ½ cup of unsalted butter, softened to room temperature, and ¼ cup of powdered sugar. You’ll also need a pinch of salt to enhance the flavors.
In a mixing bowl, combine the flour, powdered sugar, and salt. Next, cut the softened butter into small pieces and add it to the dry ingredients. Using your fingers or a pastry cutter, work the butter into the flour mixture until it resembles coarse crumbs.
This step is significant, as it helps create that delightful flaky texture we all love in a tart crust.
Once you’ve achieved the right consistency, add a tablespoon of cold water to the mixture. Stir gently until the dough begins to come together. If it’s too crumbly, don’t hesitate to add a little more water, just a teaspoon at a time.
Once your dough is ready, shape it into a disk, wrap it in plastic wrap, and refrigerate for about 30 minutes. This chilling time is vital for a perfect tart crust, so be patient and enjoy the anticipation!
Step 3. Mix Filling Ingredients Together
Begin by whisking together the filling ingredients in a medium bowl. You’ll want to combine the fresh lime juice, lime zest, and sweetened condensed milk, creating a zesty and creamy mixture that’s bursting with flavor.
As you whisk, feel the excitement build—it’s all about balancing that tangy lime with the sweetness of the milk!
Next, add the egg yolks, one at a time, ensuring they blend in smoothly. This is where the magic happens; the filling will become rich and velvety.
Keep whisking until everything is well incorporated and you see a lovely, uniform texture. It’s crucial to make sure there are no lumps, so take your time with this step.
If you’re feeling adventurous, consider folding in some finely chopped kiwi for an extra burst of fruity goodness. This little touch can elevate your tart from delicious to unforgettable!
Once your filling is ready, take a moment to admire the vibrant color and enticing aroma. You’ve done an amazing job so far!
Now, you’re just a step away from creating a delightful Kiwi Lime Tart that’ll impress everyone. Let’s keep that momentum going!
Step 4. Bake Tart for 25 Minutes
Now it’s time to bake your tart for 25 minutes. Preheat your oven to 350°F (175°C) if you haven’t already. Once it’s heated, pop your tart into the oven, and let the magic happen!
You’ll start to notice the delicious aroma filling your kitchen as the tart bakes, creating an irresistible atmosphere.
While the tart is baking, take a moment to appreciate this simple yet delightful process. Here are a few tips to keep in mind:
- Check the tart halfway through to verify it’s baking evenly.
- Use a toothpick to test for doneness; it should come out clean when the tart is done.
- Resist the urge to open the oven door too often; it can affect the baking temperature.
As you wait, imagine how wonderful it’ll taste once it’s ready. This tart is a perfect balance of zesty lime and sweet kiwi, making every bite a revitalizing treat.
Step 5. Cool Tart on Wire Rack
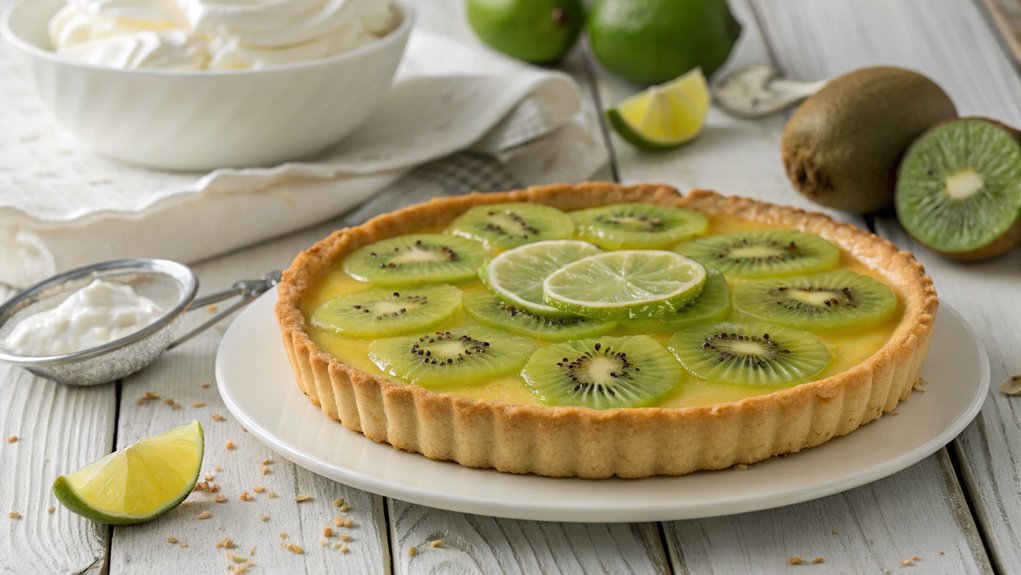
Once the tart has finished baking and the timer goes off, carefully remove it from the oven and place it on a wire rack. This is an exciting moment!
Let the tart cool in its pan for about 15 minutes, allowing it to set just a bit. You’ll notice the tantalizing aroma filling your kitchen, making it hard to wait.
After the initial cooling period, gently loosen the edges of the tart with a butter knife. This step guarantees it’ll release smoothly from the pan.
Now, flip the tart onto the wire rack, and peel away the parchment paper if you used any. This method helps maintain its perfect shape and prevents sogginess.
As the kiwi lime tart cools completely, its flavors will deepen, so resist the urge to dig in right away! Cooling takes about an hour, and the anticipation will only make the first bite more rewarding.
Once it’s cool, you can slice it up and prepare for the delightful tang of lime and the sweetness of kiwi. Enjoy this invigorating treat at your next gathering or as a special dessert just for you!
Happy baking!
Final Thoughts
As you savor the last bite of your kiwi lime tart, it’s clear that this dessert not only delights the taste buds but also brightens any occasion.
The vibrant colors and invigorating flavors make it a perfect treat for gatherings, celebrations, or simply to enjoy on a sunny afternoon. You’ve created something special that everyone will love!
This tart is versatile and can easily be adapted to suit your preferences. Whether you want to experiment with different fruits or adjust the sweetness, the possibilities are endless.
Plus, here are a few reasons why you’ll want to make this tart again:
- Easy to Prepare: With straightforward steps, you’ll be whipping this up in no time, even on busy days.
- Impressive Presentation: The eye-catching colors and textures will surely impress your guests, making you the star of any event.
- Perfect Balance of Flavors: The tangy lime pairs beautifully with the sweet kiwi, creating a delightful harmony that keeps you coming back for more.
Frequently Asked Questions
Can I Substitute Other Fruits for Kiwi in This Tart?
Absolutely, you can substitute other fruits for kiwi in your tart! Consider using strawberries, mangoes, or even blueberries. Just remember to adjust the sweetness and acidity to balance the flavors for a delicious outcome!
How Should I Store Leftover Kiwi Lime Tart?
You’ve got leftover tart, and you’re wondering how to keep it fresh. Store it in an airtight container in the fridge. It’ll stay delicious for a few days, tempting you with every glance. Enjoy!
Is There a Gluten-Free Option for the Crust?
Yes, you can make a gluten-free crust using almond flour or gluten-free flour blends. Just substitute the regular flour in the recipe, and confirm your other ingredients are also gluten-free for the best results.
How Long Does the Tart Take to Set After Baking?
After baking, your tart needs time to chill and set, like a cozy blanket on a winter night. You’ll want to let it rest for about two to three hours for perfect firmness. Enjoy!
Can I Make This Tart Ahead of Time?
Absolutely, you can make this tart ahead of time! Just bake it, let it cool completely, and store it in the fridge. It’ll stay fresh for a couple of days, ready for serving.
Conclusion
Enjoy a refreshing Kiwi Lime Tart with a buttery crust and zesty filling that invigorates your taste buds. Share it with friends or family, and watch their faces light up with delight.
