White Chocolate Cheesecake Recipe
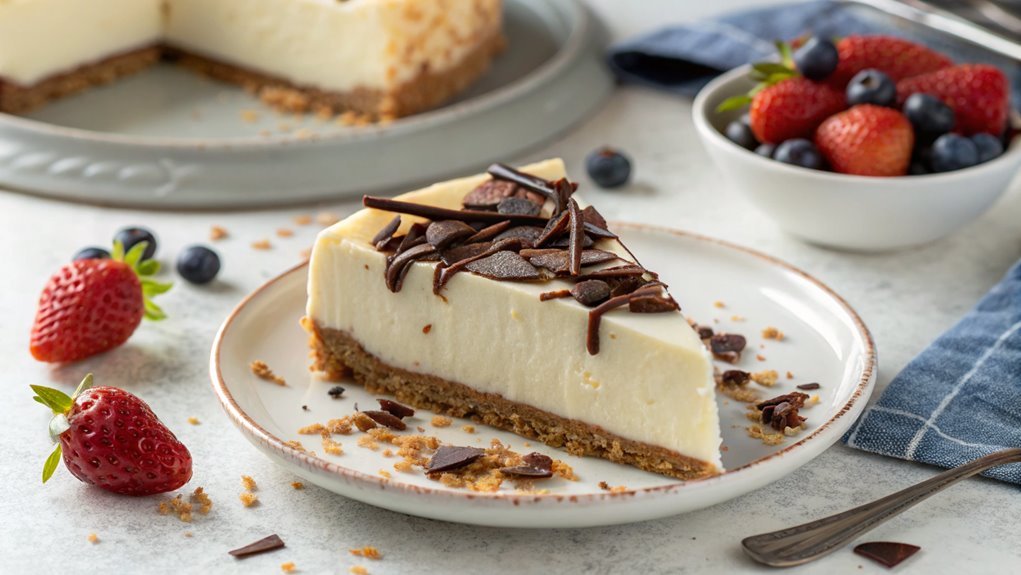
For a dessert that exudes both decadence and elegance, consider making a white chocolate cheesecake. Begin with a buttery graham cracker crust to pair with the creamy filling of softened cream cheese and melted white chocolate.
The key to perfection lies in baking, particularly using a water bath for even cooking. Master a few essential techniques to elevate this dessert to its full potential.
Recipe
White chocolate cheesecake is a decadent dessert that combines the rich creaminess of traditional cheesecake with the sweet, smooth flavors of white chocolate. This dessert is perfect for special occasions or a delightful treat at home.
The creamy filling sits atop a buttery graham cracker crust, creating a balanced texture that will have everyone returning for seconds. The addition of white chocolate not only enhances the taste but adds an elegant touch that’s sure to impress your guests.
Making white chocolate cheesecake might seem intimidating, but with a few simple steps, you’ll find it’s quite an achievable task. The key is to guarantee all of your ingredients are at room temperature before mixing, as this will create a wonderfully smooth filling.
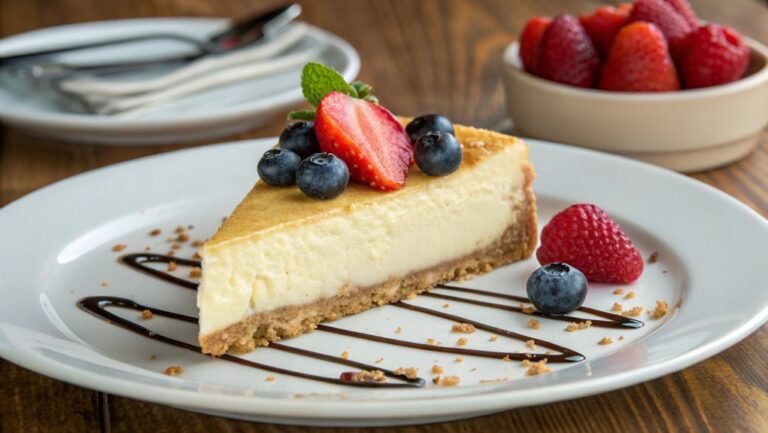
After baking, the cheesecake needs to cool properly to set, which only adds to the anticipation before the first slice. You can also top it with fresh berries or a drizzle of chocolate sauce for an extra special presentation.
Ingredients:
- 1 ½ cups graham cracker crumbs
- ⅓ cup granulated sugar
- ½ cup unsalted butter, melted
- 24 oz cream cheese, softened
- 1 cup white chocolate chips, melted
- ¾ cup granulated sugar
- 3 large eggs
- 1 tsp vanilla extract
- 1 cup sour cream
- ¼ cup all-purpose flour
- Pinch of salt
Now let’s move on to the cooking steps.
Cooking Steps
Let’s get started on creating your delicious white chocolate cheesecake!
First, you’ll prep the crust ingredients to build that perfect base, then mix cream cheese and sugar to create a creamy filling.
Once you fold in that luscious melted chocolate, you’re just a chill away from adding your favorite topping and enjoying every bite of this decadent dessert!
Step 1. Prep the Crust Ingredients
Before you plunge into making the creamy filling, you’ll want to prep the crust ingredients for your white chocolate cheesecake. The crust is essential, as it adds a delightful crunch and nutty flavor that perfectly balances the creaminess of the cheesecake.
First, gather around 1 ½ cups of graham cracker crumbs. You can easily make these by crushing some graham crackers in a food processor or by placing them in a plastic bag and smashing them with a rolling pin.
Next, you’ll need about ⅓ cup of unsalted butter, melted. This gives the crust richness and binds everything together. If you want to add an extra layer of flavor, consider mixing in a tablespoon of sugar and a pinch of salt.
Combine the crushed graham crackers, melted butter, sugar, and salt in a bowl. Mix it all together until it resembles wet sand.
Once that’s done, press the mixture firmly into the bottom of a springform pan, making sure it’s even and compact. This step sets the stage for your cheesecake, so don’t rush it! You’ll be thrilled with the crunchy base when you savor your delicious creation.
Step 2. Mix Cream Cheese and Sugar
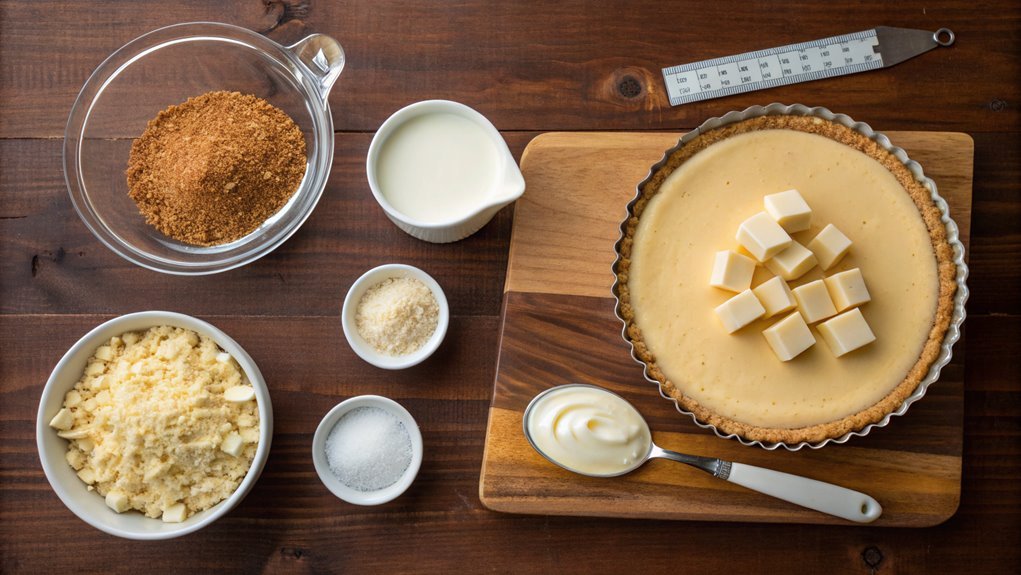
With the crust set in the springform pan, it’s time to turn your attention to the filling. You’ll want to grab a mixing bowl and beat together your cream cheese and sugar. Start by making sure your cream cheese is at room temperature; this helps it blend smoothly.
Using an electric mixer on medium speed, mix the cream cheese for about a minute until it’s creamy and free of lumps. This stage is essential, as you want a lovely, velvety texture for your cheesecake.
Gradually add your granulated sugar into the bowl. Keep mixing until the sugar fully incorporates and the mixture becomes fluffy. This should take another minute or two. You’ll notice the consistency lightens as you beat it, and that’s exactly what you want!
Remember to scrape down the sides of your bowl to make sure everything is evenly mixed. This step sets the foundation for a delicious, creamy filling with just the right sweetness.
It’s a joyous task, and you’ll love how the mixture transforms! Now that you’ve got this perfect cream cheese and sugar blend, you’re one step closer to that rich, dreamy cheesecake. Keep going; it’s going to be divine!
Step 3. Fold in Melted Chocolate
As you prepare to fold in the melted chocolate, make sure it’s cooled slightly so it doesn’t melt the cream cheese mixture. This step is all about creating a smooth and luscious texture that will elevate your cheesecake.
Begin by gently pouring the melted chocolate into the cream cheese mixture. Use a spatula, and with a light hand, fold the chocolate in using a figure-eight motion. You wanna be careful not to overmix because you want to keep that delightful fluffy consistency.
It’s really important to be patient during this process. You’ll see the mixture transform into a luxurious, creamy batter as the chocolate incorporates.
Try to incorporate it thoroughly, but always be mindful of keeping air in the mixture. This helps achieve that dreamy cheesecake texture everyone loves.
Once the chocolate is folded in and you’ve got a beautiful blend of cream cheese and white chocolate, it’s time to prepare for the next steps.
You’re so close to indulging in your masterpiece! Just imagine each creamy slice melting in your mouth. It’s going to be divine—trust me, you won’t want to skip this part!
Step 4. Chill in the Refrigerator
Now that your decadent white chocolate cheesecake batter is ready, it’s vital to chill it in the refrigerator. This step may seem simple, but it plays an important role in achieving that perfect texture. By allowing your cheesecake to set, you’re ensuring it firms up nicely, creating a creamy, velvety treat that’s hard to resist.
Pour your batter into the prepared crust, gently smoothing the top with a spatula to create an even layer. Once you’ve done that, cover your cheesecake with plastic wrap or aluminum foil. This will keep the cheesecake from absorbing any unwanted odors from your refrigerator and help it maintain moisture.
Now, let your cheesecake chill in the refrigerator for at least four hours, or even better, overnight. Patience is key here! The longer you let it chill, the more the flavors will meld together, and the firmer it will become.
Just imagine the moment when you finally slice into this luxurious dessert! The anticipation makes the end result even sweeter. Trust the process—step away from the fridge and let your delightful cheesecake work its magic. You’re in for a real treat!
Step 5. Add Topping of Choice
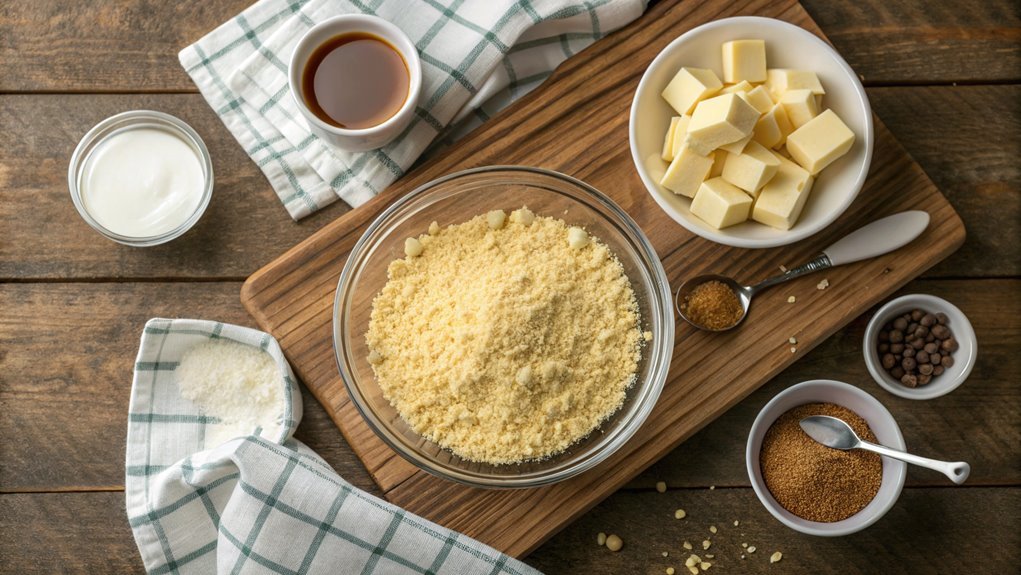
Once your cheesecake has chilled to perfection, it’s time to elevate it with a topping of your choice. This step is where your creativity can shine!
Whether you’re in the mood for something fruity or indulgently decadent, there’s a topping that’ll make your white chocolate cheesecake even more irresistible.
If you prefer fresh fruit, consider layering on some strawberries, raspberries, or blueberries. Their bright colors and vibrant flavors contrast beautifully with the creamy cheesecake.
For a crunchier vibe, try sprinkling crushed cookies or nuts on top for that added texture.
If you’re feeling indulgent, a luscious chocolate ganache or a drizzle of caramel sauce creates a fantastic visual and flavor contrast.
Simply melt some chocolate or heat up caramel, and gently pour it over your cheesecake. You can even mix in some whipped cream to give it a lighter finish.
Final Thoughts
While creating a white chocolate cheesecake might seem intimidating, it’s a rewarding experience that will impress any dessert lover.
You’re not just baking; you’re crafting a delightful masterpiece that can elevate any occasion. Imagine the smiles and compliments you’ll receive when your friends and family taste your creation.
To guarantee your cheesecake is truly memorable, keep in mind these heartfelt tips:
- Quality Ingredients: Using high-quality white chocolate and fresh cream cheese makes all the difference in flavor and texture, turning your cheesecake into an irresistible treat.
- Patience is Key: Allow your cheesecake to cool slowly and chill thoroughly. This patience rewards you with a heavenly, melt-in-your-mouth dessert.
- Presentation Matters: Take a moment to beautifully plate your cheesecake. A simple garnish, like fresh berries or a drizzle of chocolate, can elevate it from good to stunning!
Frequently Asked Questions
Can I Substitute White Chocolate With Another Type of Chocolate?
Yes, you can substitute white chocolate with milk or dark chocolate. Just keep in mind that it’ll change the flavor and sweetness of your dessert. Adjust sugar levels accordingly to achieve the desired taste. Enjoy experimenting!
How Do I Store Leftover White Chocolate Cheesecake?
To store leftover cheesecake, wrap it tightly in plastic wrap or place it in an airtight container. Refrigerate for up to five days. For longer storage, consider freezing it, ensuring it’s well-wrapped first.
Can I Freeze White Chocolate Cheesecake for Later Use?
Yes, you can freeze cheesecake for later use. Just wrap it tightly in plastic wrap and then place it in an airtight container. It’ll stay fresh for up to three months in the freezer.
What Is the Best Type of Cream Cheese to Use?
When choosing cream cheese, you’ll want to use a full-fat, block-style variety for the best texture and rich flavor. Avoid the whipped or reduced-fat options, as they compromise creaminess and taste in your dessert.
How Long Does the Cheesecake Need to Chill Before Serving?
You’ll want to chill the cheesecake for at least four hours, but it’s even better if you let it sit overnight. This allows the flavors to meld and the texture to set perfectly before serving.
