Hanukkah Jelly Donuts Recipe
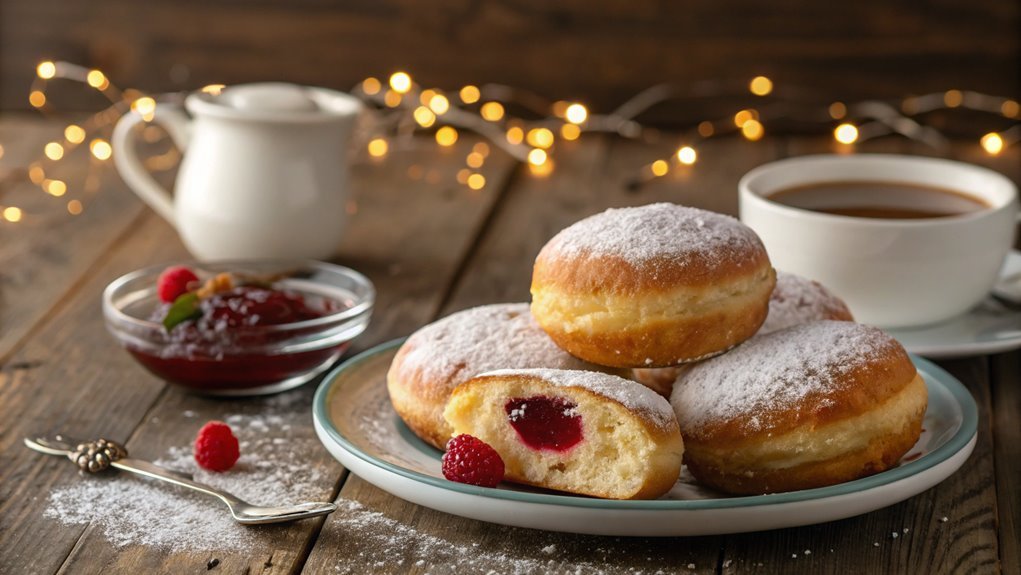
Preparing jelly donuts, or Sufganiyot, for Hanukkah adds a special touch to the celebrations. Crafting the perfect dough and frying it to a golden brown is rewarding and essential for the festive spirit.
Choosing the right filling is crucial to enhancing your donuts. What flavors will you select to elevate your treats this year?
Recipe
Hanukkah, also known as the Festival of Lights, is a time for celebration, reflection, and of course, delicious food. One of the most beloved treats during this festive occasion is the jelly donut, or sufganiyot. These sweet, fluffy donuts are traditionally filled with fruit preserves and dusted with powdered sugar, making them a delightful addition to any Hanukkah celebration.
The process of making these treats can be a fun activity, especially when shared with family and friends, as you create a warm and joyous atmosphere while preparing for the festivities.
To achieve the perfect sufganiyot, it’s crucial to use the right ingredients and techniques. The dough should be soft and slightly sticky, allowing for a light and airy texture once fried. The filling can vary from classic raspberry or strawberry jelly to more adventurous options like dulce de leche or chocolate.
Regardless of the filling you choose, these donuts are sure to bring a smile to everyone’s face and make your Hanukkah celebration even sweeter.
Ingredients:
- 2 ¼ teaspoons active dry yeast
- ½ cup warm water (110°F)
- ½ cup granulated sugar
- 3 large eggs
- 1 teaspoon vanilla extract
- ½ teaspoon salt
- 1 cup whole milk
- ½ cup unsalted butter, melted
- 4 to 5 cups all-purpose flour
- Vegetable oil (for frying)
- Jelly or preserves of your choice (for filling)
- Powdered sugar (for dusting)
Now let’s move on to the cooking steps.
Cooking Steps
Now that you’ve gathered your ingredients, let’s jump into the cooking steps that’ll transform those simple components into delightful jelly donuts!
Start by kneading the dough thoroughly to get that perfect texture, then let it rise completely for the fluffiest results.
Once you shape the donuts and fry them to a golden brown, you’ll be ready to enjoy a delicious treat that truly celebrates the spirit of Hanukkah!
Step 1. Prepare Dough Ingredients First
To make the perfect jelly donuts, you’ll need to gather several key ingredients for the dough. Start by collecting all-purpose flour, sugar, salt, instant yeast, milk, eggs, and butter. Each ingredient plays a significant role in creating that soft, fluffy texture you crave. When you combine these ingredients, you’re laying the foundation for your delicious donuts!
Make sure to use fresh yeast for the best rise, as it’s essential for airy donuts. Whole milk adds richness, while the eggs provide structure and moisture. Don’t forget the butter! It adds a lovely flavor and keeps your donuts tender.
While you’re at it, grab some vanilla extract for an extra layer of flavor—trust me, it makes a difference! As you gather everything, get excited about the process. You’re on your way to creating a beloved treat that’s perfect for sharing with family and friends during Hanukkah.
Once you have everything ready, you’ll be all set to move on to the next steps. Trust me, these jelly donuts are worth the effort, and you’ll love the satisfaction of making them from scratch.
Step 2. Knead the Dough Thoroughly
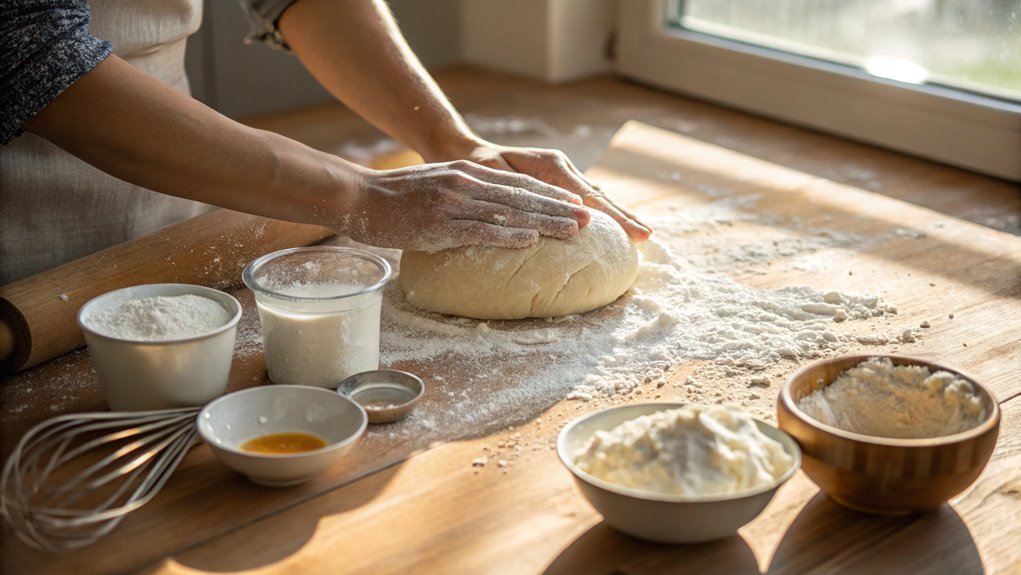
Knead the dough thoroughly to develop that perfect texture you’ll love in your jelly donuts. This step is essential, as it helps activate the gluten, giving your donuts that chewy and fluffy consistency.
Start by placing your dough on a clean, floured surface. With your hands, push the dough away from you, then fold it back over itself, and repeat this motion. Don’t rush! Kneading takes about 8 to 10 minutes, so enjoy the process and feel the dough come together.
As you knead, you’ll notice the dough becoming smoother and more elastic. If it’s sticky, sprinkle a little more flour, but be careful not to overdo it. You want the dough to be soft and pliable, not dry.
Pay attention to the texture; it should feel slightly tacky but not sticky. This tactile experience is part of the joy of baking!
Once you’ve kneaded the dough well, you’ll be setting the stage for delicious donuts. The effort you put into this step will pay off in the end, so roll up your sleeves and get ready to create something wonderful.
You’re on your way to a delightful treat that everyone will love!
Step 3. Let Dough Rise Completely
Once you’ve kneaded the dough, it’s important to let it rise completely for the best results. This step is vital because it allows the yeast to work its magic, creating those fluffy, delicious jelly donuts we all crave.
Place your dough in a lightly greased bowl, cover it with a clean kitchen towel or plastic wrap, and find a warm spot for it to rest.
You’ll want to let the dough rise until it’s doubled in size, which usually takes about one to two hours, depending on the temperature of your kitchen. Keep an eye on it! You’ll see it expand and become wonderfully airy.
This transformation is exciting, and it’s the secret to achieving that light texture in your donuts.
Don’t rush this process! If the dough doesn’t rise enough, your donuts will turn out dense instead of fluffy.
Once your dough has risen perfectly, gently punch it down to release any air bubbles. This step prepares it for the next stage of shaping.
Trust me; the wait will be worth it when you bite into those warm, jelly-filled treats during Hanukkah celebrations!
Step 4. Shape the Donuts Carefully
Shaping the donuts is an essential step that can make or break your jelly-filled creations. Once your dough has risen beautifully, it’s time to turn it into round, delightful treats!
Start by lightly flouring your work surface to prevent sticking. Take a piece of dough and gently pat it into a circle, about ½ inch thick. Don’t press too hard; you want to keep that airy texture.
Next, use a round cookie cutter or a glass to cut out your donut shapes. Aim for about three inches in diameter for the perfect size. You can also make doughnut holes from the scraps—nothing goes to waste!
After cutting, place the shaped donuts on a parchment-lined baking sheet. Give them a little space to breathe, as they’ll puff up when they rise again.
Cover the sheet with a clean kitchen towel and let the donuts rest for about 30 minutes. This step is essential for achieving that light and fluffy texture.
You’ll feel the anticipation building as you prepare these delicious treats. So, roll up your sleeves, shape those donuts, and get ready to enjoy the wonderful aroma that’ll soon fill your kitchen!
Step 5. Fry Until Golden Brown
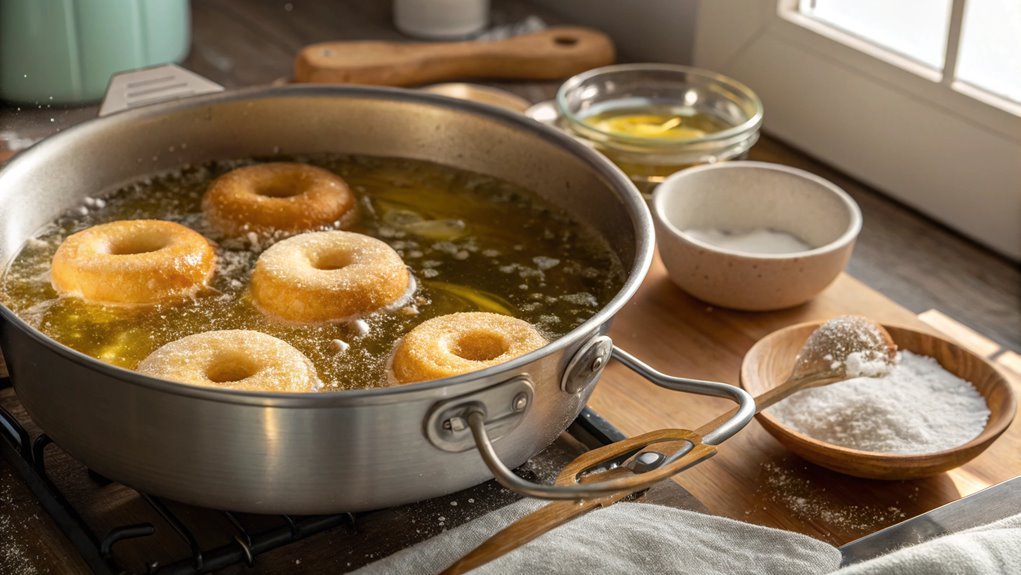
After letting your donuts rest, it’s time to heat up the oil and start frying. The magic of cooking begins here, as you transform those fluffy dough balls into golden treasures.
Heat your oil in a deep pot to about 350°F (175°C). Once it’s hot, gently lower the donuts into the oil, taking care not to overcrowd the pot. Fry them until they achieve that beautiful golden brown, which usually takes about 2-3 minutes per side.
To help you visualize this delightful process, here’s what to look for:
- Bubbling oil: You’ll notice lively bubbles forming around the donuts as they fry, signaling that they’re cooking perfectly.
- Golden hue: Watch for that rich, golden color developing on the surface—this is the sign of deliciousness!
- Puffy shape: As they cook, the donuts will puff up, making them even more inviting.
- Aromatic scent: Breathe in the warm, sweet aroma wafting through your kitchen; it’ll make it hard to resist!
Once they’re golden, use a slotted spoon to transfer them to a paper towel-lined plate. Enjoy the anticipation as you prepare to fill them with jelly!
Final Thoughts
As you wrap up your Hanukkah celebrations, remember that making jelly donuts can be a joyful and rewarding experience.
These delicious treats not only taste amazing, but they also add a special touch to your festivities. Each bite, filled with sweet jelly, brings warmth and happiness, making your gatherings even more memorable.
Don’t be intimidated by the frying process; with a little practice, you’ll master it in no time. The golden-brown exterior and soft, fluffy interior are worth the effort.
Plus, you can customize your donuts with different fillings like raspberry, strawberry, or even chocolate! Imagine the delight on your family’s faces when they take a bite of your homemade creations.
Frequently Asked Questions
Can I Use a Different Filling for the Donuts?
You can use a different filling for the donuts. Try chocolate, cream, or fruit preserves. Just make sure the filling complements the dough, and you’ll create a delicious treat that everyone will love!
How Can I Make These Donuts Gluten-Free?
If you’re looking to create a delightful treat without gluten, swap regular flour for a gluten-free blend. Just guarantee it’s a good quality mix, and you’ll still enjoy those warm, pillowy bites of joy!
What Is the Best Way to Store Leftover Donuts?
To store leftover donuts, you should place them in an airtight container at room temperature for up to two days. For longer storage, freeze them individually, then transfer to a freezer bag for up to three months.
Can I Freeze the Donuts After Frying?
Can you really freeze donuts after frying? Absolutely! Just let them cool, wrap them tightly in plastic wrap or foil, and pop them in the freezer. They’ll stay fresh for a month, ready to enjoy later!
What Oil Is Best for Frying Jelly Donuts?
When frying jelly donuts, choose oils with high smoke points like canola or vegetable oil. They’ll provide a crispy texture and prevent burning. Avoid olive oil, as its lower smoke point isn’t ideal for frying.
Conclusion
Celebrate Hanukkah with these delightful Jelly Donuts. Each bite symbolizes the festival’s light, sweetening your celebrations like candles brightening your home. Roll up your sleeves and dive into this recipe. Create warm memories and delicious treats that embody Hanukkah’s spirit. Enjoy every moment of this festive tradition, and happy frying!
